- 25 -
0/21indicatesyouhaveaprojectsizeof
twenty‐oneprintsandyouhaveprinted
zerodiscsthusfar.
10%indicatesthecurrentpercentageofthe
printingprogress.
0indicatesyouhaveprintedzerodiscs thusfar.
10%indicatesthecurrentpercentageofthe
printingprogress.
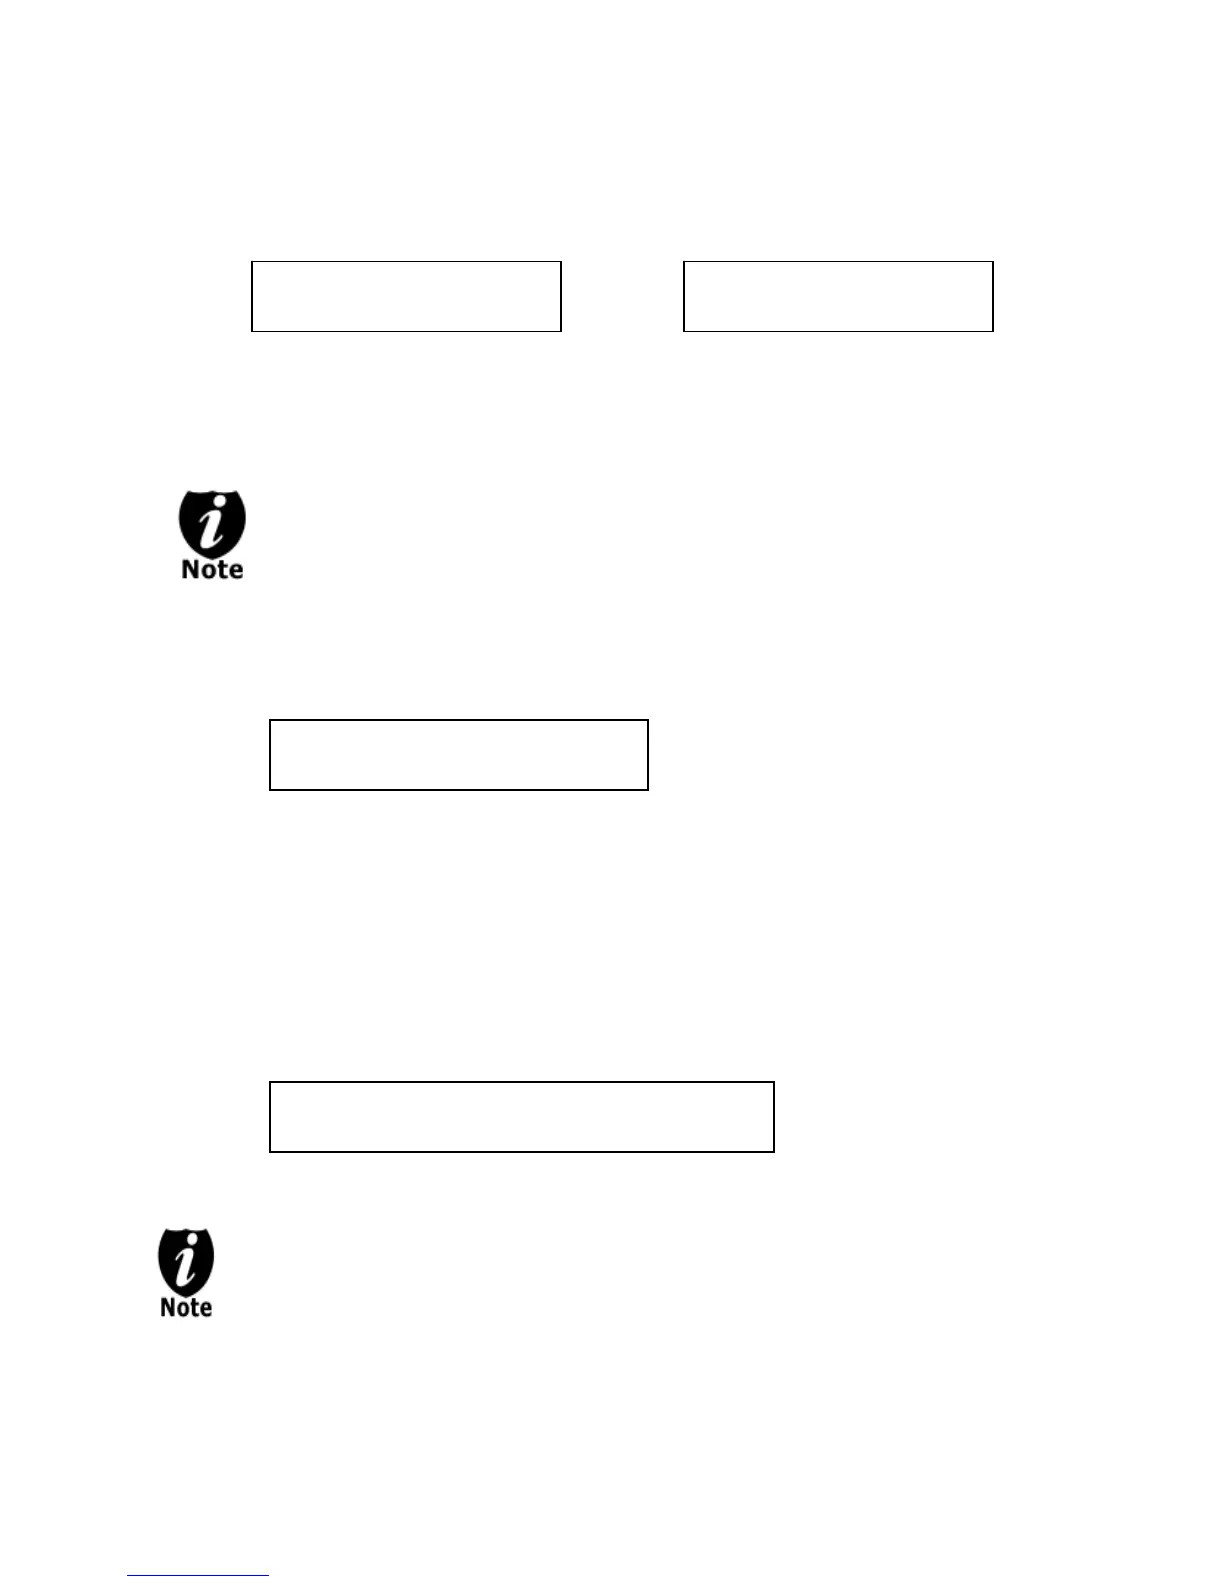
Step6: After 2 or 3 seconds of processing time, one of the following Printing progress
screens will appear. The left-hand screen is shown when “Specify Counter” is
selected and the right-hand screen is shown when “No Counter” is selected.
“Specify Counter” “No Counter”
It is normal to see the progress indicator stay at 0% and 100% for approximately
5 minutes. That is caused by the initializing and finalizing stage.
Step7: Once the printing run is completed, the successful printed copies will be ejected and
you shall see the following screen.
Step8: Remove the successful copies and refill the trays with additional LightScribe
printable discs to continue printing more copies. You can also press the
“ESC”/Escape button to terminate your project and go back to the main menu.
If you’ve specified a counter value for your project and your project is completed, you shall
see the following screen:
You can then press the “ENT”/Enter to go back to main menu.
If you happen to have any failed discs (bad print), the failed disc(s) will not be ejected
automatically. You need to manually eject them and you can re-use them in the next
run, however, the re-print will make your copies looks darker than your original
design.
“PASS7”indicatesthatyou’vejustprinted7successfuldiscs.
“FAIL0”indicatesthatyouhavenofailureinthisrun.
“7”indicatesthat
ou’vesuccessfull
rinted 7discssofar.
PASS 7 FAIL 0( 7)
Please insert Label Disc
Pass 21 Fail 0
Job Completed!
ress OK to Finish
Printing...
0/21 10%
rinting...
0 10%