Setup & Assembly
Some assembly is required before you can begin to use your new unit. Please follow the assembly in-
strucons below before aempng to use your turntable.
Before you begin assembly be sure that all parts and accessories have arrived intact. Please unpack all
parts and use the check list below to idenfy parts and accessories:
• Instrucon Manual
• Headshell / Cartridge / Stylus Assembly
• RCA Cable
• AC Power Cable (Fixed)
• USB Cable
• Plaer
• Reversible Slipmat
• Counterweight
• 45-RPM Adaptor
• Acrylic Dust Cover / Lid
NOTES:
• Do not connect the AC power plug before assembly has been completed.
• Before turning the power on make sure once again all the connecons and power voltage sengs
are correct. Always turn o the power when connecng or disconnecng any cables or accessories.
TURNTABLE ASSEMBLY:
1. Removing From Carton:
Carefully remove the main unit with the packing material intact from the carton. Remove the packing
material once the unit has been removed from the carton.
IMPORTANT NOTE: Be sure to locate all of the accessories packaged within the polystyrene inner pack-
ing materials before discarding anything.
2. 45 Adapter:
Locate and remove the 45-rpm adapter from the packing material and place it in the 45 adapter cutout
on the top of the main unit as per the Parts Idencaon diagram on Page 6.
3. Turntable Plaer:
Remove the turntable plaer from the packing material and gently insert the plaer into the centre
spindle on the base of the turntable unit.
4. Slipmat:
Remove the black felt slipmat from the packaging and place it over the centre spindle and onto the plat-
ter.
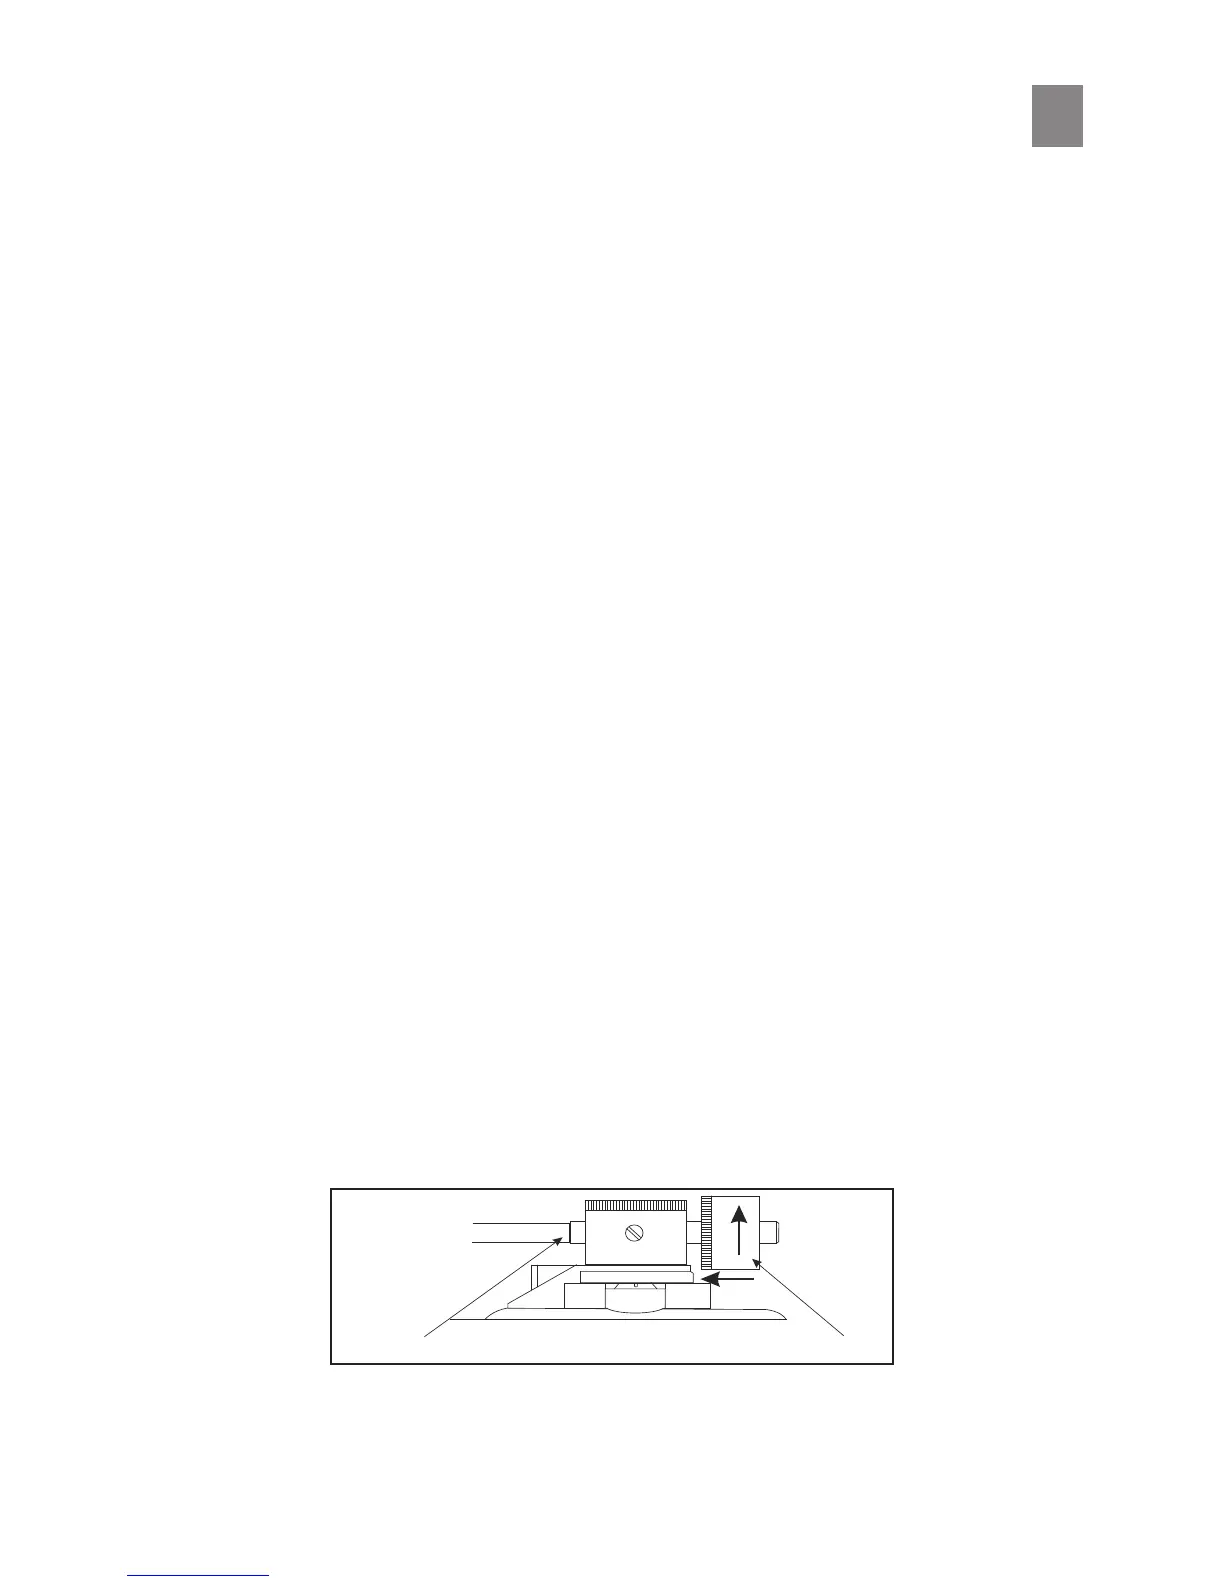
5. Counterweight:
Slide the counterweight onto the rear sha of the tonearm. Turn the counterweight gently in a clock-
wise direcon (looking from the rear) and it will screw onto the rear sha of the tonearm.