M
INTEL INTEL
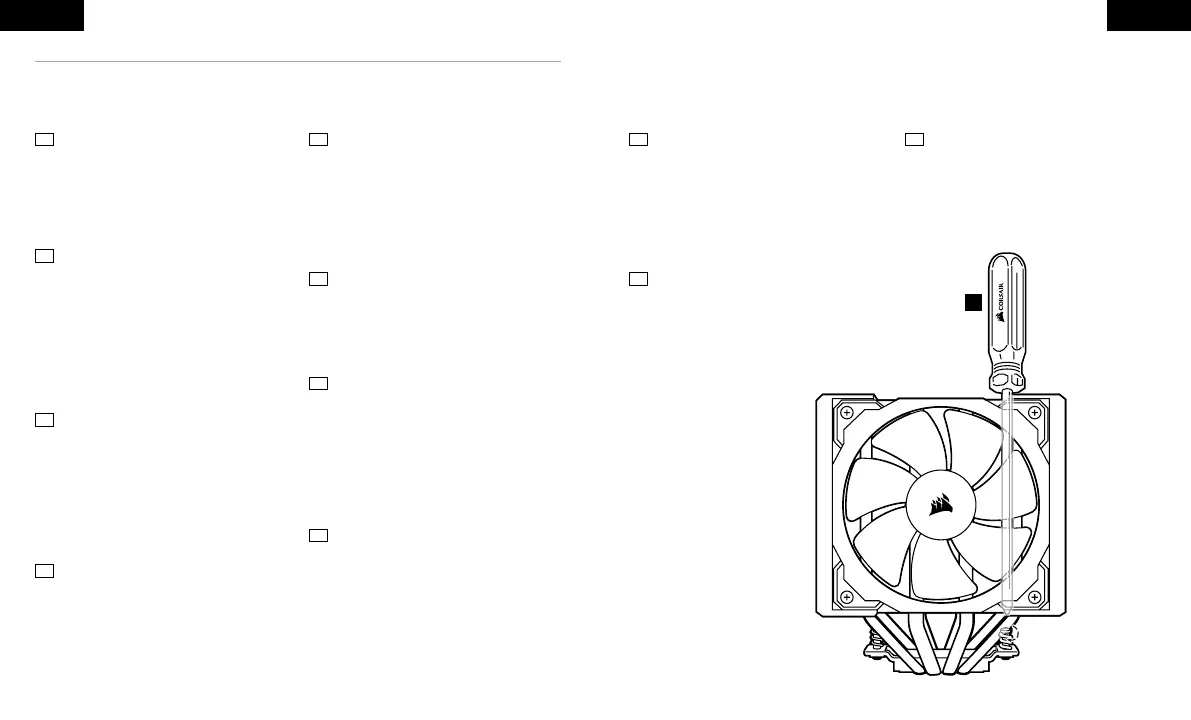
> Align cooler over the two threaded posts on
the Intel mounting bracket.
> Use the provided screwdriver to engage the
spring screws several turns, do not completely
tighten one at a time.
> Secure screws to mounting bracket,
alternating every few turns to ensure equal
mounting pressure.
> Richten Sie den Kühler über die beiden
Gewindepfosten an der Intel
Montagehalterung aus.
> Verwenden Sie den mitgelieferten
Schraubendreher, um die Federschrauben
mehrere Umdrehungen einzudrehen; ziehen
Sie sie nicht einzeln vollständig an.
> Befestigen Sie die Schrauben an der
Montagehalterung abwechselnd mit ein
paar Umdrehungen, um einen gleichmäßigen
Montagedruck zu gewährleisten, bis die
Schrauben unten herausschauen.
> Allineare il sistema di raffreddamento ai due
montanti filettati sulla staffa di montaggio
per Intel.
> Usare il cacciavite in dotazione per far
girare le viti a molla poche volte solamente
finché sono fissate stabilmente; non stringere
completamente le viti una alla volta.
> Fissare completamente le viti alla staffa di
montaggio facendo girare le viti
alternativamente per assicurare la medesima
pressione durante il montaggio.
> Alinhe o cooler com os dois suportes
aparafusados no Suporte de montagem Intel.
> Use a chave de fenda fornecida para rosquear
os parafusos de mola várias vezes, mas não
prenda um de cada vez completamente.
> Fixe os parafusos ao suporte de montagem
alternando a cada número de giros para
garantir uma pressão de montagem igual até
que os parafusos saiam pela parte inferior.
.Intel
<
<
.
<
.
> Alignez les refroidisseurs sur les deux tiges
filetées sur le support de fixation Intel.
> Utilisez le tournevis fourni pour faire faire
plusieurs tours aux vis de ressorts, ne serrez
pas entièrement une vis à la fois.
> Fixez les vis sur le support de fixation en
changeant à chaque fois de vis au bout de
quelques tours afin d’assurer que la pression
du montage est homogène, jusqu’à ce que les
vis soient totalement enfoncées.
> Lijn de koeler uit over de twee schroefpennen
op de Intel-montagebeugel.
> Gebruik de meegeleverde schroevendraaier
om de schroefveren om en om aan te draaien.
> Bevestig de schroeven aan de montagebeugel
en draai ze om en om aan zodat alle schroeven
goed vastzitten.
> Coloque el enfriador alineado sobre los
dos postes roscados que se encuentran en el
soporte de montaje Intel.
> Utilice el destornillador que se proporciona
para enroscar varias vueltas los tornillos con
resortes. No ajuste por completo un tornillo a
la vez.
> Al momento de asegurar el soporte de
montaje, ajuste los tornillos de forma alternada
un par de vueltas a la vez hasta que
sobresalgan por la parte inferior.
> Wyrównaj układ chłodzenia względem
dwóch nagwintowanych słupków na uchwycie
montażowym Intel.
> Przy użyciu śrubokrętu obróć kilka razy śruby
ze sprężyną, ale nie dokręcaj poszczególnych
śrub od razu do końca.
> Przykręć śruby do uchwytu montażowego:
kolejno dokręcaj poszczególne śruby o kilka
obrotów, aby zachować równy docisk, aż do
pełnego przykręcenia wszystkich śrub.
EN FR
DE
NL
IT
ES
PL
PT
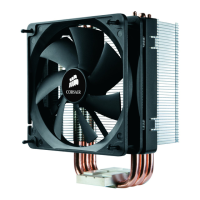
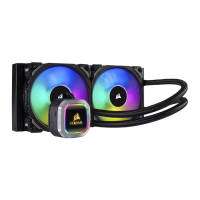
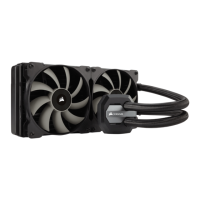
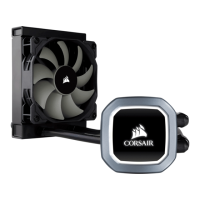
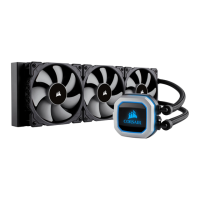
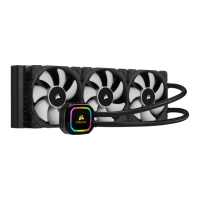
INSTALLING THE COOLER
Installation du système de refroidissement / Installation des Kühlers / De koeler installeren / Installazione del
dissipatore di calore / Instalación del enfriador / Como instalar o cooler / Montowanie układu chłodzenia /
Установка системы охлаждения / / 安装冷却器
> Выровняйте кулер по двум резьбовым штифтам
на монтажном кронштейне Intel.
> С помощью отвертки (входит в комплект
поставки) закрутите винты с пружинами на
несколько оборотов, не затягивайте полностью
каждый винт в отдельности.
> Затяните винты на монтажном кронштейне,
делая по несколько оборотов каждым винтом,
чтобы обеспечить равномерное увеличение
давления до полного вкручивания.
> 通过两个螺纹柱将散热器在 Intel 安装支架上对
齐。
> 使用随附的螺丝刀将弹簧螺丝拧几圈,不要一次
完全拧紧。
> 将各个螺丝每隔几圈交替地紧固在安装支架上,
确保相等的安装压力,直至螺丝触及底部。
ARRU
SC
 Loading...