2 3
Installing the Intel Stando Screws
Installation des vis d'entretoise Intel • Installation der Intel-Abstandhalter
Instalación de los tornillos del separador para Intel • Установка опорных винтов Intel
安装Intel隔架螺丝
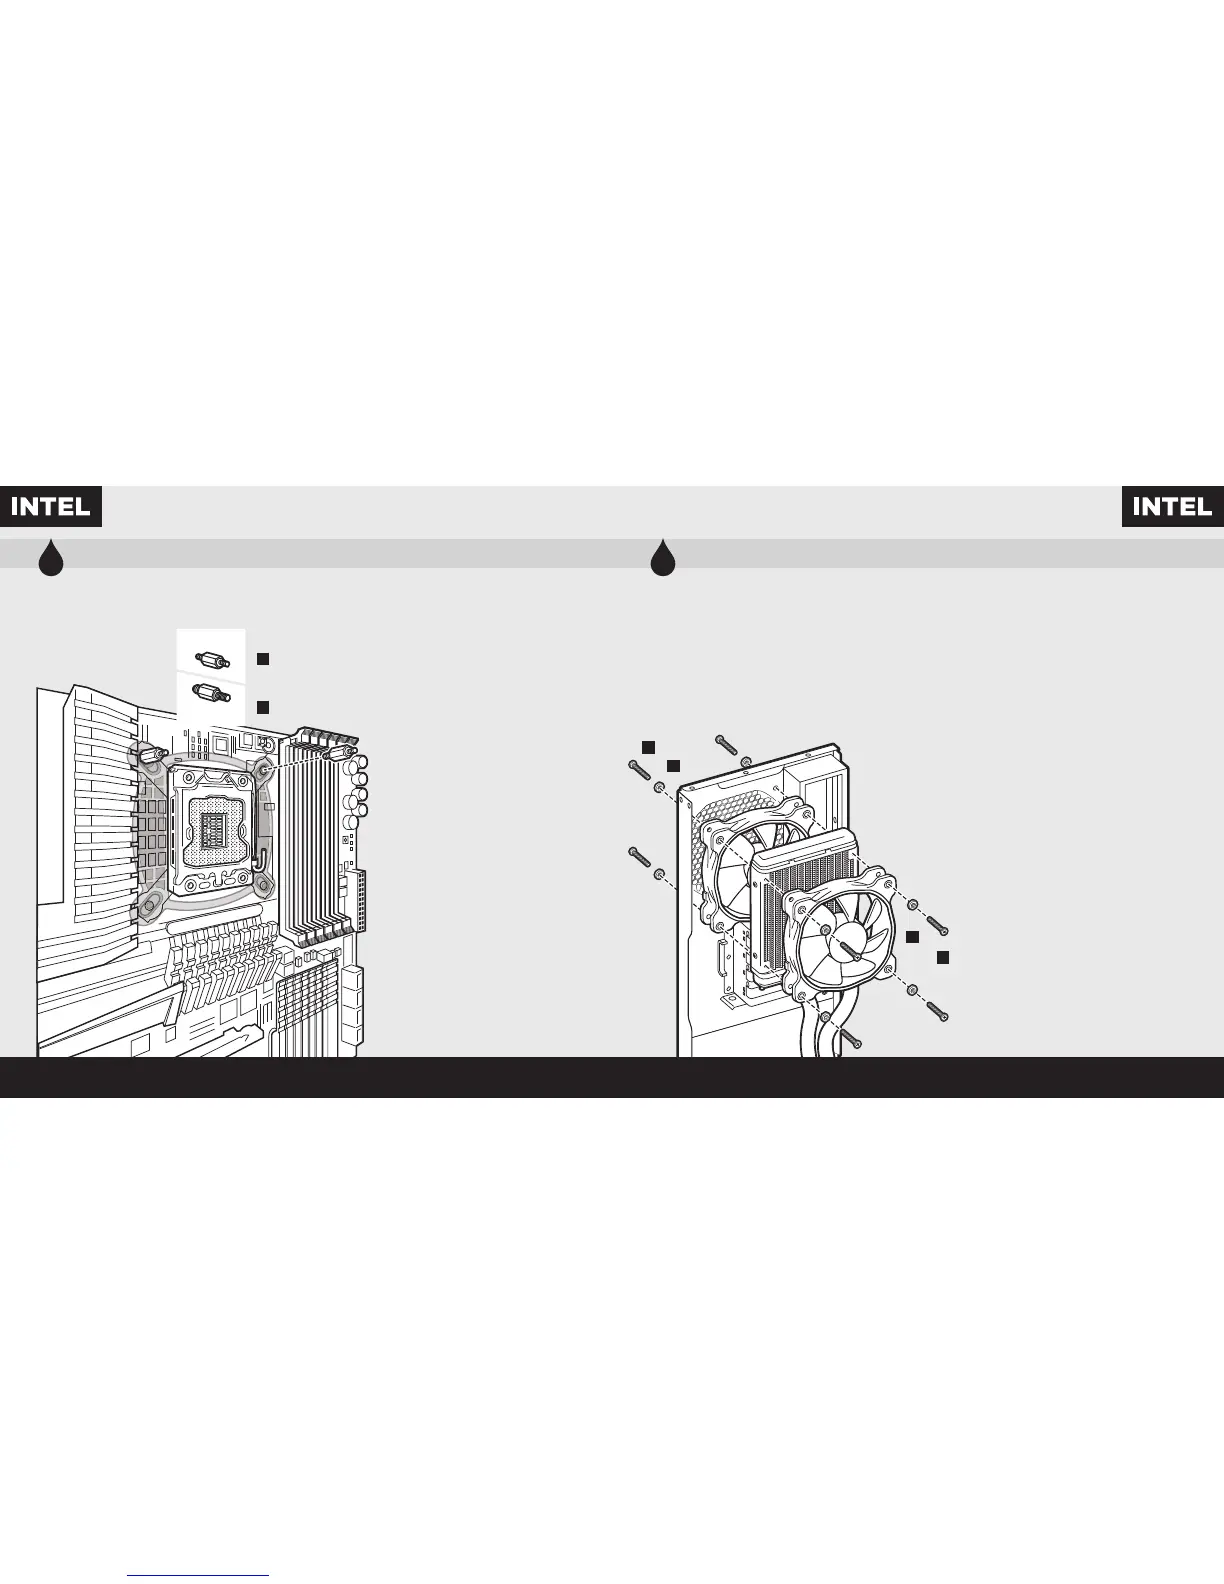
• Attach the provided Intel stando.
• Use (B) for LGA 115X / 1366, or (C)
for LGA 2011.
• Tighten all four screws until firmly secure.
• Fixez les entretoises Intel fournies.
• Utilisez-en (B) pour un socket LGA 115X / 1366
ou (C) pour un socket LGA 2011.
• Serrez les quatre vis jusqu'à ce qu'elles ne
puissent plus bouger.
• Befestigen Sie den im Lieferumfang
enthaltenen Intel-Abstandhalter.
• Verwenden Sie (B) für LGA 115X / 1366
oder (C) für LGA 2011.
• Ziehen Sie alle vier Schrauben fest.
• Conecte el separador para Intel suministrado.
• Utilice (B) para LGA 115X / 1366 o (C) para
LGA 2011.
• Apriete los cuatro tornillos hasta que estén
bien fijados.
• Прикрепите входящую в комплект опору
Intel.
• Для LGA 115X / 1366 используйте (B), а для
LGA 2011— (C).
• Хорошо затяните все четыре винта.
• 连接随附的Intel隔架。
• 为LGA 115X / 1366使用(B),或者为LGA 2011
使用(C)。
• 拧紧全部四个螺丝,直至牢牢地固定。
C
B
LGA2011
LGA 115X/1366
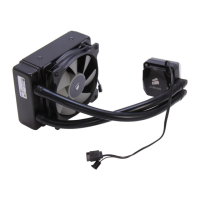
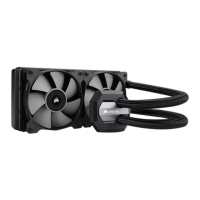
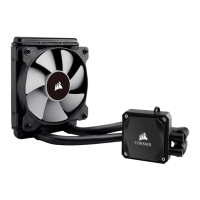
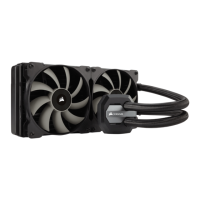
Installing the Fan and Radiator
Installation du ventilateur et du radiateur • Installation des Lüfters und Kühlers
Instalación de los ventiladores y el radiador • Установка вентилятора и радиатора
安装风扇和散热器
• Mount the radiator and fans to your case’s rear 120mm
fan opening as shown below.
Note: For best cooling performance, we recommend
mounting the fan as an air intake to your PC case.
• Fixez le radiateur et les ventilateurs à l'arrière de votre
tour, dans l'ouverture de 120mm prévue à cet eet,
comme indiqué ci-dessous.
Remarque : Pour des performances de refroidissement
optimales, nous vous recommandons d'installer le
ventilateur comme une entrée d'air sur la tour de
votre ordinateur.
• Montieren Sie den Kühler und die Lüfter an den
Önungen für die hinteren 120-mm-Lüfter, wie in der
Abbildung unten dargestellt.
Hinweis: Für die bestmögliche Kühlleistung empfehlen
wir, den Lüfter als Lufteinlass des PC-Gehäuses
zu montieren.
• Monte el radiador y los ventiladores en la abertura trasera
de 120mm para ventiladores de la carcasa como se
muestra a continuación.
Nota: Para una refrigeración óptima, recomendamos
montar los ventiladores como entrada de aire en la
carcasa del PC.
• Установите радиатор и вентиляторы к заднему
отверстию для 120mm вентиляторов вашего корпуса,
как указано ниже.
Примечание. Для более эффективного охлаждения
рекомендуется установить вентилятор таким
образом, чтобы он нагнетал воздух внутрь корпуса.
• 按下图所示,在机箱后侧120mm风扇开口处安装散热器
和风扇。
注:为了达到最佳散热性能,建议您将风扇作为进气口安
装到PC机箱上。
A
A
G
G
 Loading...