4
HG10 – N780 Edition
Warranty Information
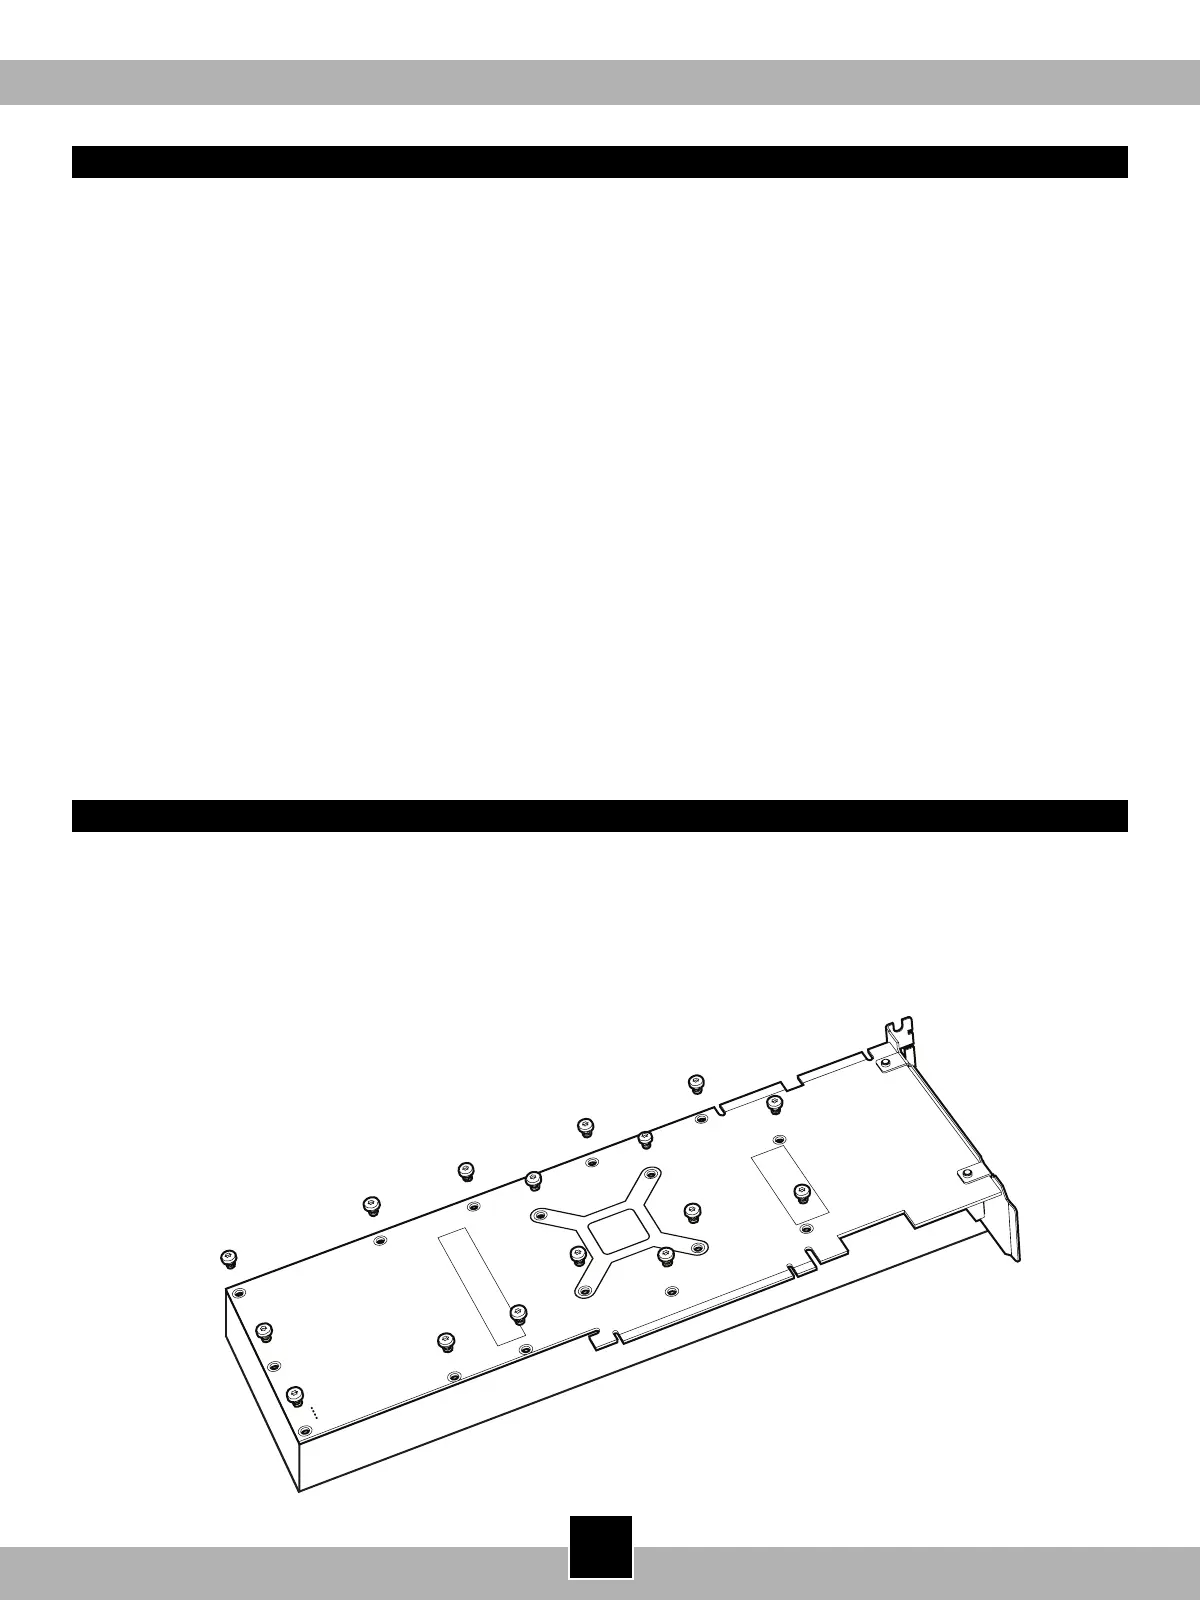
1. Remove your stock heatsink
Please refer to your GPU manufacturer’s manual regarding warranty information. Removing the stock heatsink
may void the warranty. Corsair will not be held responsible for any damaged or destroyed GPUs due to the use
of the Hydro Series HG10 GPU Liquid Cooling Bracket.
First, carefully uninstall your card’s stock heatsink by removing all of the screws on the bottom and bracket of
the card. Once the screws have been removed, gently lift the heatsink away from the card and unplug the stock
blower fan. Remove all excess thermal tape still attached to the graphics card and clean o any thermal paste
remaining on the GPU die.
We recommend using cotton balls, swabs, or pads with high purity isopropyl alcohol when cleaning the thermal
paste o the die.
 Loading...