EasyManua.ls Logo

Craftsman 139.30437 User Manual

Craftsman 139.30437
76 pages
To Next Page IconTo Next Page
Page #1 background imageLoading...
Page #1 background image
Owner's Manual/ManualDelPropietario
I:RRFI"$MRN
GARAGEDOOROPENER
ABRIDORDEPUERTADE COCHERA
ForResidentialUse0nly/S61oparausoresidencial
Model/Modelo139.30437
I"11
Z
I"11
'13
:=,
Z_
Read and follow all safety rules and operating
instructions before first use of this product.
Fastenthe manualnearthe garagedoorafter
installation.
Periodic checksofthe openerare requiredto
ensuresafe operation.
DONOTenablethe Timer-To-Closefeature if
you are installingthe garagedooropenerona
one-piecedoor.TheTimer-To-Closeisto be
usedONLYwith sectionaldoors.
oOus
Leery seguirtodaslasreglasdeseguridady las
instruccionesde operaci6nantesdeusareste
productoporprimeravez.
Guardareste manualcercade la puertade la
cochera.
Se debenrealizar revisionesperi6dicas del
abridorde puertas para asegurarsu operaci6n
segura.
NOusoel caracteristicaTemporizadorpara
cierrase el abridorde la puerta es instaladoen
unpuertade unsola pieza. Elcaracteristica
temporizadorparacierra es SOLOpara usocon
puertasseccionales.
Sears Brands Management Corporation, Hoffman Estates, IL 60179 U.S.A.
www.craftsman.com

Table of Contents

Question and Answer IconNeed help?

Do you have a question about the Craftsman 139.30437 and is the answer not in the manual?

Craftsman 139.30437 Specifications

General IconGeneral
BrandCraftsman
Model139.30437
CategoryGarage Door Opener
LanguageEnglish

Summary

Introduction and Safety

Safety Symbol and Signal Word Review

Explains the meaning of safety symbols and signal words used in the manual.

Initial Setup and Preparation

Preparing Your Garage Door

Instructions for ensuring the garage door is ready for opener installation and balance.

Tools Needed for Installation

Lists the required hand tools for assembling and installing the opener.

Planning and Inventory

Installation Planning Considerations

Identifies garage area conditions and door types for proper opener installation.

Carton and Hardware Inventory

Lists all parts included in the carton and hardware for assembly.

Assembly Process

Assemble Rail and Install Trolley

Step-by-step guide to assembling the opener's rail and trolley mechanism.

Fasten Rail to Motor Unit

Connects the assembled rail to the main motor unit securely.

Install Idler Pulley and Chain/Cable

Guides on installing the idler pulley and connecting the chain or cable.

Tighten the Chain Assembly

Instructions for properly tensioning the drive chain for optimal performance.

Installation Steps

Determine Header Bracket Location

Guides on finding the correct mounting position for the header bracket.

Install Header Bracket and Rail

Details on mounting the header bracket and attaching the opener rail.

Hang and Position the Opener Unit

Instructions for securely hanging the motor unit and positioning it correctly.

Install Door Control and Safety Sensors

Steps for wiring and mounting the door control and safety reversing sensors.

Electrical Requirements and Wiring

Covers connecting power to the opener and electrical safety guidelines.

Adjustment, Operation, and Features

Programming Buttons and Travel Limits

Explains how to program travel limits and use control panel buttons.

Safety Reversal and Protector System Testing

Procedures for testing the safety reversal system and protector system.

Key Features and Control Panel Setup

Details on using features like Timer-to-Close, lights, and motion sensor on the control panel.

Troubleshooting and Maintenance

Routine Maintenance Schedule

Recommended monthly and yearly maintenance tasks for the opener.

Diagnostic Codes and Solutions

Chart detailing diagnostic codes, symptoms, causes, and resolutions.

Parts, Accessories, and Support

Rail and Installation Parts Identification

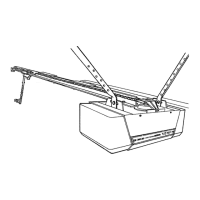
Lists and illustrates parts for rail assembly and general installation.

Motor Unit Assembly Parts

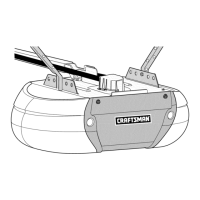
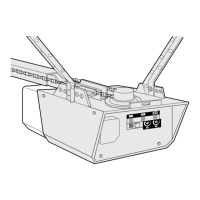
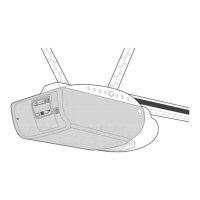
Identifies components that make up the main motor unit of the opener.

Available Accessories and Warranty Information

Details optional accessories and the product's warranty coverage.

Related product manuals