Do you have a question about the Craftsman 22299 and is the answer not in the manual?
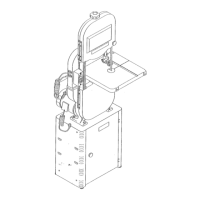
Lists and illustrates all components and hardware for the miter saw stand.
Key safety practices for operating any power tool, emphasizing awareness and caution.
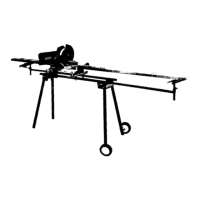
Precautions for folding, placement, stability, and securing the miter saw on the stand.
Secure wheel axle brackets to the left end of the frame using bolts and nuts.
Insert snap buttons into the top of straight and curved legs for frame attachment.
Connect the straight legs to the frame using carriage bolts, washers, and nuts.
Connect curved legs to the frame and install tube plugs at the bottom of all legs.
Secure outrigger supports and support T's using 3-point knobs.
Attach mounting hooks and clamp brackets to aluminum extrusions.
Position and secure the miter saw onto the aluminum extrusion using T-bolts.
Place saw and extrusions onto the leg/frame assembly and adjust for balance.
Attach the multi-stop to the support T for repetitive cuts or squaring.
Attach wheels to axle brackets using integrated spacers and latch pins.
Step-by-step guide for folding the stand for storage or transport.
Reverse procedure for unfolding and setting up the stand for use.