Do you have a question about the Craftsman 29281 and is the answer not in the manual?
Details the terms and conditions of the manufacturer's one-year limited warranty for the product.
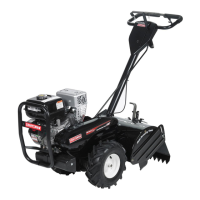
Details how to attach the lower handle tube to the power rake housing using specific brackets and bolts.
Explains how to fasten the lower handle tube to the other side of the power rake housing with specific parts.
Describes attaching the middle handle tubes to the lower handle tube using carriage bolts and wing knobs.
Guides the user on sliding the power cord holder onto the right middle handle tube.
Details attaching the upper handle tube to the middle handle tubes using carriage bolts and wing knobs.
Explains how to secure the power cord to the upper and lower handle tubes using power cord clips.
Provides specifications for using outdoor-rated extension cords with the power rake.
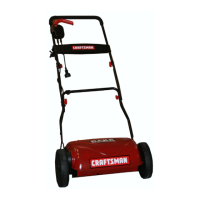
Explains how to adjust the tine height for different lawn conditions using the adjustment arm.
Provides step-by-step instructions for replacing worn or damaged tines on the dethatcher.
| Brand | Craftsman |
|---|---|
| Model | 29281 |
| Category | Lawn and Garden Equipment |
| Language | English |