Do you have a question about the Craftsman 315.218291 and is the answer not in the manual?
Guidelines for selecting and using extension cords for power tools.
Connecting the tool to the correct power supply (120V, 60Hz, AC).
Proper grounding procedures to reduce the risk of electric shock.
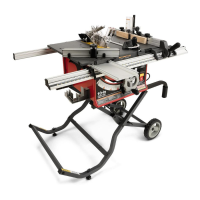
Technical details of the table saw, including blade size, tilt, and power rating.
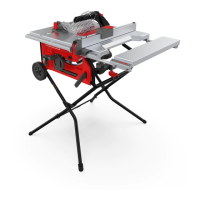
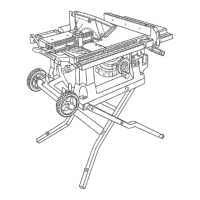
Understanding the safe operation and components of the table saw.
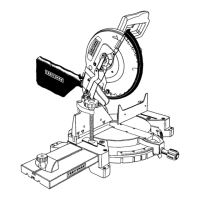
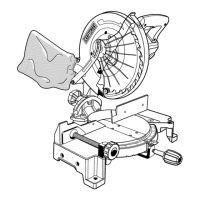
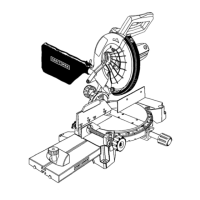
Description of the main parts and their functions on the table saw.
Explanation of the saw's power switch and its locking feature.
Information on recommended saw blades for optimal performance.
Steps for safely unpacking the table saw and checking parts.
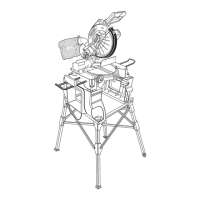
Instructions on how to set up the table saw's leg stand for use.
Procedures for stabilizing and leveling the table saw on its stand.
Guide for attaching the miter table and fence assembly to the saw.
Verifying the correct installation and alignment of the saw blade.
Attaching the safety features for blade protection and kickback prevention.
Overview of the types of cuts and tasks the table saw can perform.
Techniques and precautions to prevent dangerous workpiece kickback.
Identification and explanation of basic cuts like cross, rip, and miter cuts.
Adjusting the saw blade's cutting depth for different materials.
Setting the saw blade to achieve bevel cuts at various angles.
Step-by-step guide for performing straight 90-degree cuts across the workpiece.
Instructions for making lengthwise cuts along the grain of the wood.
Procedure for making non-through cuts to create grooves or dados.
Step-by-step instructions for safely removing and installing saw blades.
Calibrating the bevel indicator and ensuring accurate 0° and 45° stops.
Ensuring the rip fence is parallel to the saw blade for accurate cuts.
Routine care and cleaning procedures for the table saw.
Recommended lubrication points and types for smooth operation.
| Model Number | 315.218291 |
|---|---|
| Type | Table Saw |
| Motor Power | 15 Amp |
| Blade Diameter | 10 inches |
| Arbor Size | 5/8 inches |