EasyManua.ls Logo

Craftsman 315.212380 User Manual

Craftsman 315.212380
50 pages
To Next Page IconTo Next Page
Page #1 background imageLoading...
Page #1 background image
PERATOR'S MAN AL
T
10 in. COMPOUND MITER SAW WiTH LASER
DOUBLE iNSULATED
Model No.
315.212380
_ WARNING" To reduce the risk of injury,
the user must read and understand the
operator's manual before using this product.
Customer Help Line: 1-800-932-3188
Sears, Roebuck and Co., 3333 Beverly Rd., Hoffman Estates, IL 60179 USA
Visit the Craftsman web page: www.sears.com/craftsman
987000-21 5
02-08-08 (REV:04)
Save this manual for future reference
Question and Answer IconNeed help?

Do you have a question about the Craftsman 315.212380 and is the answer not in the manual?

Craftsman 315.212380 Specifications

General IconGeneral
BrandCraftsman
Model315.212380
CategorySaw
LanguageEnglish

Summary

OPERATOR'S MANUAL

WARRANTY

ONE YEAR FULL WARRANTY ON CRAFTSMAN TOOL

Details the terms and conditions of the one-year full warranty for Craftsman tools.

INTRODUCTION

INTRODUCTION

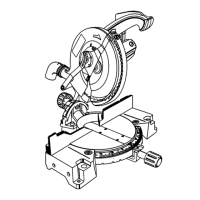
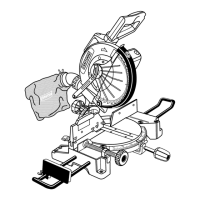
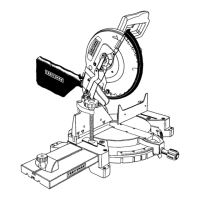
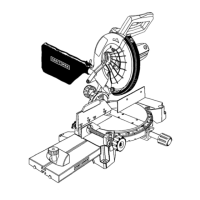
Provides a brief overview of the product's design priorities: safety, performance, and dependability.

GENERAL SAFETY RULES

SPECIFIC SAFETY RULES

SPECIFIC SAFETY RULES (CONTINUED)

SYMBOLS

SERVICE

ELECTRICAL

GLOSSARY OF TERMS

FEATURES

PRODUCT SPECIFICATIONS

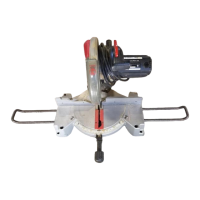
Lists the technical specifications of the compound miter saw, including dimensions and capacity.

FEATURES (CONTINUED)

KNOW YOUR COMPOUND MITER SAW

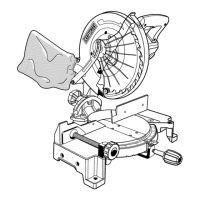
Guides the user to familiarize themselves with the tool's features and safety rules before use.

FEATURES (CONTINUED)

TRIGGER LOCK

Explains how to use a padlock to prevent unauthorized use by locking the switch.

TOOLS NEEDED

LOOSE PARTS LIST

ASSEMBLY

UNPACKING

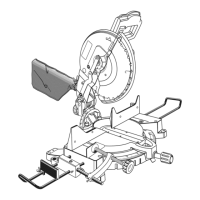
Provides instructions for safely unpacking the miter saw from its packaging.

ASSEMBLY (CONTINUED)

MOUNTING THE STAND-n-STOW™ CABINET BASE TO THE LEG STAND

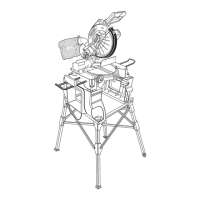
Guides the user on how to mount the cabinet base to the leg stand.

ASSEMBLY (CONTINUED)

TO MOUNT MITER SAW

Provides instructions for mounting the miter saw to the Stand-n-Stow cabinet or a workbench.

ASSEMBLY (CONTINUED)

HANDLE AND DUST INSTALLATION

Provides instructions for installing the miter lock handle, dust guide, and dust bag.

ASSEMBLY (CONTINUED)

TABLE EXTENSIONS

Guides on how to install and secure the table extensions.

ASSEMBLY (CONTINUED)

TO INSTALL BLADE

Provides step-by-step instructions for installing the saw blade.

ASSEMBLY (CONTINUED)

BLADE INSTALLATION NOTES

Contains important notes and warnings regarding blade installation and orientation.

ASSEMBLY (CONTINUED)

LASER GUIDE MOUNTING AND ALIGNMENT

Guides on how to mount and align the laser guide for precise cutting.

ASSEMBLY (CONTINUED)

SQUARING THE MITER TABLE TO THE FENCE

Details the procedure for aligning the miter table precisely with the fence.

ASSEMBLY (CONTINUED)

SQUARING THE SAW BLADE TO THE FENCE

Details the process for ensuring the saw blade is square to the fence.

ASSEMBLY (CONTINUED)

SQUARING THE BLADE TO THE MITER TABLE

Outlines the process for aligning the saw blade perpendicular to the miter table.

OPERATION

APPLICATIONS

Lists various applications for the compound miter saw, such as crosscutting and bevel cutting.

OPERATION (CONTINUED)

TO MITER CUT

Details the procedure for making miter cuts, including angle settings and workpiece placement.

TO BEVEL CUT

Guides on performing bevel cuts, including angle settings and workpiece alignment.

OPERATION (CONTINUED)

TO COMPOUND MITER CUT

Explains how to make compound miter cuts using both miter and bevel angles.

OPERATION (CONTINUED)

SUPPORT LONG WORKPIECES

Advises on using supports for long workpieces to ensure stability during cutting.

OPERATION (CONTINUED)

CUTTING COMPOUND MITERS

Provides a chart and guidance for setting angles for compound miter cuts.

OPERATION (CONTINUED)

CUTTING CROWN MOLDING

Explains how to cut crown molding accurately using compound miter techniques.

OPERATION (CONTINUED)

CUTTING WARPED MATERIAL

Provides instructions for safely cutting warped or bowed material.

ADJUSTMENTS

DEPTH STOP ADJUSTMENTS

Provides instructions on how to adjust the depth stop for maximum cutting capacity.

ADJUSTMENTS (CONTINUED)

POSITIVE STOP ADJUSTMENTS

Explains how to adjust positive stops for accurate angle settings.

ADJUSTING THE LASER GUIDE

Guides on how to adjust the laser guide for precise cutting alignment.

MAINTENANCE

BRUSH REPLACEMENT

Provides instructions for checking and replacing the tool's carbon brushes.

MAINTENANCE (CONTINUED)

CHANGING THE BATTERIES

Details the procedure for replacing the button cell batteries for the laser guide.

FIGURE A

PARTS LIST - FIGURE A

FIGURE B

PARTS LIST - FIGURE B

FIGURE C

PARTS LIST - FIGURE C

FIGURE D

PARTS LIST - FIGURE D

FIGURE E

PARTS LIST - FIGURE E

FIGURE F

PARTS LIST - FIGURE F

NOTES

SEARS SERVICES

Related product manuals