ENGLISH
6
Fig.H
11
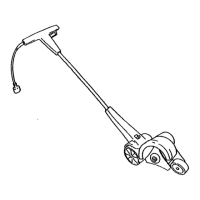
Blade (Fig. I)
DANGER: Unplug tool. Wait for blade to
come to completestop.
The blade
15
, two spacers
16
and hex head nut
17
with
conical washer should be attached to your edger in the
order shown. Please check that the blade has been properly
mounted before using your edger. The edger blade has two
wear indicators that show when blade needs to be replaced.
When the blade wears to the small hole at each end of the
blade it will give only 1/4 " (6 mm) depth of cut and should
bereplaced.
NOTE: To increase blade life, keep initial cutting depth at
minimum and increase depth setting as bladewears.
Blade Replacement
DANGER: Unplug tool. Wait for blade to
come to completestop.
DANGER: Blade rotates momentarily after
the switch isreleased.
1. Loosen the hex head nut
17
(9/16 "). Use a 1 " wrench
on the outer spacer
16
, or a 2 " x 4 " wood block
between the blade
15
and guard if necessary to hold
the blade fromturning.
2. Ensure inner spacer is on shaft—”flats” in spacer hole
must engage with “flats” onshaft.
3. Holding the spacer in place, put the blade on the shaft,
as shown (FigureI).
4. Hold the blade against the spacer and install the outer
spacer, again aligning the flats in the spacer with the
flats on theshaft.
5. Install the hex head nut and conical washer, then
tighten with awrench.
NOTE: Replace hex head nut and conical washer only
with identical replacementpart.
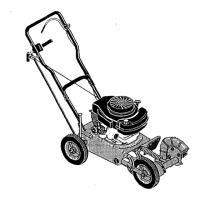
Proper Hand Position (Fig. J)
WARNING: To reduce the risk of serious
personal injury, ALWAYS use proper hand position
as shown.
WARNING: To reduce the risk of serious
personal injury, ALWAYS hold securely in anticipation of
a suddenreaction.
Proper hand position requires one hand on the main handle
8
and one hand on the auxilliary handle
6
.
OPERATION
WARNING: To reduce the risk of
serious personal injury, turn unit off and
disconnect it from power source before making
any adjustments or removing/installing
attachments or accessories. An accidental start-up
can causeinjury.
Fig.I
15
16
17
Fig.J
8
6
Switch (Fig. A)
To turn tool ON, squeeze the trigger switch
7
. The trigger
has been designed so that it is very easy to hold in the ON
position. To turn tool OFF, release thetrigger.

 Loading...