Do you have a question about the Creality 3D Print Mill and is the answer not in the manual?
General notes and advice for using the 3D printer.
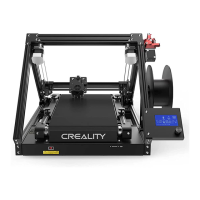
Step-by-step instructions for assembling the 3D printer.
Procedure for loading filament into the printer.
Instructions for initiating the printing process.
Key safety guidelines to prevent injury and property damage during operation.
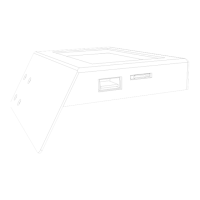
Secure profile supports 1 and 2 to the machine's bottom assembly using M5x12 screws.
Attach the X/Y axis belt assembly using M5x45 socket head cap screws and spring washers.
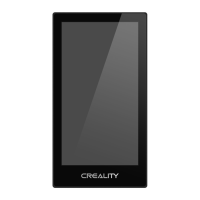
Attach the display assembly using M5x8 screws and M5 T-nuts.
Connect the display cable and the Y-axis limit line for proper operation.
Insert the Teflon tube and blue wire clamp into the pneumatic connector.
Connect the broken material detection line as illustrated.
Connect the power cord, ensuring correct voltage and avoiding live connections.
Position nozzle to contact belt, then lock X-axis sliding block and limit switches.
Adjust Y-axis end-stop screw for precise nozzle-to-belt alignment after homing.
Fine-tune leveling nuts to correct any gaps or excessive contact between nozzle and belt.
Visual cues indicating correct and incorrect nozzle-platform spacing.
Instructions for preheating the printer using the user interface, Method 1.
Instructions for preheating the printer using the user interface, Method 2.
Hang the filament on the filament holder while waiting for the temperature to rise.
Ensure the filament end is placed correctly for smoother printing.
Press extruder spring and insert filament into the charging hole and extruder hole.
Tips on how to replace filament after preheating the nozzle.
Instructions for installing the CrealityBelt slicing software.
Steps to select language, add model, and configure printer settings in the software.
Open and select the desired file from the software.
Generate G-code and save it to the TF card.
Insert memory card, select file from menu, and initiate printing.
Guidelines for naming files using Latin letters or numbers.
Troubleshooting steps for TF card errors and incorrect file names.
Resolving issues related to slicing, models, and software.
Steps for checking limit switches, motors, bed, nozzle, and wiring.
Troubleshooting printing problems, alignment, spray, and filament feeding.
| Print Technology | FDM (Fused Deposition Modeling) |
|---|---|
| Layer Resolution | 0.1-0.4mm |
| Nozzle Diameter | 0.4mm |
| Filament Diameter | 1.75mm |
| Connectivity | USB, SD Card |
| Supported Materials | PLA, TPU, PETG |
| Power Supply | 24V |