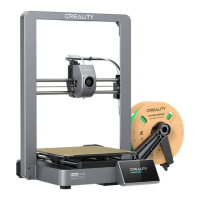
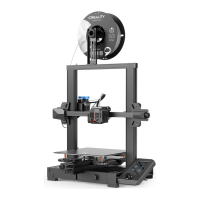
Do you have a question about the Creality Ender-3 S1 and is the answer not in the manual?
Details the various ports and connectors on the mainboard for printer components and peripherals.
Explains the specific interfaces related to the printer's hotend, including thermistor and extrusion motor connections.
Outlines the connections and pinouts for the Z-axis adapter, including sensor and motor interfaces.
Instructions for mounting the nozzle assembly and attaching the wire clamp to the X-axis motor.
Step-by-step guide for assembling the gantry frame onto the base, including securing with screws.
Details how to attach the display bracket and connect the display unit to the printer frame.
Covers the process of installing the material rack and filament sensor onto the printer structure.
Illustrates the connections for the X, Z axis motor interface and the X axis limit switch.
Guides users through the auto-leveling sequence and adjusting Z-offset for proper nozzle-to-bed distance.
Explains how to reset printer parameters and adjust Z-offset manually for auxiliary leveling.
Details the process of adjusting the bed height at four corners for a level printing surface.
Step-by-step guide on how to load new filament and replace existing filament during or before printing.
Instructions for downloading, installing, and configuring the Creality Slicer software for preparing print files.
Guide on selecting the correct printer model and entering machine settings in the slicer software.
Steps for generating the G-code file and saving it onto the memory card for printing.
| Build Volume | 220 x 220 x 270 mm |
|---|---|
| Filament Diameter | 1.75 mm |
| Nozzle Diameter | 0.4 mm |
| Supported Filaments | PLA, ABS, PETG, TPU |
| Connectivity | USB, SD card |
| Bed Leveling | Automatic |
| Extruder Type | Direct Drive |
| Nozzle Temperature | Up to 260°C |
| Heated Bed Temperature | Up to 100°C |
| Frame Material | Aluminum |
| Max Nozzle Temperature | 260°C |
| Power Supply | 350W |
| Machine Dimensions | 487 x 453 x 622 mm |
| Machine Weight | 9.1 kg |
| Supported Materials | PLA, ABS, PETG, TPU |
| Printing Speed | 150 mm/s |
| Display | LCD Screen |
