17 • IV-CAMA3-20-N-W-1B, IV-CAMA3-20-N-SLVR-1B, IV-CAMA3-20-W-1B, and IV-CAMA3-20-
SLVR-1B
Product Manual — Doc.
9323C
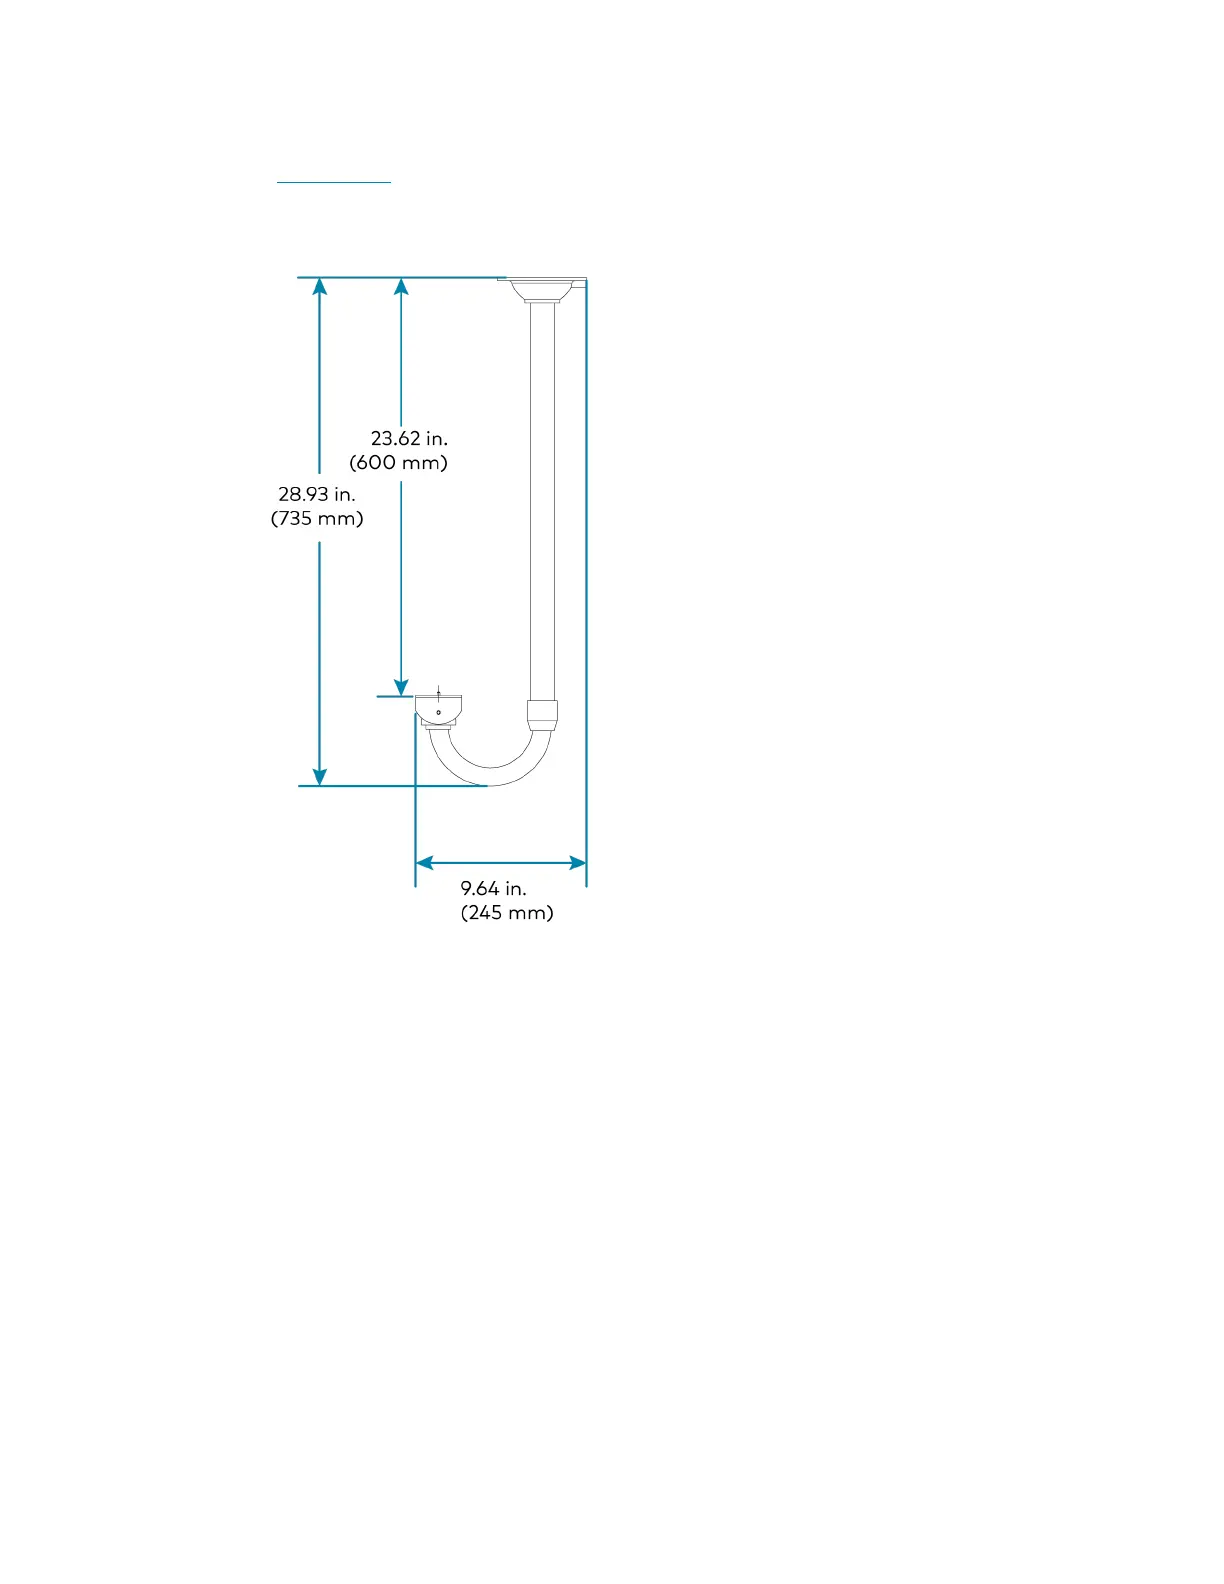
J Ceiling Mount
Use the 1Beyond J-mount kit (sold separately) to suspend the camera from the ceiling to achieve
optimum distance from the presentation area.
To mount the camera:
1. Using the following diagram, position the four installation holes on the mount and drill four holes
in the ceiling.
2. Attach the ceiling mounted bracket onto the ceiling using four screws (not included). Choose the
length of the screws in accordance with building specifications.
3. Screw the J-mount into the ceiling mounted bracket.
4. Use the included screw to fix the camera on the J-mount.
 Loading...