Install the Thermostat
NOTE: Installers should have a strong working knowledge of HVAC
systems.
The thermostat can be mounted directly to drywall, a low voltage
mounting bracket (not included), or to an electrical box (not included)
for new or old work applications.
Determine the Mounting Location
Install the thermostat away from direct sunlight, drafts, doorways,
skylights, and windows. Also, make sure that the thermostat is
conveniently located for control access and setup.
Follow the mounting requirements below:
l
Mount 60 in. (~1.6 m) above the finished floor; this is an HVAC
industry standard.
l
On each side of the thermostat, allow at least 12 in. of lateral
clearance to any wall features, such as corners or molding.
l
Do not mount on an exterior wall.
A cutout template is included and a mounting depth of 1.50 in. (38 mm)
is required.
Equipment Required
The following tools and hardware are required for mounting the
thermostat.
New Electrical Box or Low Voltage Mounting Bracket
Equipment included:
l
Mounting screws
l
Washers (not needed for low voltage mounting bracket)
Equipment notincluded:
l
Electrical box or low voltage mounting bracket
l
Utility knife
l
Level
l
Stud finder
l
Phillips screwdriver
Existing Electrical Box or Low Voltage Mounting Bracket
Equipment included:
l
Mounting screws
l
Washers (not needed for low voltage mounting bracket)
Equipment notincluded:
Phillips screwdriver
2
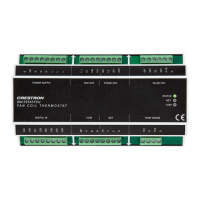
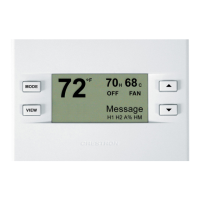
HZ-THSTAT
QuickStart
Horizon® Wireless Thermostat

 Loading...