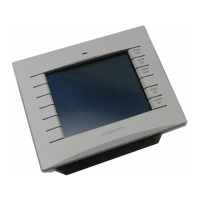
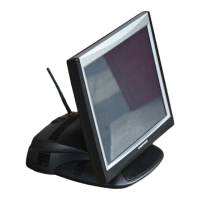
Isys™ 5.7” Tilt Touchpanel Crestron TPS-6
The IP TABLE section at the bottom of the SETUP MODE menu will show all
current IP Table entries and provide UP and DN buttons which allow you to scroll
through the list.
To create a new IP table entry or to edit an existing one, touch the rectangle within
the IP TABLE section of the menu to enter the IP TABLE EDITOR.
IP TABLE EDITOR (IP ADDRESS)
The IP TABLE EDITOR offers the option of entering the information as an IP
address (as shown in the illustration above) or as a hostname (as shown in the
following illustration). Simply touch IP ADDRESS or HOSTNAME to switch
between the two methods.
IP TABLE EDITOR (HOSTNAME)
To add an IP address (or hostname), use the DN and UP buttons to select the CIP ID.
Then use the numeric keypad on the screen for IP address entry or touch
HOSTNAME to switch to the alphanumeric keypad. When both the CIP ID and IP
address (or hostname) have been entered, touch ADD IP to add the entry to the list.
To remove an IP address (or hostname), select the appropriate CIP ID and type in the
IP address (or hostname), then touch REMOVE IP.
To clear the entry area just above the keypad on the screen, touch Clear IP/Host.
14 • Isys™ 5.7” Tilt Touchpanel: TPS-6 Operations Guide – DOC. 6945A
 Loading...