Touch Screen IPAddress
To access the web configuration interface using the touch screen IP
address:
1. Ensure that the touch screen is connected to the network.
2. Use the Device Discovery tool in Crestron Toolbox™ software to
discover the touch screen and its IP address on the network.
3. Enter the touch screen IPaddressintoawebbrowser.
XiOCloudService
The XiOCloud®service allows supported devices across an enterprise to
be managed and configured from one central and secure location in the
cloud. Supported Crestron® devices are configured to connect to the
service out of the box.
Use of the service requires a registered XiOCloudaccount. To register
for an XiOCloudaccount, refer to
www.crestron.com/Support/Tools/Licensing-Registration/XiO-Cloud-
Registration-Room-Licenses.
NOTE:Thedevice maybe disconnected from the XiOCloud service by
navigating to the Cloud Services tab in CrestronToolbox™software
(Functions > Device Info > Cloud Services). For details, refer to the
CrestronToolboxhelpfile.
To connect the device to the XiOCloudservice:
1. Record the MAC address and serial number that are labeled on the
shipping box or the device. The MAC address and serial number are
required to add the device to the XiOCloudservice.
NOTE:Ifthe device has multiple MAC addresses, use the MAC
address that is providing the primary connection back to the
network. For most devices, the Ethernet MAC address should be
used. However, if your device is connecting to the network over a
different protocol (such as Wi-Fi® communications), use the
MAC address for that protocol instead.
2. Log in to your XiOCloudaccount at portal.crestron.io.
3. Claim the device to the XiOCloudserviceasdescribedinthe
XiOCloudUserGuide.
Select the device from the cloud interface to view its status and
settings. The device may now also be managed and assigned to a group
or room. For more information, refer to the XiOCloudUserGuide.
NOTE:ForXiOCloudaccounts with room-based licenses, the device
must be added to a licensed room before its status and settings can be
viewed.
Set the Time Zone
The time zone must be set on the touch screen prior to selecting a
scheduling application.
To set the time zone:
1. Access the web configuration interface using either the touch screen
IP address or the XiO Cloud service.
2. Select the Settings tab.
3. Navigate to System Setup >Time/Date.
4. Select the time zone where the touch screen will be used from the
Time Zone drop-down menu.
5. Click Save Changes on the top right of the screen.
6
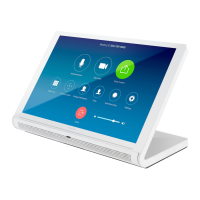
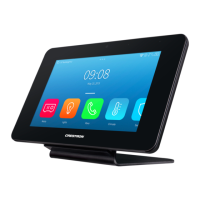
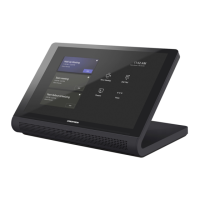
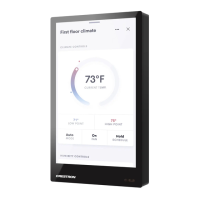
TSS-770 and TSS-1070
QuickStart
7 in. and 10.1 in. Room Scheduling Touch Screens

 Loading...