700 Series Installation Instructions TES1589 Iss.B Page 7
FITTING THE MONITOR
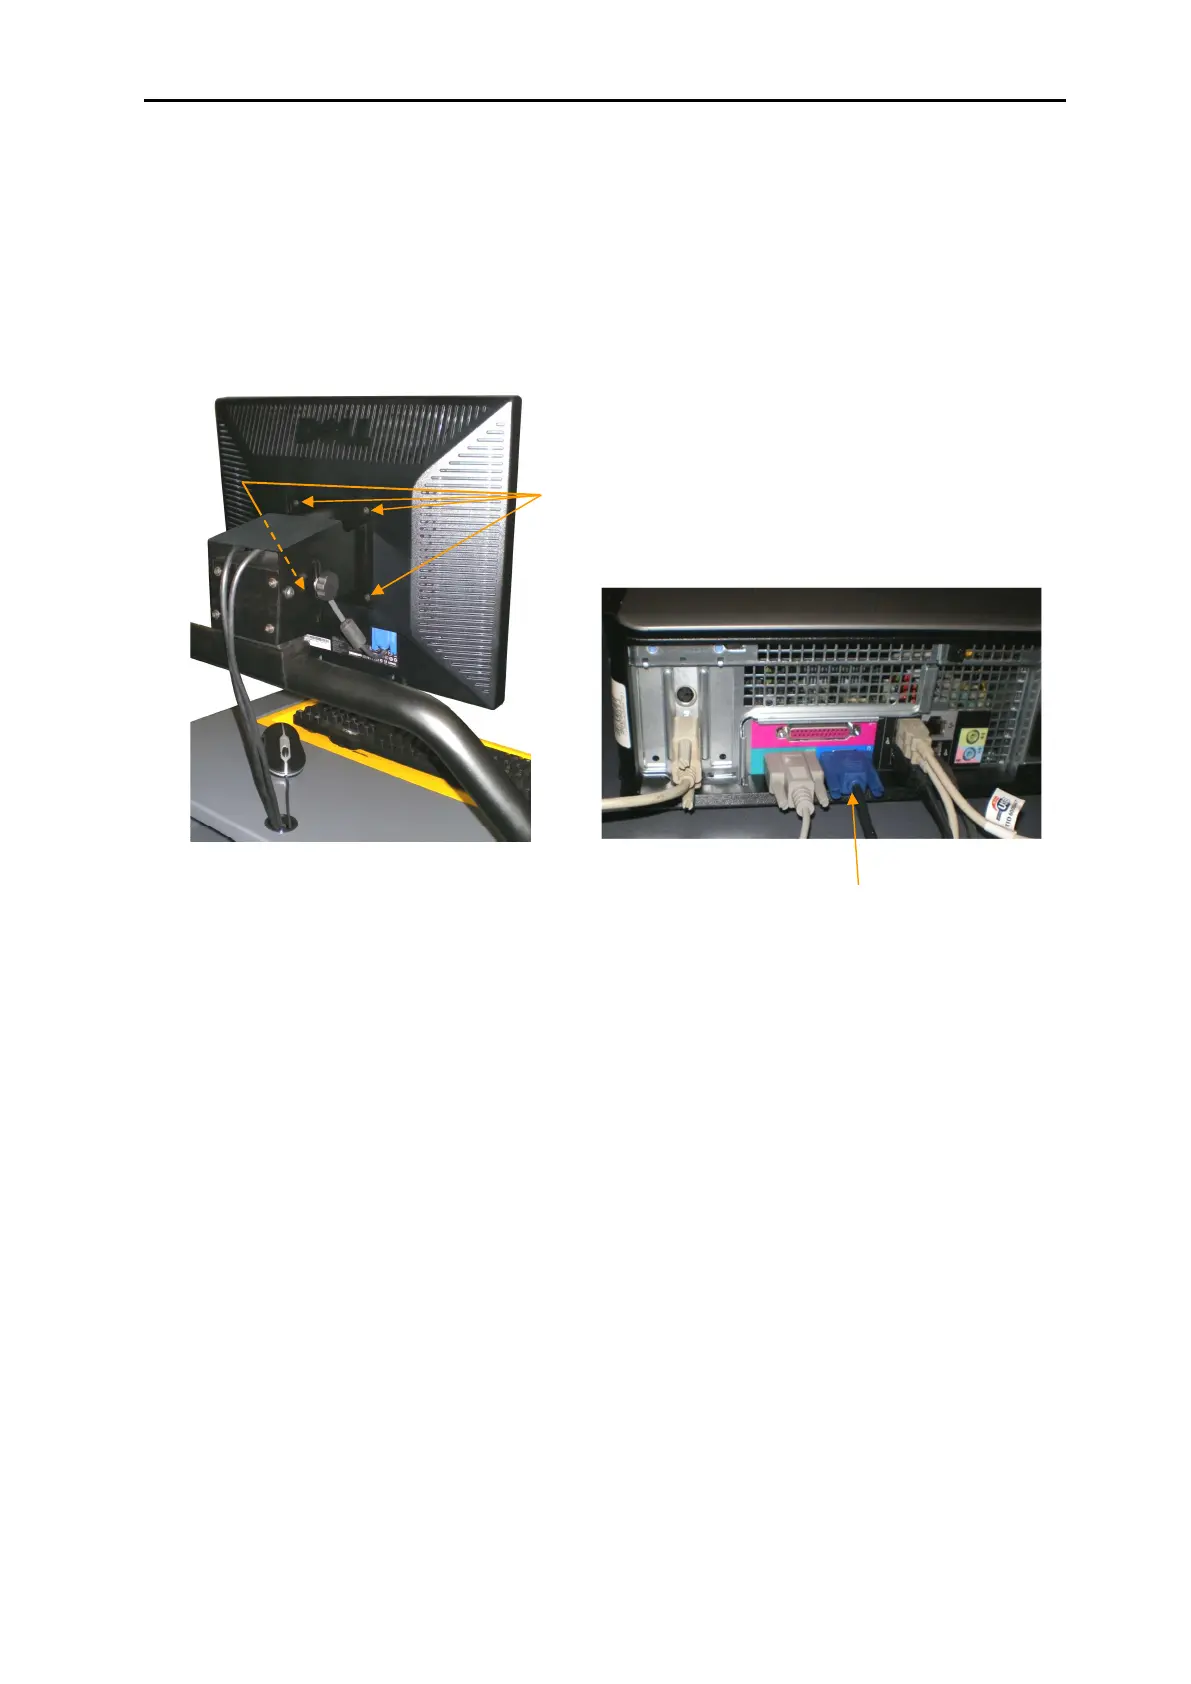
3. Unpack the monitor and remove the four screws on the monitor mounting panel.
Assemble the monitor to the bar mounted monitor bracket and secure using the four
screws as shown in Fig. 4a. Fit the monitor signal lead and feed this through the
monitor bracket, adjust tilt of screen as required and tighten in position.
4. Remove the plastic grommet from the hole in the trolley immediately behind the
Monitor. Feed the monitor signal lead through the grommet from the top and then
down through the hole in the metalwork. The monitor mains lead is already fitted to
the trolley and the free end will be lying with the PC. Feed this up through the
metalwork and then through the grommet from the bottom. Replace the grommet.
5. Feed the mains cable through the monitor bracket and plug the lead into the socket
on the back of the Monitor. Then plug the signal lead into the 15 way high density ‘D’
type connector on the computer as shown in Fig. 4b Tighten the screw locks finger
tight. Ensure that there is enough slack left on the cables to allow the Monitor to
swivel up and down.
6. Carefully bundle all cables neatly into the rear of the unit, replace the back panel and
secure with the six earth nib Philips screws
Fig. 4a
Remove the four
secure the monitor to the
bracket assembly.
Fig. 4b
Monitor signal lead
 Loading...