5
-Pre-Installation Check List-
A water test should always be performed in order to determine total water hardness (in gpg) and total dissolved
iron (in parts per million - ppm). This is critical for proper equipment selection, sizing and for determining the pro-
gram for regeneration frequency. If heavy concentrations of iron (above 5 ppm), iron coloration, iron bacteria or
sediment are present, ltration prior to the softener will most generally be required. Certain states may require a
licensed plumber for installation.
Note : Flexible water supply connectors and exible drain line tubing may not be allowed in you locale. Please
check with local plumbing code ofcials prior to installation.
Installation Requirements
• A level oor position ahead of piping into water heater.
• Unit must be installed at least 10’ ahead of the inlet to a water heater to prevent damage due to back-up of hot
water.
• DO NOT install the unit in an area of direct sunlight or where freezing temperatures may occur! (See Installation
Diagrams for proper placement and plumbing connections.)
• A level oor position ahead of piping into water heater.
• Unit must be installed at least 10’ ahead of the inlet to a water heater to prevent damage due to back-up of hot
water.
• DO NOT install the unit in an area of direct sunlight or where freezing temperatures may occur!
(See Installation Diagrams for proper placement and plumbing connections.)
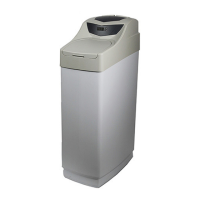
-Major System Components-
1. Cabinet Tank - This tank holds the salt that is added to the softener. This salt is dissolved with water to form a
brine solution used in the softener regeneration process.
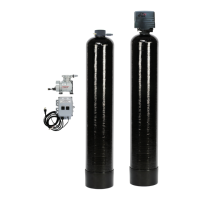
2. Resin Tank - This tank contains the ion exchange resin media. Water ows through the resin tank under pressure
to come into contact with the resin for water softening.
3. Control Valve - The valve directs water through the resin tank for water softening and controls the ow of water /
brine for the regeneration process.
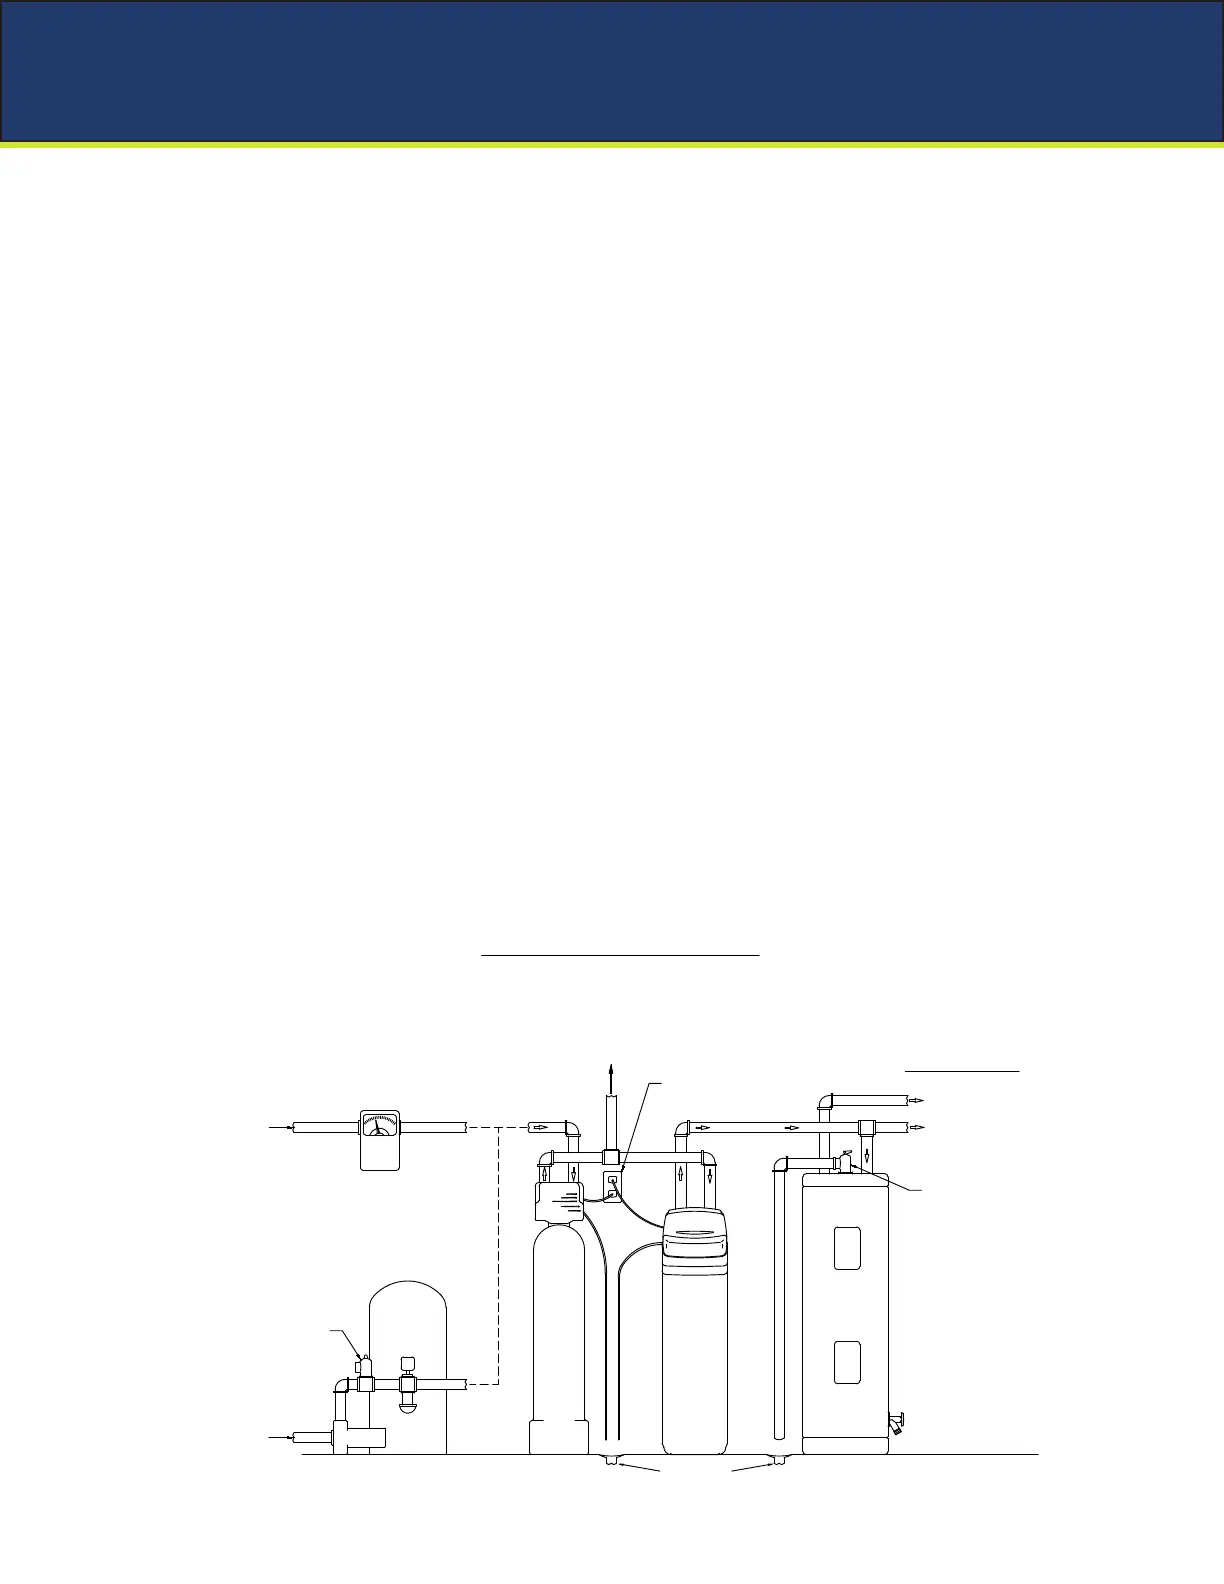
Installation
CITY WATER
INLET
WELL
INLET
RELIEF VALVE
MUST BE
INSTALLED
PRESSURE
TANK
WATER
METER
FILTER
(If req.)
WATER
HEATER
PRESSURE RELIEF VALVE
(To drain)
PUMP
HARD WATER
TO OUTSIDE FAUCETS
HOT SOFT WATER
COLD SOFT WATER
SERVICE
(Incoming Water from Left-Side)
GROUNDED & UNSWITCHED
115- VOLT OUTLET
DRAIN LINES
REQUIRED
4" AIR GAP
CABINET
SOFTENER