48 49
D. Test Wire Position
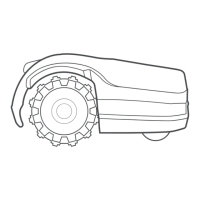
If the UO52 (“Adjust wire”) message is displayed and the
mower stops and drives backwards, move the wire slightly
inward and press OK to continue the wire test.
When you see the message U003 (“Test wire
position”), it means your mower is ready to
test the Perimeter Wire installation.
Press OK.
The mower will start driving. Walk
alongside it as it tours the perimeter.
At the end of a successful tour, the mower will enter the Base
Station and the setup process will be completed.
E. Finish Installing the Perimeter Wire
Insert the remaining pegs along the Perimeter Wire, approx. 1 m (3.3
ft) apart. Hammer the power cord into the ground so it’s not a tripping
hazard.
TIPS
(Not applicable to models for lawns under 800 m
2
/ 8600 ft
2
)
• When the mower completes its operation, it drives to the
Base Station at a dynamic oset from the Perimeter Wire
(“Near Wire Follow” mode). This is in order to prevent wheel
tracks along the same path.
• After completing the Wire Position Test, it is recommended
to test the mower in Near Wire Follow mode to make sure it
works smoothly.
• Press ‘Settings’ for more than 3 seconds and use menu
P006 to initiate the test.
• If the mower fails to complete the Near Wire Follow test
smoothly, reduce the maximal allowed oset from the wire
using menu P004

 Loading...