14
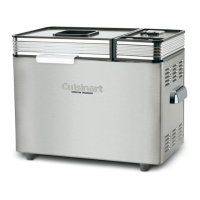
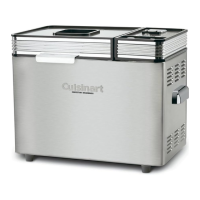
CARING FOR YOUR BREAD MAKER
Keep your bread maker clean at all times.
Caution: Do not use metal utensils with the bread maker, as they will
damage the non-stick pan and other parts.
Don’t worry if the colour of the baking pan changes over time. The
colour change is a result of steam and other moisture and does not
affect the machine’s performance.
If you have trouble removing the kneading paddle from bread pan,
place warm water in the bread pan for 10 to 15 minutes – this will
loosen the blade.
TIPS AND HINTS
For higher altitudes – Flour is drier at higher altitude levels and will
absorb more liquid – use less our in the recipe. Pay attention to the
dough as it mixes and kneads – if it appears dry, add more of the
same liquid used in the recipe.
Doughs prepared and baked at higher altitude levels will tend to rise
faster – use less yeast, a bit more salt, and a little less sugar to help
counteract this phenomenon.
Bread rises higher in high altitudes – try reducing the recommended
amount of yeast by ¼–½ teaspoon. If bread still rises too high, reduce
yeast by another ¼ teaspoon the next time you try the recipe.
Adding a little more salt will retard the yeast action and promote
slower, more even rising.
Add vital gluten or lecithin. This will help to stabilize the structure of
the bread and make it less likely to fall or collapse. Lecithin can be
purchased in most health food stores or natural food markets.
Usage
Bread machine baking is affected by the temperature and humidity
of the day – this is often the cause of varied dough consistency and
results. On a humid day, the best method of measuring is to weigh the
our. A cup of white bread our weighs 5 ounces/140 grams. A cup of
whole wheat our weighs 4 ounces/120 grams.
If you do not have a scale (electronic works best for measuring our),
let your eye and hands guide you in adding more our or liquid as
necessary. Dough should be smooth and not cling to ngers when
touched. Additional amounts of our or liquid should be added 1
teaspoon (5 ml) at a time.
Giving the kneading paddle a light coating with a nonstick cooking
spray, shortening or vegetable oil may make it easier to remove if it
bakes into a loaf.
Important: If using perishable fresh ingredients such as dairy prod-
ucts, eggs, chopped fruits or vegetables, do not use the Delay Start
Timer feature. Some dairy products and eggs may be substituted by
using dried ingredients such as dried egg powders, dried buttermilk,
or dry milk. Add the water to the machine rst, then add the dried
substitution after the our to keep them separate. If you substitute
these dried ingredients and have no other fresh, perishable ingredi-
ents in your bread recipe, you may then use the Delay Start Timer
feature.
Use top quality ingredients to make your bread-machine breads.
Measure all ingredients accurately and have them ready before add-
ing to bread pan. This is known as mise en place and helps to ensure
that you measure each ingredient correctly, and do not nd that you
get down to the last (or nearly last) ingredient and nd that it is not
available in the pantry.
When measuring ingredients use liquid measuring utensils for liquids
and dry measures for dry ingredients. Stir all “ours” rst, spoon into
dry measure and level off using the at side of a knife or spatula – do
not pack down. See detailed instructions on page 13.
Add ingredients to the pan in this order – liquids, melted or softened
butter, salt and sugars (including honey, molasses, barley syrup),
herbs, ours, dried milk, vital wheat gluten (if using), yeast. Do not