14 Culligan® CSM Series Softeners
14 Cat. No. 01016370
Make certain to follow each step carefully to insure that the softener runs trouble free. Also, be sure all plumbing practices
conform to local plumbing codes.
LOCATE SOFTENER
1. Check inside the tank to make sure that all of the laterals are tight. (Figure 10)
CAUTION! Do Not Proceed if any laterals are broken. Consult Culligan for assistance. If any are
loose, hand tighten only. Do not use a wrench.
2. If the tank drain valve option kit was purchased, install it at this time.
3. Select a position near a floor drain that has adequate carrying capacity to
handle the softener’s backwash flow rate. Refer to section, Performance
Specifications for specific backwash flow rate.
4. Erect the resin tank on a level firm foundation, preferably concrete. The valve
and piping normally face the front for easy access.
5. Level the system.
INSTALL PIPING
1. Depending on the type of softener system (i.e. single, twin, etc.) and instal-
lation parameters, required pipe lengths and piping accessories will vary.
Sample layout drawings (Figure 7, Figure 8, and Figure 9 on page 13) are
provided to aid the installation. If the layout drawings are not sufficient for
your application, consult the equipment provider for specific installation guide-
lines.
The use of unions on the inlet and outlet isolation valves is recommended to facilitate
service of the softener unit. It is recommended that a full flow by-pass line be provided.
NOTE All pipe fittings and assemblies should follow good plumbing practices
for installation.
They are:
• Check the threads and make certain that they are clean and free of foreign matter.
• Fittings must be free of cracks or chips.
• Prepare threads with either a pipe dope sealant or Teflon tape.
• Make certain that the fittings are not cross threaded during the assembly process.
• Do not over-tighten fitting or threaded pipe being inserted into a cast or forged part.
CAUTION! Never connect two dissimilar metals together when plumb-
ing the valve to the piping system. The use of unions on
copper or galvanized steel pipe followed by schedule 80
PVC or CPVC short nipples to attach the piping to the con-
trol valve is strongly recommended to reduce the potential
of corrosion by galvanic reaction.
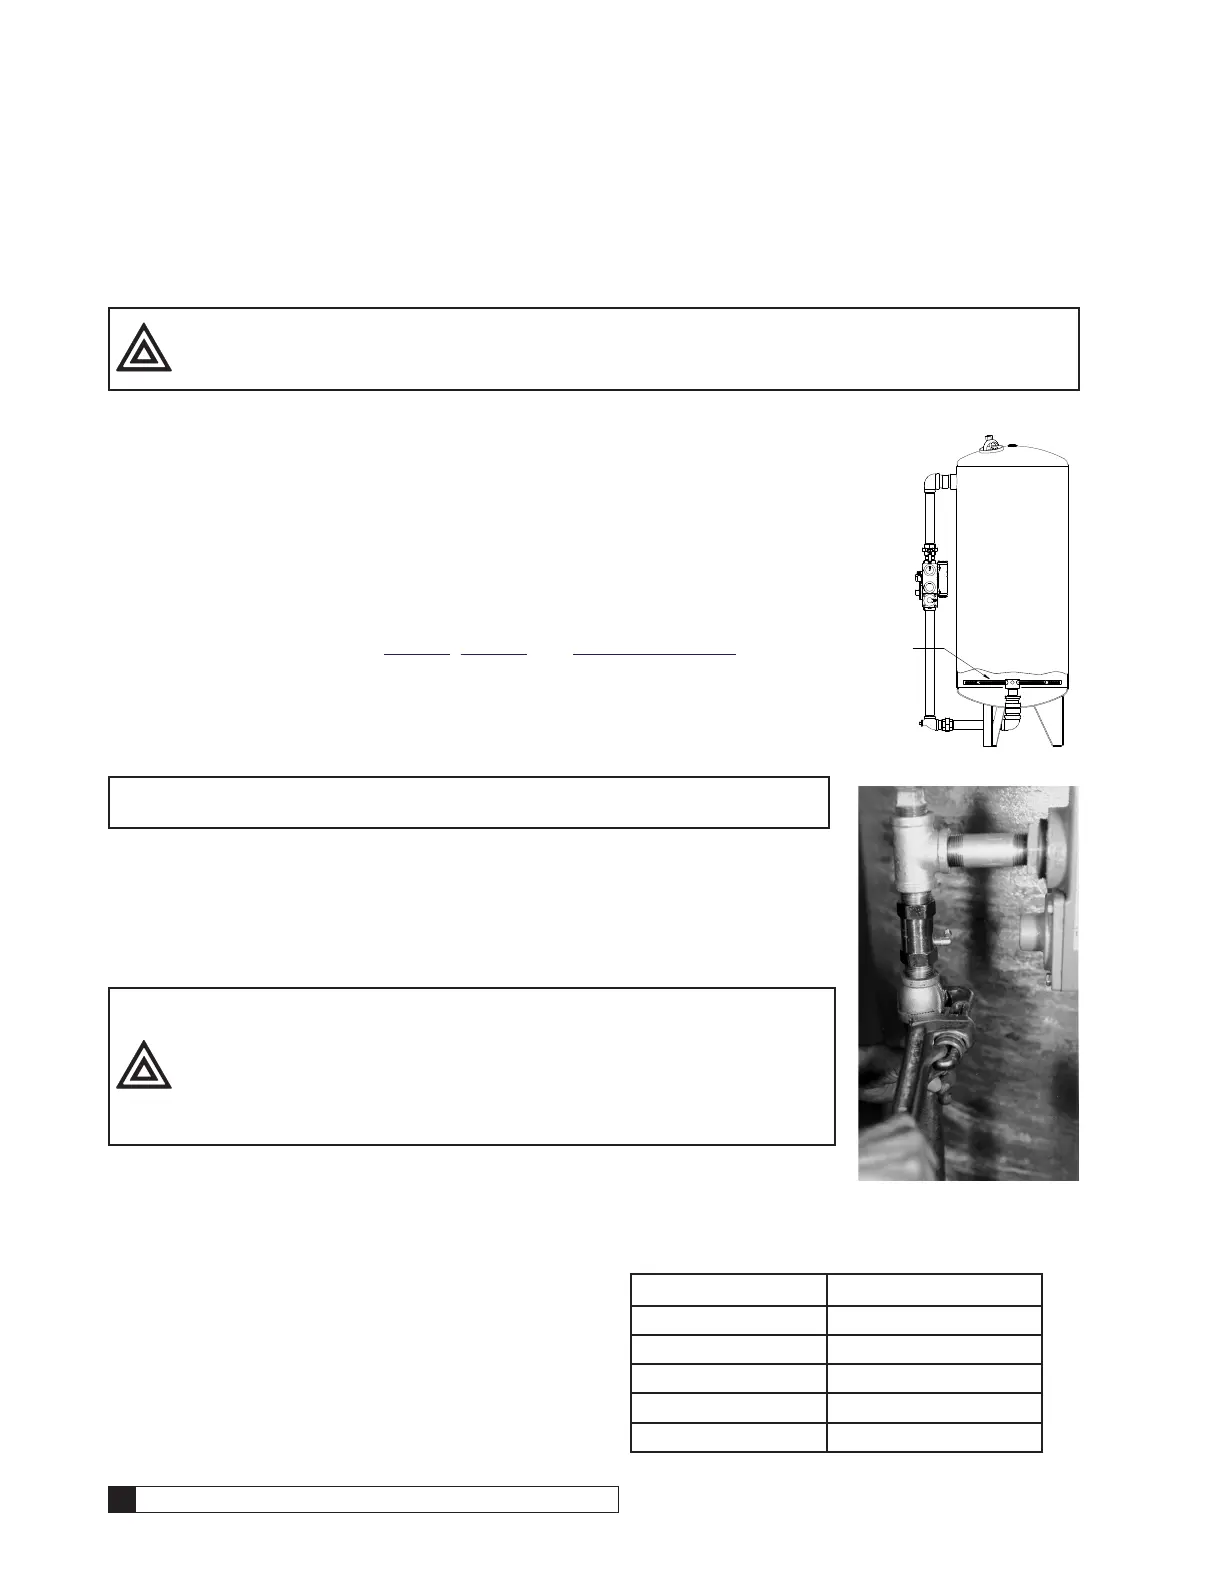
2. Pipe a drain line from the backwash flow control assembly (left side of the
Brunermatic valve) to the drain. Use a minimum of elbows and increase or decrease
the pipe size in order to make a connection to the backwash flow control assembly.
(see Figure 11)
DO NOT install a valve in this line or use pipe
smaller than listed in the Table 3:
3. Install a union near the backwash flow control
assembly to facilitate service when required.
DO NOT make a direct connection to the drain.
Provide an air gap of at least four times the diam-
eter of the drain pipe or conform to local sanita-
tion codes and to permit the observation of the
drain flow.
Table 3.
Tank Diameter Drain Pipe Size
20” 1”
24” 1”
30” 1.25”
36” 1.25”
42” 2”
AND LATERALS
Figure 10.
Figure 11.

 Loading...


