46 Culligan® CSM Series Softeners
46 Cat. No. 01016370
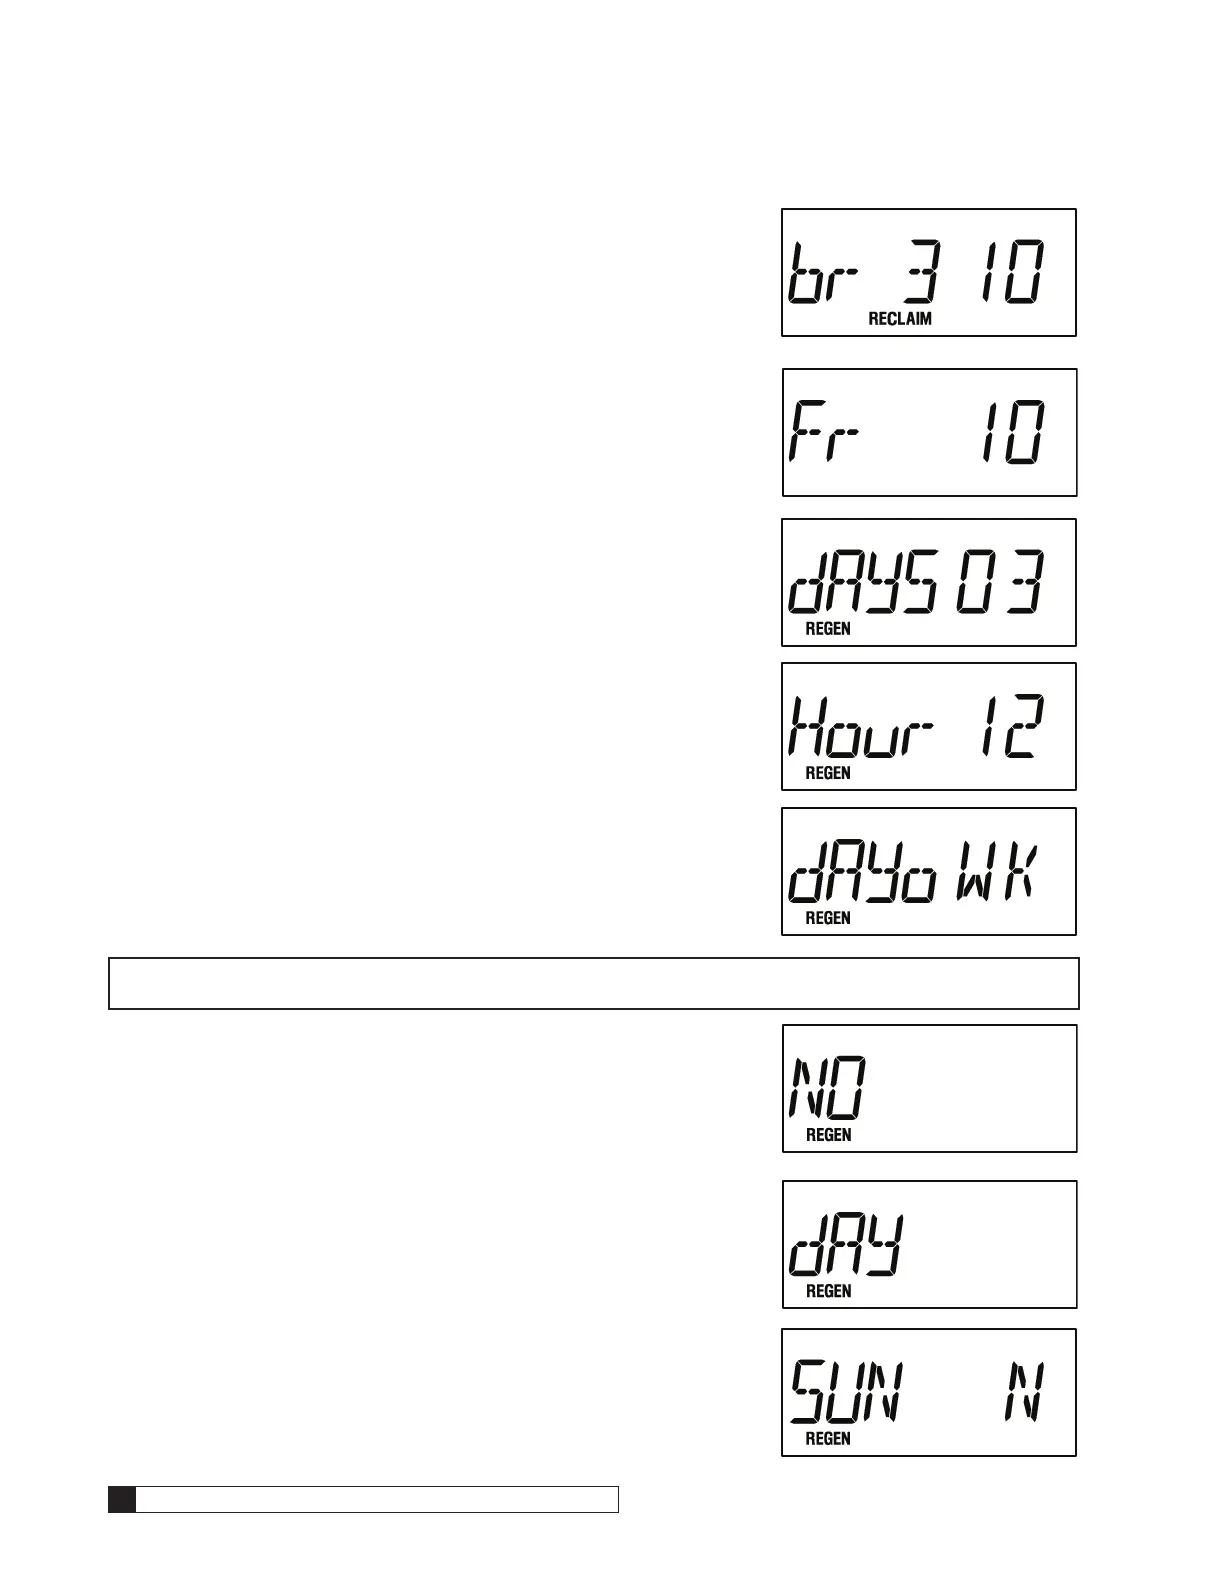
c. Cycle 2C Time* - “br 3 10” and the RECLAIM icon are dis-
played (Figure 71). This setting is used to establish the return of
the system to the slow rinse cycle During this cycle, waste water
is once again sent to the drain. The default setting is (10) min-
utes. (Adjustable from 1 to 99 minutes). Pressing the “-” or “+”
keys for 3 seconds or more will cause the digits to scroll rapidly
and at intervals greater than one at a time. Pressing the Status
key will save the setting and move to the next programming
step.
7. Cycle 3 Time* - (All modes)
The fast rinse cycle is represented by “Fr 10” (Figure 72) in the display.
The default duration of cycle 3 is 10 minutes. To adjust the minutes set-
ting, use the “-” or “+” keys to scroll to the desired number of minutes.
(Adjustable from 1 to 99 minutes). Pressing the “-” or “+” keys for 3 sec-
onds or more will cause the digits to scroll rapidly and at intervals greater
than one at a time. Pressing the Status key will save the setting and move
to the next programming step.
8. Cycle 4 Time* - Because the Brunermatic valve is a four cycle valve, this
step will not be displayed but it is described for informational purposes.
This setting is used to adjust the time, in minutes, for a valve that has a
separate refill cycle from the fast rinse cycle.
9. Regeneration Interval* - Active only if no meter and/or Aqua-Sensor is
detected OR if DIP switch #6 is ON.
The display will show the REGEN icon and “days 03” (Figure 73) (if DIP
switch 8 is OFF) or REGEN and “Hour 12” if DIP switch 8 is ON.
The default setting for “days” is “03” while the “Hour” default is “12”
(Figure 74).
To adjust the “day” or “Hour” setting, use the “-” or “+” keys to scroll to
the desired setting. (Adjustable from 1 to 99 days or 1 to 24 hours). Press-
ing the “-” or “+” keys for 3 seconds or more will cause the digits to scroll
rapidly and at intervals greater than one at a time. Pressing the Status key
will save the setting and move to the next programming step.
NOTE Single systems that are set with DIP switch 8 OFF and without a meter or Aqua-Sensor device con-
nected will offer the following OPTIONAL time clock setting to be displayed. (Figure 75)
This display will be followed (2) seconds later by Figure 76.
The “+” or “-” keys are used to toggle the display between “yes” or “NO”
(the default is “NO”). A “yes” response will indicate that the control is to
perform a regeneration on specific days of the week. If this feature is not
desired, set the display to “NO” press the Status key and move on to step
#9. If the feature is desired, set the display to “yes” and move to program
step 9A.
a. Specific Day(s) of Week Regeneration* - (Only for single sys-
tems that are set with DIP switch 8 OFF and without a meter
or Aqua-Sensor device connected as described in the previous
NOTE).
The display will show “day” and the REGEN icon (Figure 77)
for two seconds followed by “SUN N” (Figure 78). The “+” and
“-” keys are used to toggle between a “Y” or “N” in the display
next to the abbreviated day. To allow a regeneration to occur
on the day shown, toggle the display to “Y”. If no regeneration is
desired, the display should indicate “N”.
To advance to the next day in the program sequence, use the
Regeneration key and repeat the steps from the previous
paragraph for each day of the week. When complete, press the
Status key once to advance to the next step.
Figure 71.
Figure 72.
Figure 73.
Figure 74.
Figure 75.
Figure 76.
Figure 77.
Figure 78.
Figure 79.

 Loading...


