8
General information
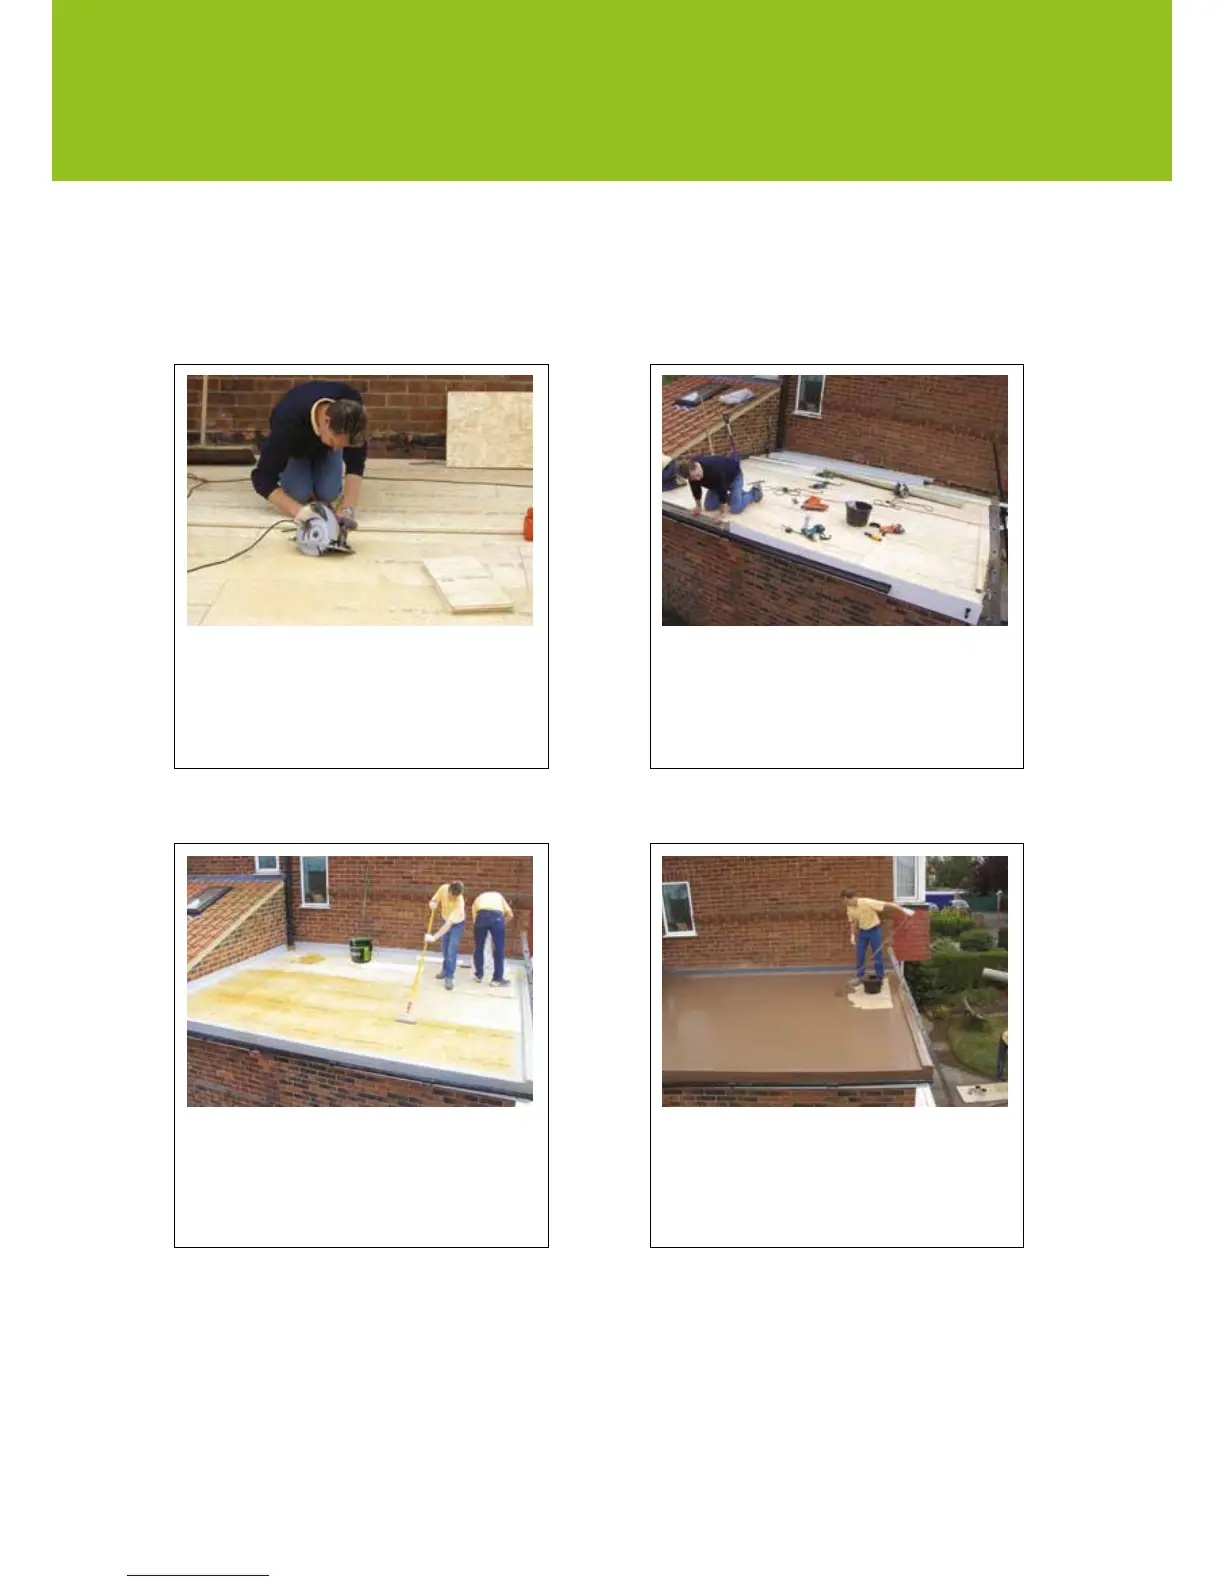
Stages of installing a Cure It roof
The installation of a Cure It roof can be divided
into 4 stages:
Preparing and decking the roof
(page 9)
The old roof covering is removed and the roof
is re-decked with OSB3 18mm tongue and
groove boards.
Fixing the edge trims
(page 10-13)
GRPedgetrimsarexedtotheperimeterofthe
roof and can be used to adapt the Cure It laminate
to almost any application.
Laminating
(pages 13-15)
Joints between decking, gutters, GRP trims and
protrusions e.g. pipes are bandaged at this point.
The entire roof is then laminated with a layer of GRP.
Topcoating and nishing
(page 16)
The roof is then topcoated, with the client’s
specicationofcolourandnish.