CURTMFG.COM
•
PRODUCT SUPPORT: 877.287.8634
•
51126-INS-RA
•
PAGE 6
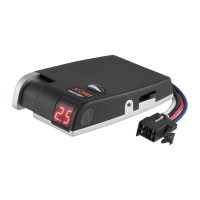
1. Mount the unit securely to a solid surface where it is easily accessible to
the driver. The area behind the mounting location must be clear to prevent
damage to vehicle if using screws. The angle at which it's mounted will
not effect the operation or calibration of this controller (Fig 1).
2. Hold the mounting bracket in the position selected and mark the hole
locations of the bracket on the mounting surface. Check that the mounting
screws will not interfere with anything on the back side of the dash.
3. Peel off one of the release liners of the double-sided
adhesive pad and stick onto the brake controller mount.
4. (Optional - screw installation) Using a 1/8" diameter bit,
drill holes in the double-sided adhesive pad so you
can see the marked locations on the dash.
5. Remove the second release liner holding the
mount slightly back from the mounting surface
and then firmly press the mount to the dash.
6. (Optional - screw installation) With a Phillips head screwdriver,
start installing the screws to verify location of the holes.
Tighten the screws to secure the bracket, being careful
not to strip the holes by over-tightening.
7. Slide the controller onto the mount until it locks into place.
You will hear a clicking noise if it is correctly installed. (Fig 2)
MOUNTING THE BRAKE CONTROLLER
Figure 1
Figure 2
 Loading...