INSTALLATION INSTRUCTIONS II1
Brewers With A Cord Set Attached -
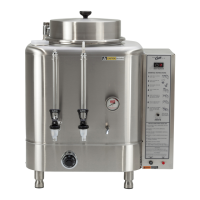
12 Connect the power cord to the appropriate type of
electrical outlet.
Power Up the Brewer
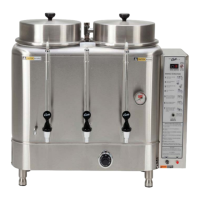
13 Turn on the water supply valve.
14 Make sure that the circuit breaker supplying power to
the unit is on.
15 Turn the toggle switch on the back of the brewer to the
0/QPTJUJPO5IFXBUFSUBOLXJMMTUBSUUPmMM8IJMFUIF
UBOLJTmMMJOHJOTQFDUUIFXBUFSTVQQMZMJOFGPSMFBLT
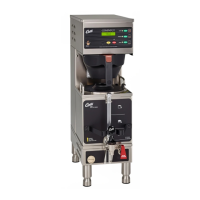
16 Determine if the brewer will be setup for one, two or
three batch mode. Find the appropriate label, included
with the brewer. The three batch label has LARGE,
.&%BOE4."--#3&8POJUUIFUXPCBUDIMBCFMIBT
-"3(&BOE4."--#3&8POJUBOEUIFPOFCBUDIIBT
POMZ#3&8POJU
17 Peel the protective backing off of the desired label
BOEBGmYJUUPUIFGSPOUPGUIFVOJWFSTBMDPOUSPMNPEVMF
(UCM).
18 Go to the PROGRAMMING GUIDE section and
program the brewer for the correct model and batch
number.
Connect the Brewer Wiring (cont.)
WARNING: Connect the power cord to the
appropriate type and size electrical outlet. If the
electrical outlet is not compatible with the power
cord, have it upgraded by a licensed electrician.
Do not modify the power plug. Do not use an
extension cord. Do not use a power cord/plug that
is damaged.
IMPORTANT: 8IFOPQFSBUJOHUIFCSFXFSBU
higher elevations, reduce the factory set operating
temperature (200°F/92°C) by 2°F/1°C for each
1000 ft./300 m of elevation above 4000 ft./120 m.
See PROGRAMMING GUIDE.
((&.*/45"--"5*0/*/4536$5*0/4ø D
 Loading...