INSTALLATION INSTRUCTIONS II15
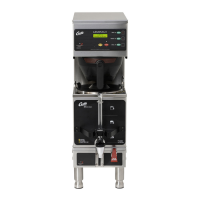
Brew
deck
Front
panel
&RQ¿JXUDWLRQYDULHV
ZLWKPRGHO
:LULQJ
label
7HUPLQDO
block
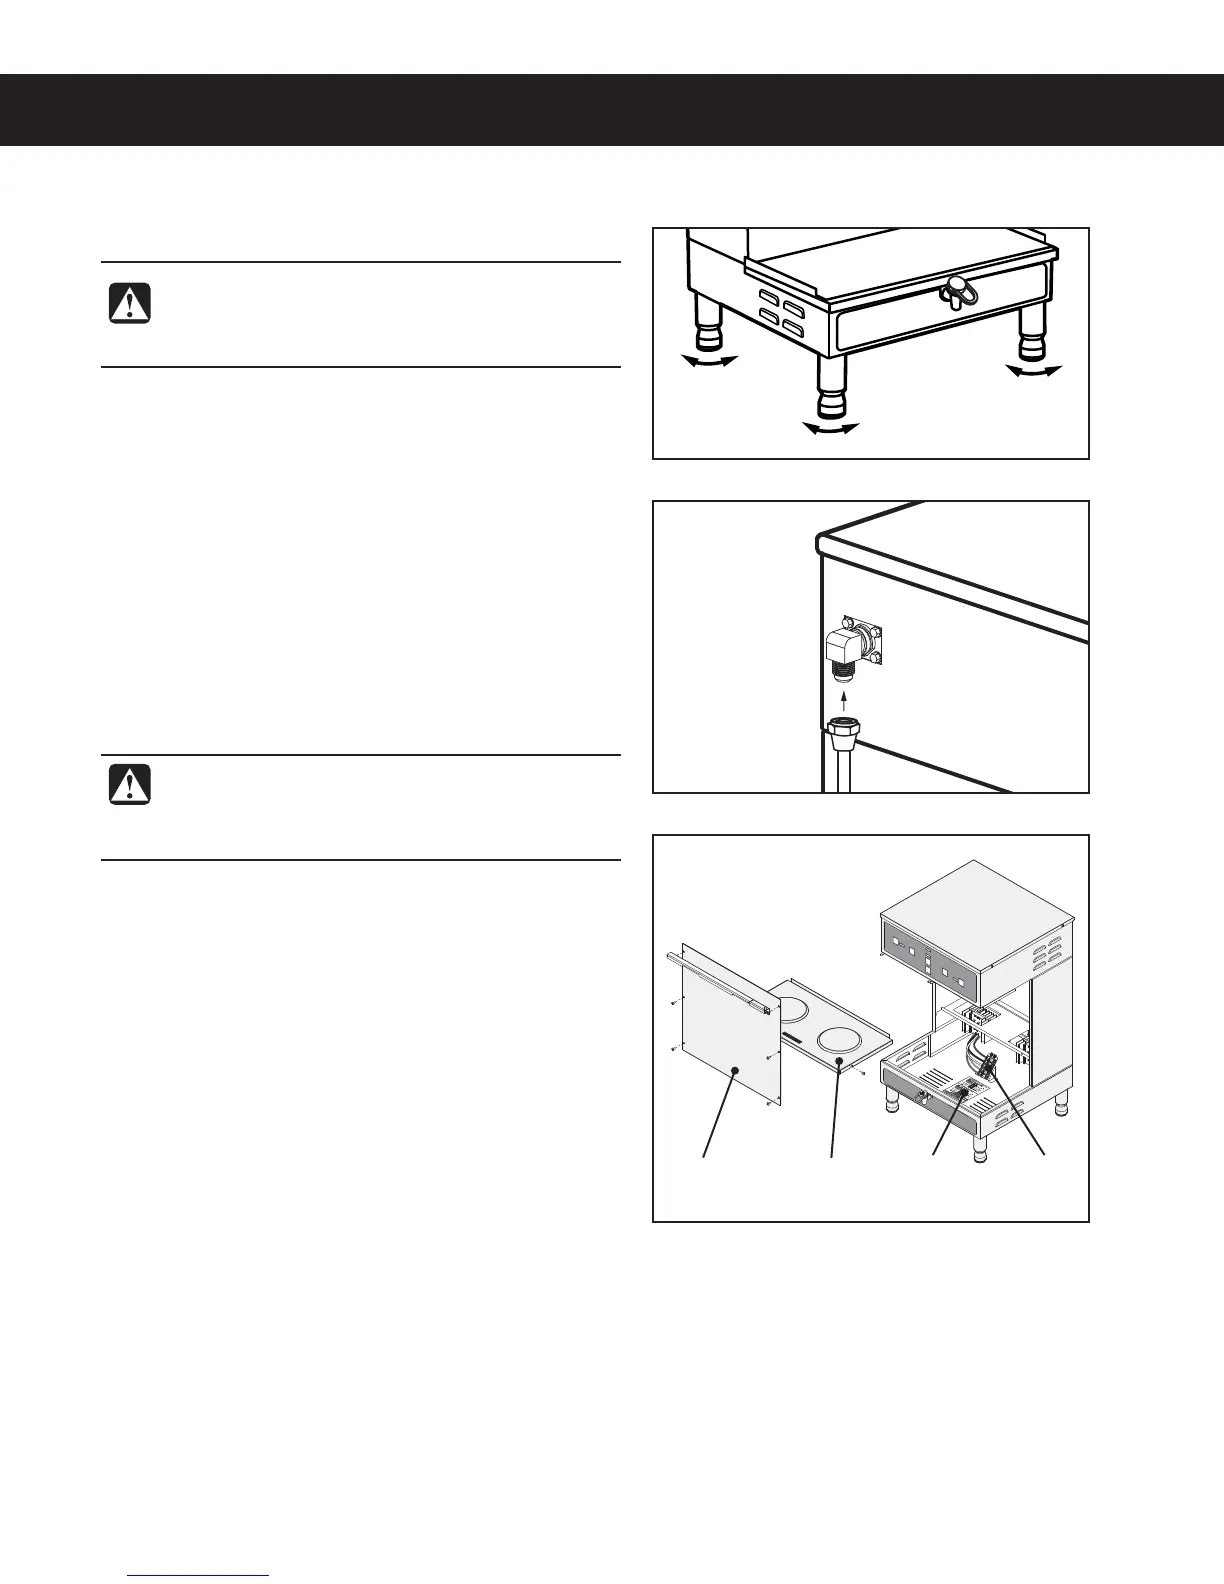
Installation
Leveling
1 Position the brewer on the counter top. Level it left to
right and front to back by turning the bottom of the
legs.
Connect the Water Supply
2 Flush the water supply line prior to installation to
QVSHFBJSBOEEFCSJTGSPNUIFXBUFSmMUFSBOEUVCJOH
3 $POOFDUUIFXBUFSTVQQMZMJOFUPUIFnBSFmUUJOHPO
the back of the brewer. Leave the water supply valve
closed until the power is connected.
Connect the Brewer Wiring
4 Remove the screws that hold the front cover and brew
deck in place and remove them.
5 Loosen the strain relief on the back of the brewer.
6 Feed the power cable into the brewer.
7 Connect the wires on the power cable to the terminal
block inside the brewer.
8 Tighten the strain relief and replace the front cover
and brew deck.
9 Connect the power cable wires to the terminals in the
junction box. See the ELECTRICAL SCHEMATIC for
the power supply requirements.
WARNING: Use the leveling legs to level the
brewer only. Do not use them to adjust brewer
height. Do not extend them higher than necessary.
WARNING: Turn off power to the junction box at
the circuit breaker panel before connecting the
power cable to the brewer. Lock out and tag the
circuit breaker.
(&.%*/45"--"5*0/*/4536$5*0/4ø 120517B
 Loading...