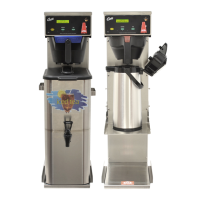
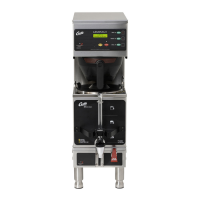
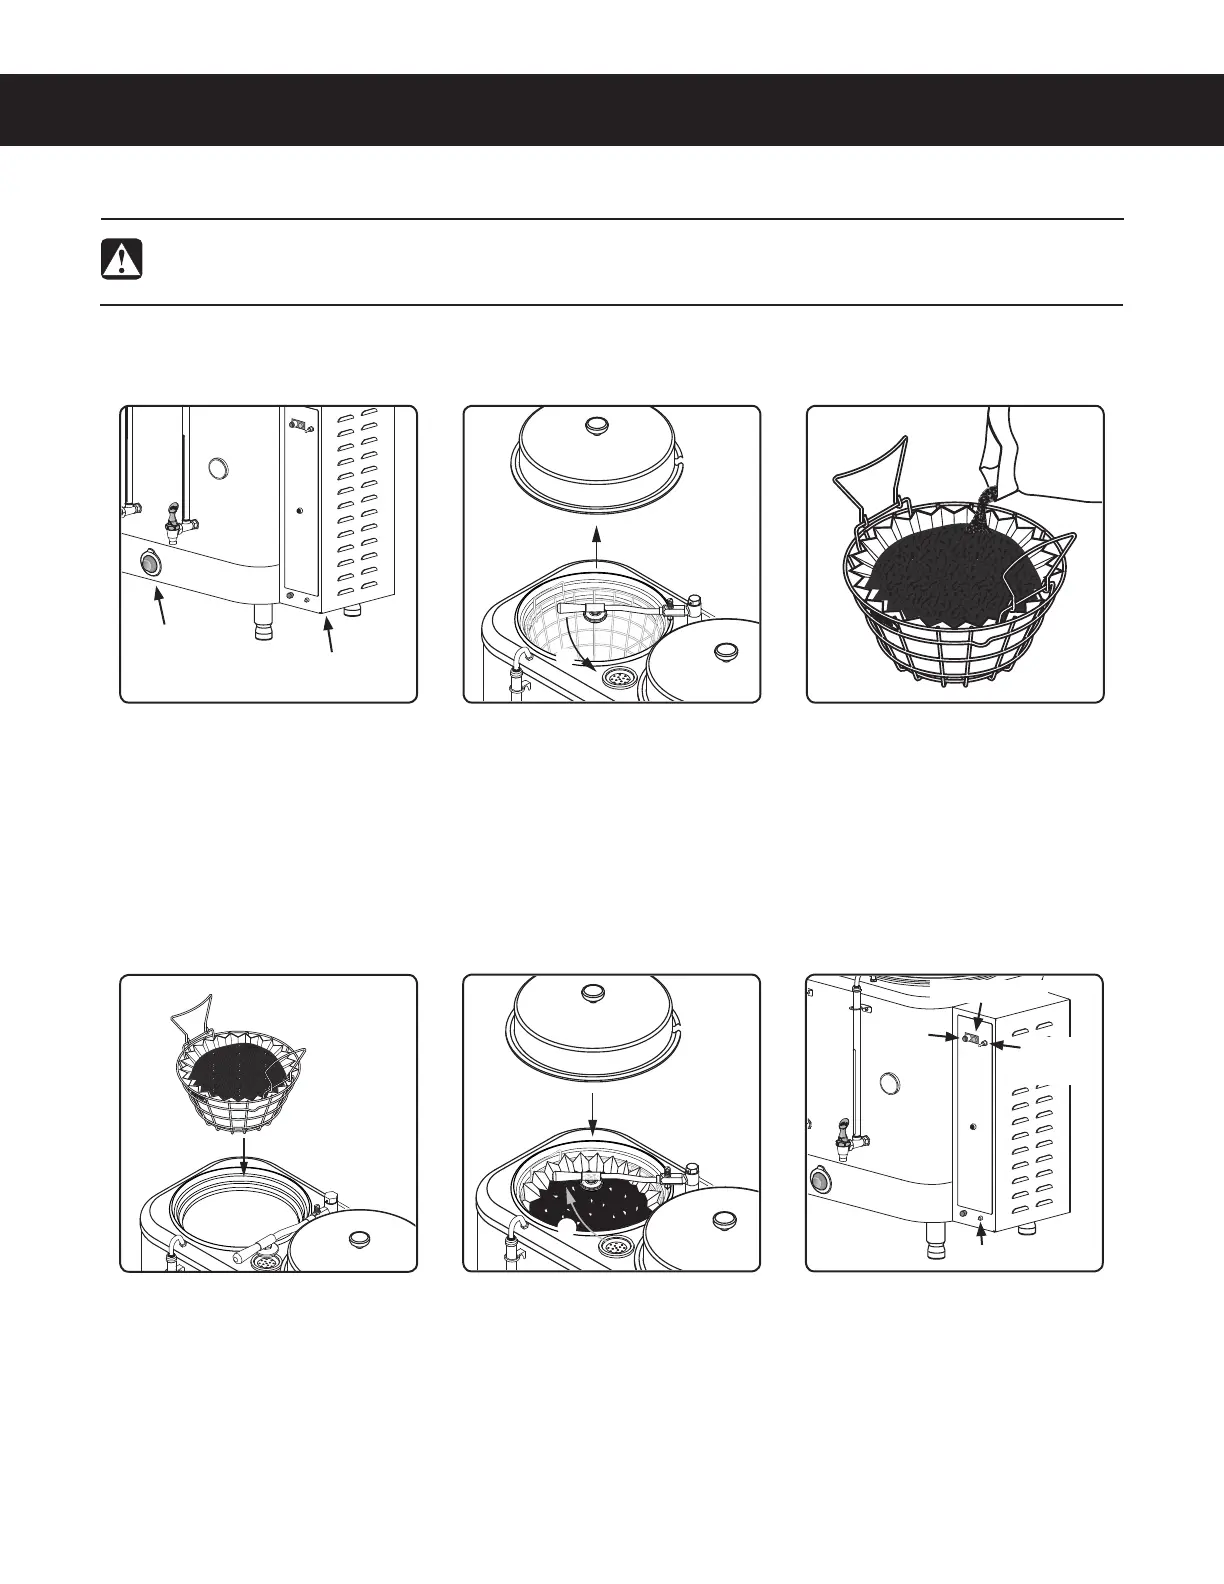
Brewing Instructions
The urn is factory preset for optimal performance.
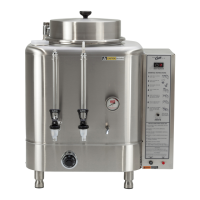
OPERATING INSTRUCTIONS OI31
36"650."5*$01&3"5*/(*/4536$5*0/4øø /$
2 Remove the urn lid and rotate
the spray arm to the side.
3 Remove the brew basket and
JOTFSUBDMFBOQBQFSmMUFS'JMM
the basket with the proper
amount of ground coffee.
Make sure that the coffee is
MFWFMJOUIFmMUFS
4 Make sure that the liner is
empty before brewing. Insert
UIFmMMFECSFXCBTLFUJOUPUIF
top of the urn.
5 Rotate the spray head over
the bed of coffee inside the
mMUFSBOEDFOUFSJU1VUUIFMJE
on top of the urn.
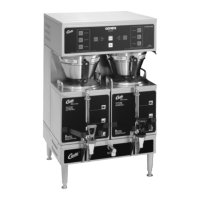
The brewer should be
0/$POmSNUIJTBUUIF
main power toggle switch,
located on the bottom of the
control box. The thermostat
should be set to ON and the
thermostat light should be
0''JOEJDBUJOHUIBUUIFXBUFS
is hot).
WARNING - TO AVOID SCALDING, AVOID SPLASHING. %POPUPQFOUIFMJETXIJMFUIFCSFXMJHIUJTPO
Keep body parts clear of hot surfaces on the outside of the urn.
6 Make sure the batch size
selector switch is in the
desired position, then press
the BREW button. Brewing
will begin immediately. To
stop brewing before the
cycle is complete, press the
STOP button.
BREW
button
STOP button
Brew light
Batch
size switch
Main power
switch
c
Thermostat
d
c
d
 Loading...