7
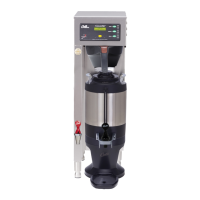
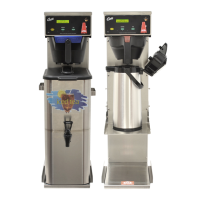
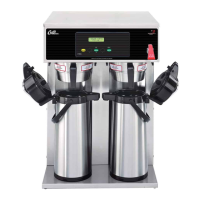
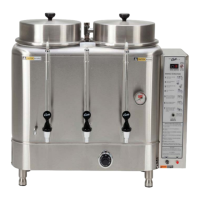
Cleaning the Coffee Brewer
Regular cleaning and preventive maintenance is essential in keeping your coffee brewer looking and working like
new.
CAUTION – Do not use cleansers, bleach liquids, powders or any other substance containing chlorine. These
products promote corrosion and will pit the stainless steel. USE OF THESE PRODUCTS WILL VOID THE
WARRANTY.
1. Wipe exterior surfaces with a moist cloth, removing spills and debris.
2. Slide the brewcone out and clean it. Clean the sprayhead area with a moist clean cloth.
3. Rinse and dry the brewcone.
4. Drain drip tray of coffee. Wash out the drip tray. Dry the tray.
5. Rub a stainless steel polish on the outside surfaces to protect the brewer.
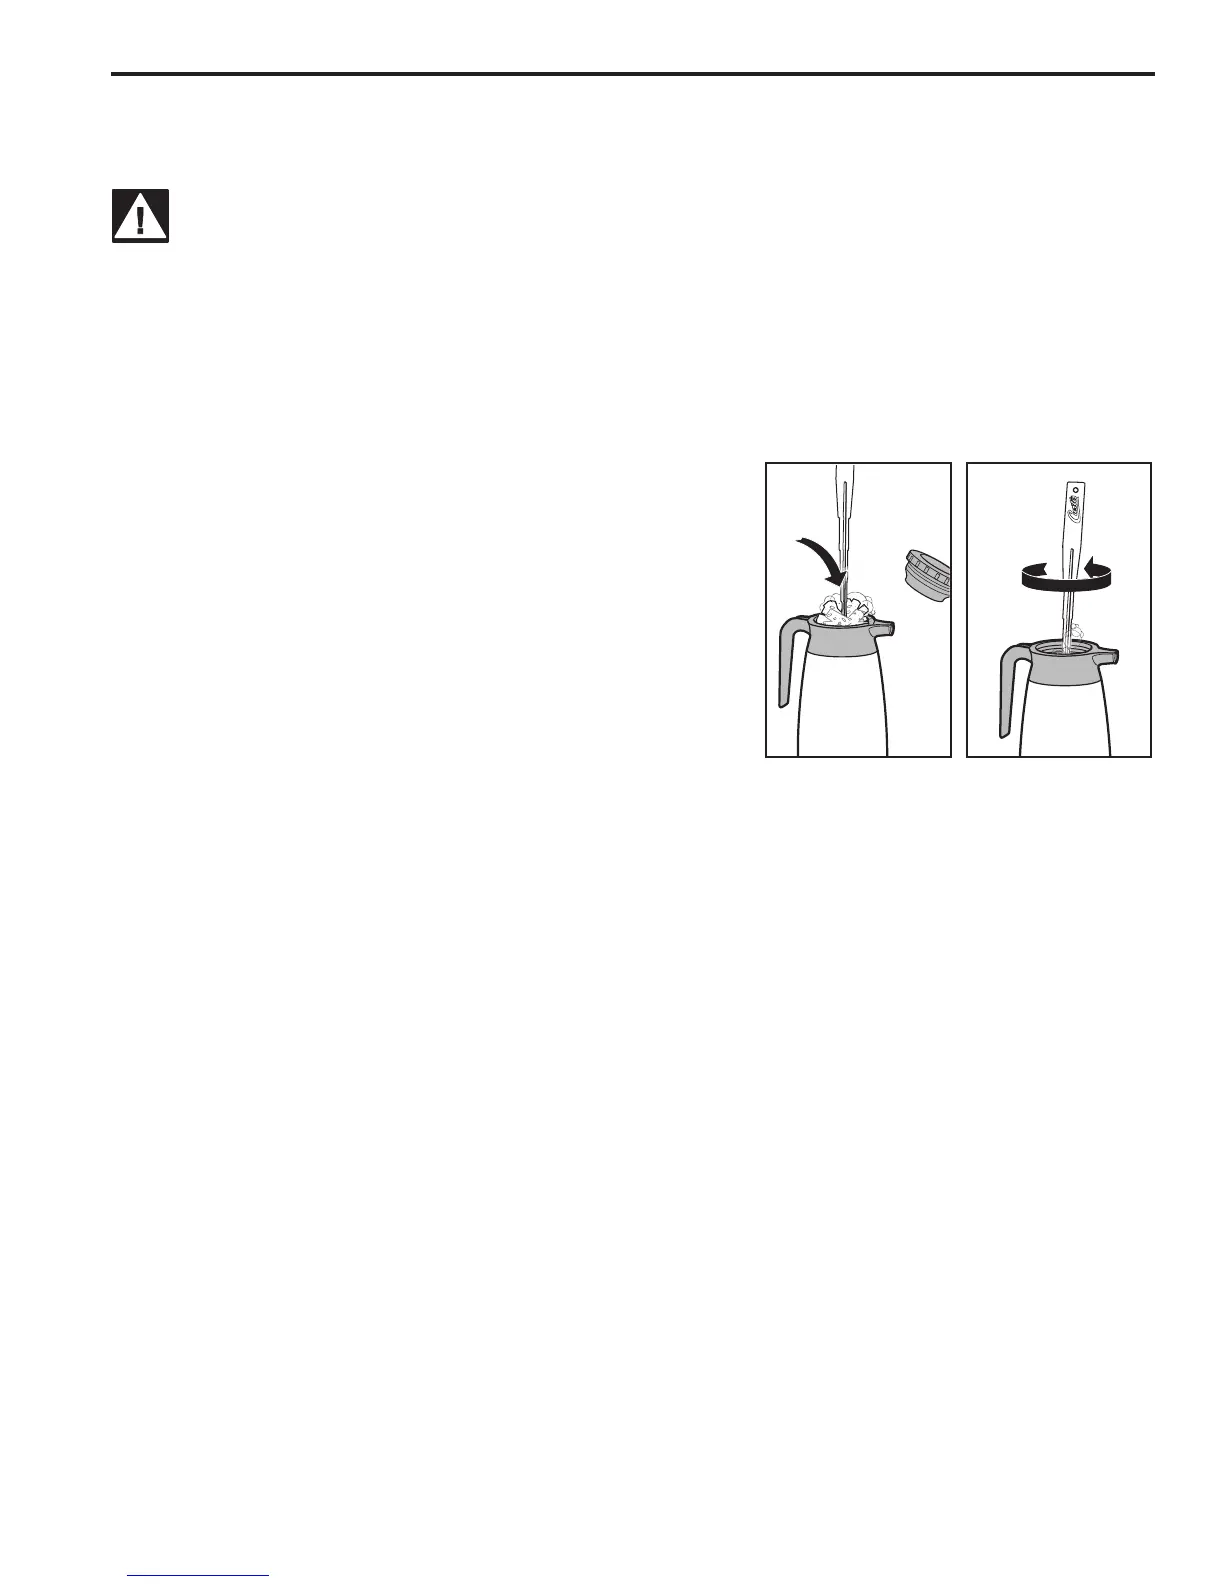
Cleaning the Insulated Carafe
To clean the coffee carafe, prepare a mild solution of detergent and
warm water.
1. Wipe exterior surfaces with a moist cloth, removing water spots and
dried coffee.
2. Remove lid and clean inside the funnel tube with a detergent solu-
tion.
3. Use a sponge, brush soaked in detergent solution, to clean the
inside of the carafe liner. Scrub with the sponge brush to remove all
coffee residue.
4. Thoroughly rinse out the carafe and lid with clean warm water.
5. Dry and assemble the coffee server.
DO NOT immerse the coffee carafe in water. DO NOT place in dishwasher.
Cleaning Airpots
1. Wipe exterior surfaces with a moist cloth, removing water spots and dried coffee.
2. Clean the airpot with a mild solution of detergent and warm water. Use a sponge cleaning brush to scrub inside.
3. Clean the syphon tube/funnel with a detergent solution.
4. Rinse thoroughly with warm water.
DO NOT immerse airpots in water. DO NOT place in dishwasher.
Filter Pouch Cleaner
You may use a lter pouch cleaner to easily clean both the brew cone and the coffee vessel.
1. Place a pouch cleaner into the brew cone. Place an empty server on the brew deck.
2. Press the brew button to run a full brew cycle into the server.
3. At the end of the brew cycle, discard the used lter cleaner pouch.
4. Allow the cleaner to soak in the coffee server for 10 minutes.
5. Dump out the cleaner from the coffee server into a sink.
6. Return the empty coffee server to the brew deck and run another brew cycle to run hot water through the brew
cone and into the server.
7. Empty the rinse water from the coffee server.