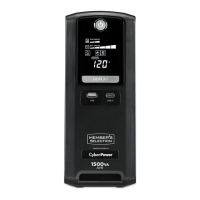
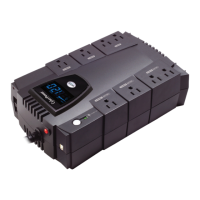
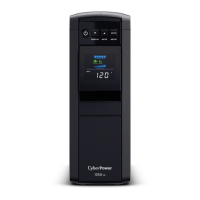
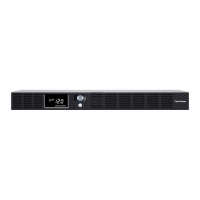
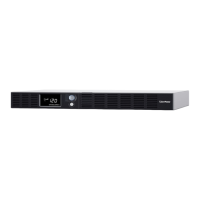
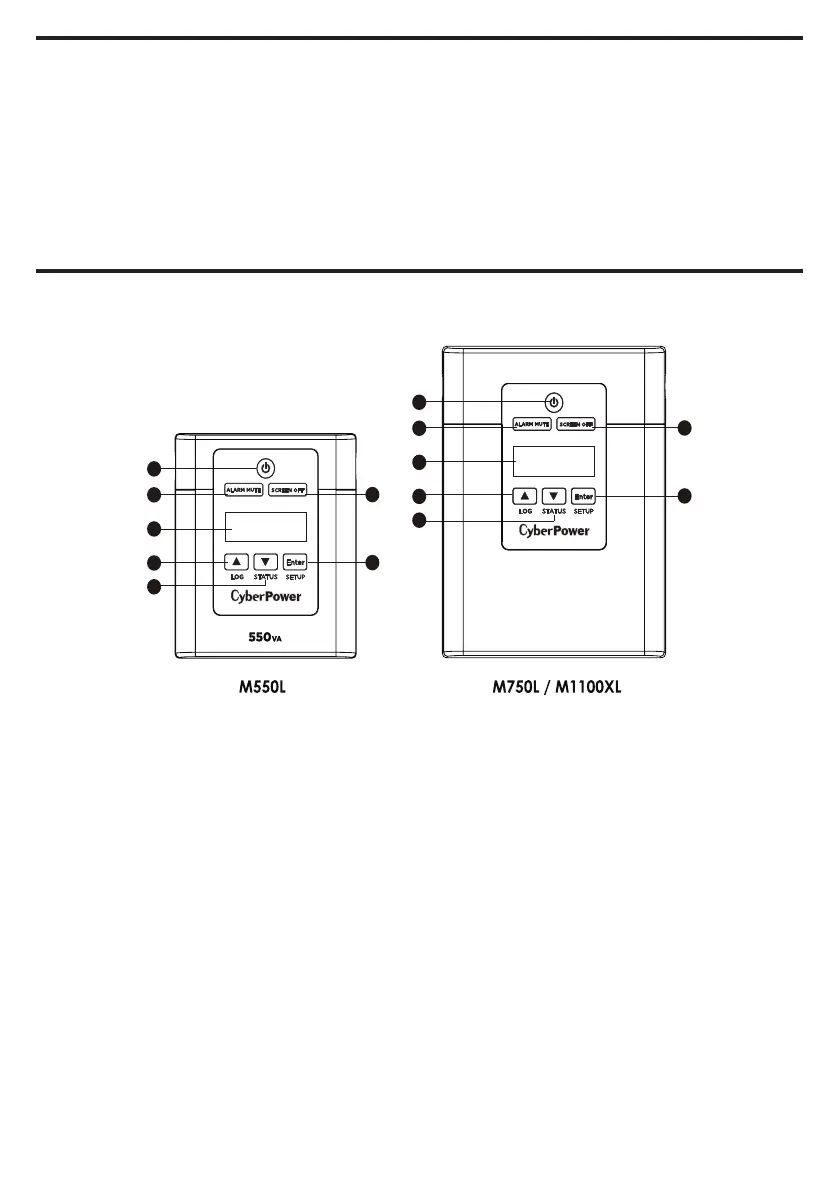
FRONT PANEL
1. Power Switch / Power On Indicator
Used as the master on/o switch for
equipment connected to the battery power
supplied outlets.
2. Alarm Mute Button
Press the Alarm mute button to mute the
alarm while it is beeping. Press the button
for 2 seconds to enable / disable the buzzer.
3. Screen o Button
Press the Screen o button to light up / o
the LCD. Press the button for 2 seconds to
enable / disable the Auto Sleep function of
the LCD.
4. LCD module display
The LCD display provides information
on the UPS battery and and power
conditions and allows for customization
of UPS operation.
5. Log/Up Button
For UPS log information, press the button
for 2 seconds. This button is also used to
scroll up.
6. Status/Down Button
For UPS status information, press the
button for 2 seconds. This button is also
used to scroll down.
7. Setup/Enter Button
Press the Setup button for 2 seconds to
enter setup menu and then select the
functions for configuration.
For additional information on how to
customize the UPS’s operation, please
refer to the LCD Function Setup Guide
section below.
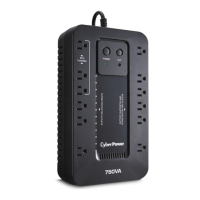
INSTALLING YOUR UPS SYSTEM
1
2
4
5
6
7
3
1
2
4
5
6
7
3
BASIC OPERATION
5. To maintain optimal battery charge, leave
the UPS plugged into an AC outlet at all
times.
6. To store the UPS for an extended period,
cover it and store with the battery fully
charged. While in storage, recharge the
battery every three months to ensure
battery life.
7. Insure the wall outlet and UPS are located
near the equipment being attached for
proper accessability.
 Loading...