Application Note 15 of 42 001-65209 Rev.*I
2021-03-19
Getting Started with FX2LP™
chip and tools available. This section shows how to create and run Windows applications to test the bulkloop
design.
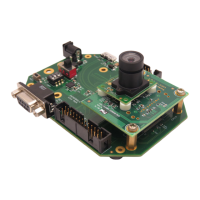
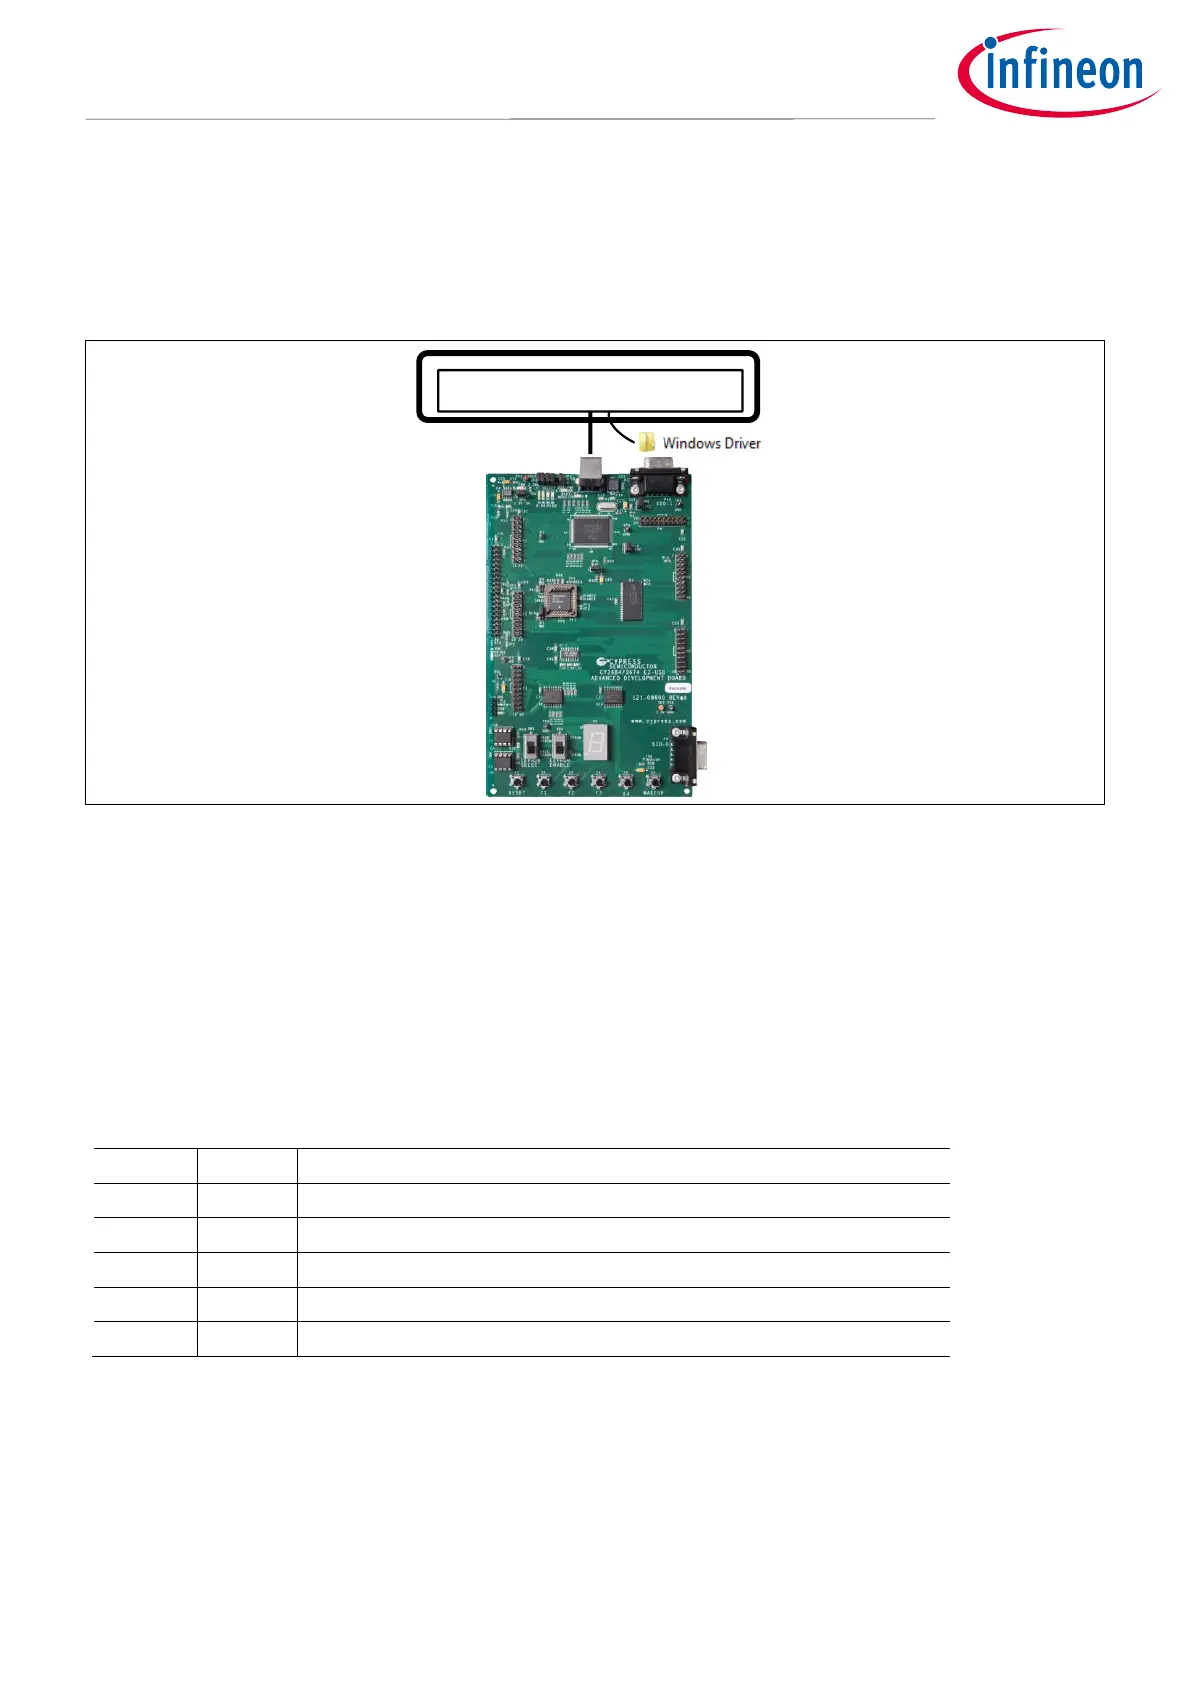
5.1 FX2LP Development Board
Cypress Driver:
cyusb.sys, cyusbfx1_fx2lp.inf
PC
Figure 11 FX2LP Development Kit and Windows Driver
The FX2LP Development Kit is available at: http://www.cypress.com/?rID=14321.
Also included with this kit (and available for free download) is the development software package including a
free version of the Keil uVision2 IDE (limited in object size to 4 kilobytes) and C compiler. More details about the
DVK are in Appendix A.
To attach the board to a PC for the first time, follow these steps:
1. Prepare FX2LP board jumpers as shown in Table 3.
Table 3 EZ-USB FX2LP Board Jumper Settings
Memory is configured for development
Power the board from USB connector
All 4 jumpers IN—activate 4 LEDs D2-D5
Not used (for Remote Wakeup testing)
2. In the lower left corner of the board, move the EEPROM ENABLE slide switch to the “NO EEPROM” (down)
position. This enables the FX2LP chip to enumerate itself as a code loader. The other slide switch (EEPROM
SELECT) can be in either position.
3. Plug the FX2LP board into a PC USB port. If this is the first time, you should see a popup message to install a
USB driver. Navigate to the application note driver folder and select the sub-folder corresponding to your
Windows OS.
You can confirm a successful driver install by viewing the Windows Device Manager:
 Loading...