75
Cypress Confidential
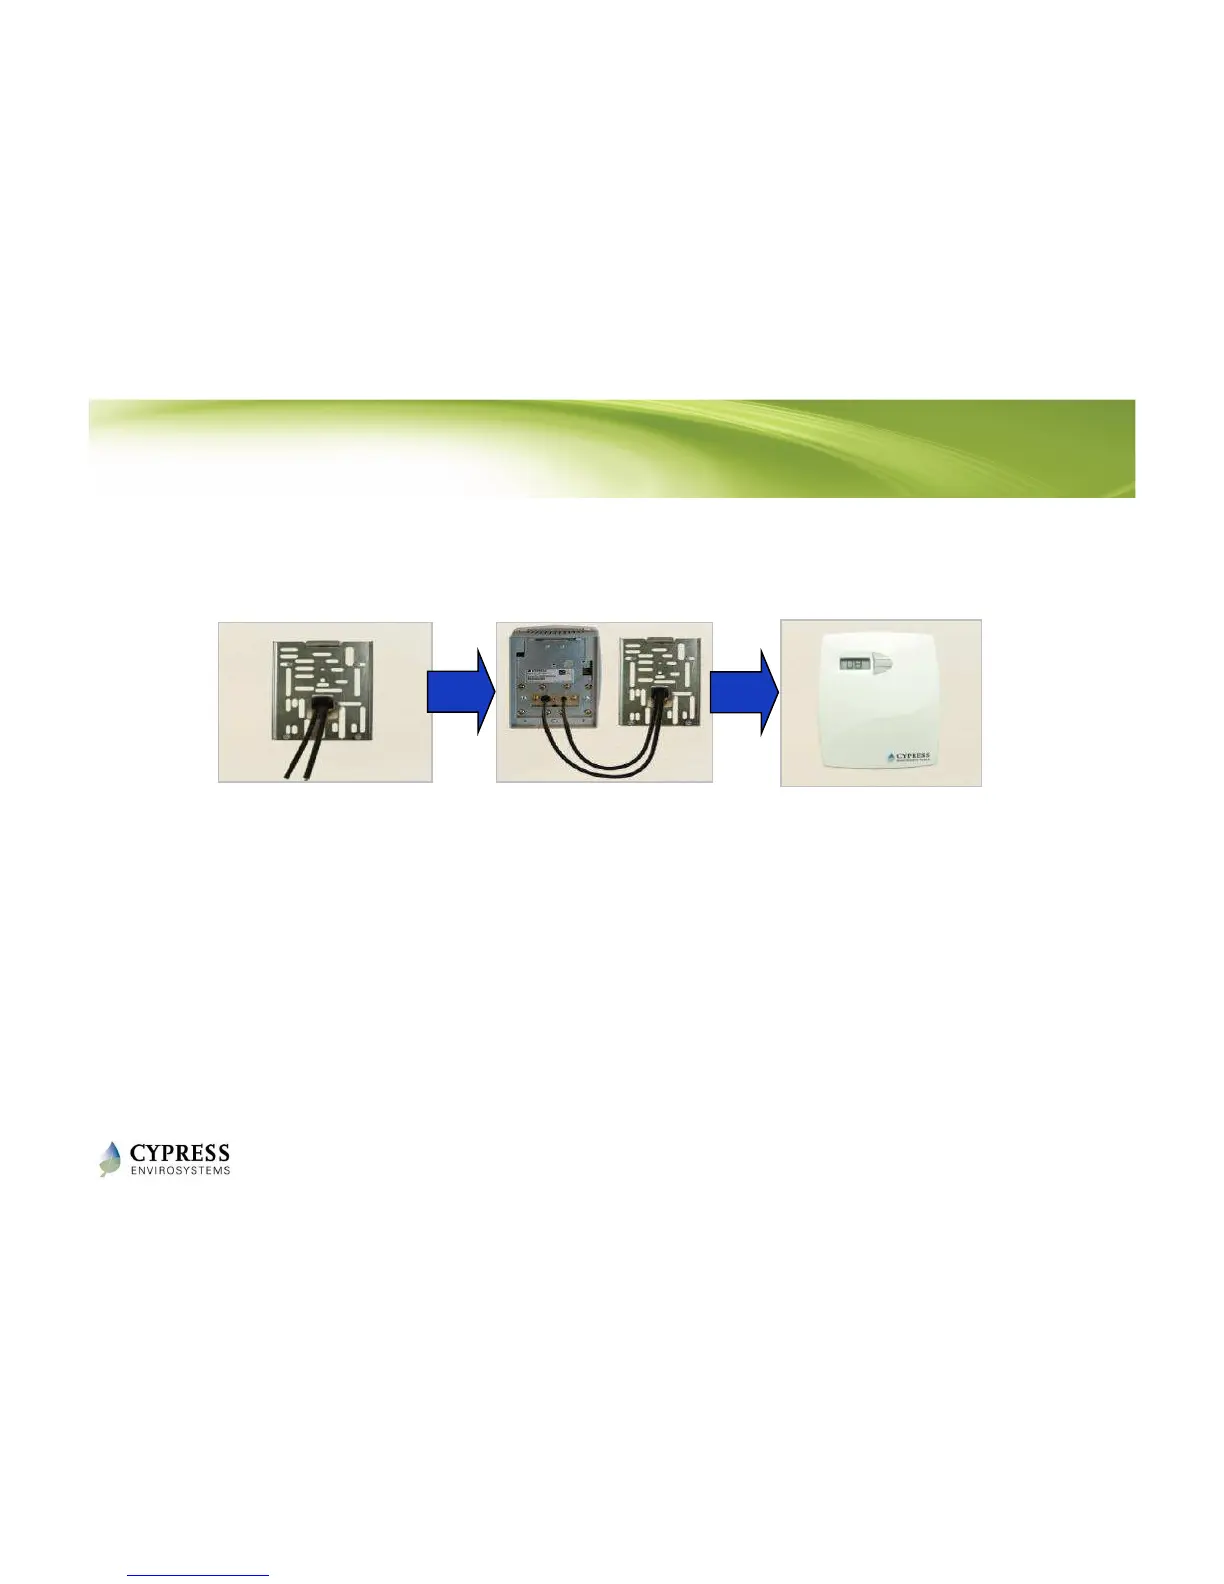
Installing the WPT – Step 2
Mount universal adapter plate, connect pneumatic lines to
WPT, mount WPT to wall, and install WPT cover plate
(Figure shows 2-pipe thermostat. Procedure is the same for a 1-pipe thermostat.)
1. HOLD ON TO THE TUBING Slide the tubing through the center of the large hole in wall mounting bracket. It is
important that the tubing has room to slide back into wall cleanly so it does not get pinched off as you mount
the WPT to the wall bracket.
2. HOLD ON TO THE TUBING and attach the mounting bracket to wall using existing anchors (if possible).
3. HOLD ON TO THE TUBING and place the tube with air blowing, on to the larger of the 2 fittings on to the back
of the WPT (the port on the left for a 2 pipe WPT). This is the main air inlet (supply line).
4. Place the 2nd tube onto the branch port (which should be blowing air) on the back of the WPT thermostat
(the port on the right).
5. DOUBLE CHECK THAT BOTH TUBES ARE PRESSED ALL THE WAY ON AND BOTTOMED OUT ON THE FITTING.
6. Slide the tubing back through the plate and into the wall.
7. Check to make sure the tubing slides into the wall smoothly and does not get kinked.
8. The WPT slides over the wall bracket at the top and catches allowing the WPT to hang and set into place and
secured with the 2 captured screws at the bottom. Do not over tighten the screws, just snug to tighten.