9D-Link DHP-W611AV User Manual
Section 2 - Installation
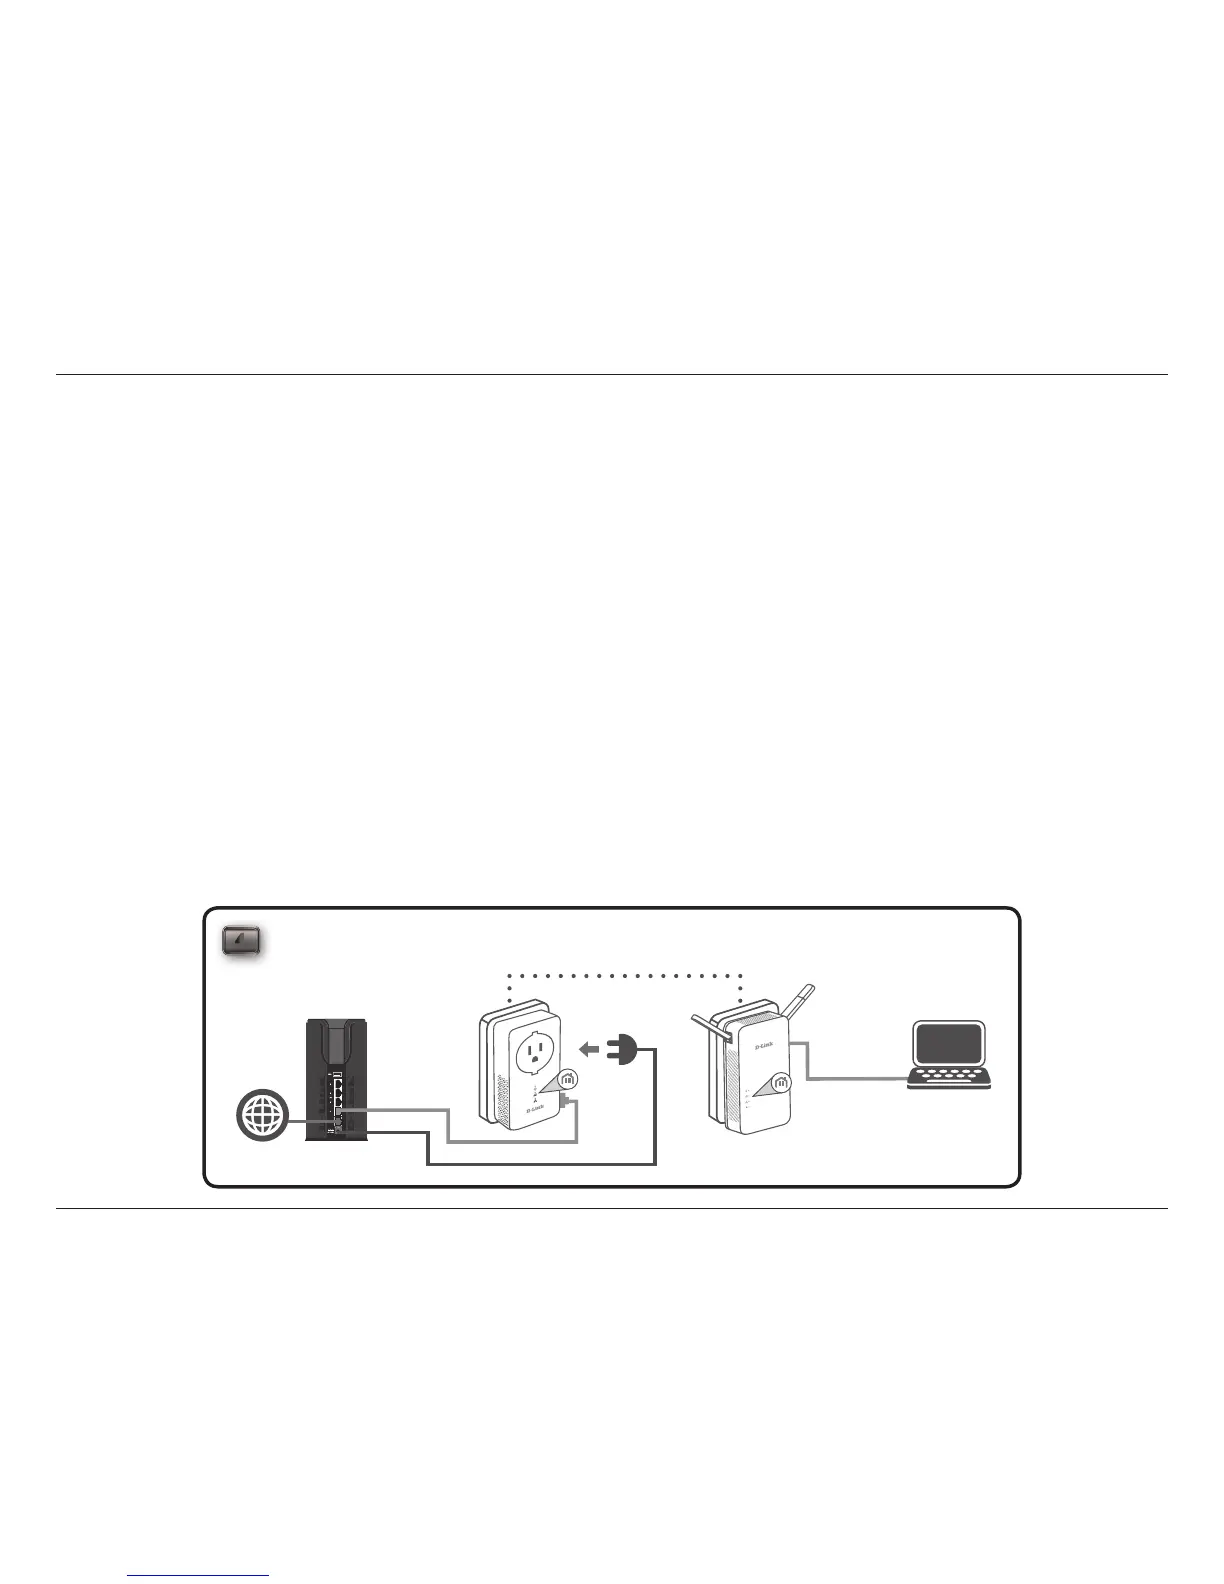
Hardware Installation
Power
Plug the DHP-P610AV into a wall outlet near your router. Fully extend the antennas and plug the DHP-W610AV into a wall outlet where you want
to extend your network. Slide the power switch on the side of the device to the ON position. The Power LED will light to indicate the devices are
receiving power.
Connect the Devices
Press the Simple Connect Button on the DHP-P610AV for 3 seconds. Then, press the Simple Connect Button on the DHP-W610AV for 3 seconds. This
must be done within two minutes after pressing the Simple Connect Button on the DHP-P610AV.
Note: Network connectivity is conrmed when the Powerline LEDs on both Powerline devices are steadily lit. This will indicate that your network
is now secure.
Plug in the Ethernet Cable
You should already own a router connected to a modem. Connect one of the supplied Ethernet cables between your router and the DHP-P610AV.
Connect the other Ethernet cable between your DHP-W610AV and your computer. Read the guidelines on the following pages, and continue to
DHP-W610AV Conguration on page 13.
Adding More Devices (optional)
If you have more Powerline devices now or in the future, you may add them to your network in the same way as above. Be sure to press the Simple
Connect Button on the new device, then the Simple Connect Button on the existing network.
4
ROOM A ROOM B
DHP-P610AV DHP-W610AV
RouterInternet
PC
 Loading...