EasyManuals Logo

D-Link DNS-323 - Network Storage Enclosure NAS Server User Manual

D-Link DNS-323 - Network Storage Enclosure NAS Server
96 pages
To Next Page IconTo Next Page
To Previous Page IconTo Previous Page
Page #11 background imageLoading...
Page #11 background image
11D-Link DNS-323 User Manual
Section 2 - Installation
3. Insert a 3.5 SATA hard drive into each
available drive bay. Make sure to align the
drive connectors to the SATA connectors on
the bottom edge inside the drive bay of the
DNS-323. Gently push the drive in until it
connects. When a drive is inserted properly,
you will feel it “seat” into the connector. Some
hard drives that are thin or oddly shaped may
need to be guided carefully into position. If a
drive is not properly seated, the light will not
illuminate after powering on the device.
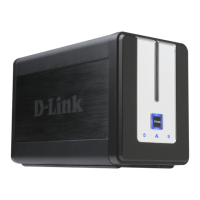
4. Attach the faceplate to the front of the device.
Questions and Answers:

Question and Answer IconNeed help?

Do you have a question about the D-Link DNS-323 - Network Storage Enclosure NAS Server and is the answer not in the manual?

D-Link DNS-323 - Network Storage Enclosure NAS Server Specifications

General IconGeneral
Device TypeNAS server
Number of Bays2
Weight1.5 kg
Network ArchitectureGigabit Ethernet
Supported Drive Types3.5" SATA I/II
RAID LevelsJBOD, RAID 0, RAID 1
Supported ProtocolsHTTP, FTP, SMB, NFS
Max Internal Capacity4 TB (2 x 2 TB)
ProcessorMarvell 88F5182
Memory64 MB
Power Consumption25 W (operational)
Operating Temperature0 to 40°C (32 to 104°F)
Interfaces1 x 10/100/1000 Gigabit Ethernet, 1 x USB 2.0
Data Transfer Rate1 Gbps

Related product manuals