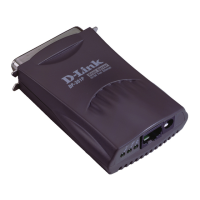
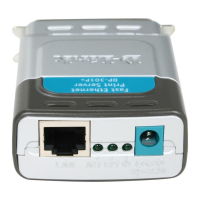
DP-300 Multiprotocol Fast Ethernet Print Server User’s Guide
Unpacking and Installation
7
Testing Your DP-300
The PS Admin software includes a Print Test function for confirmation of printer cable
connections and functions. That operational test can be completed after you have installed the PS
Admin software, and have configured your DP-300 and its ports. See the Testing Your Print
Server section of the Print Server Administration User’s Guide.
Wall-Mounting the DP-300
The bottom of the DP-300’s case has a pair of wall-mount sockets, and screws and nylon anchors
are supplied, to facilitate mounting the DP-300 to a wall or partition adjacent to your printers.
To mount the DP-300 with the front panel facing up (and the printer port connectors facing
down), set the two mounting screws at the lower-left and upper-right corners of a rectangle as
shown below (actual size):
110 mm
4
5
/
16
in
70 mm
2
3
/
4
in
When setting the screws into the wall or partition, leave about 3 mm (
1
/
8
in) between the head of
each screw and the wall surface. Then place the DP-300 so that the mounting sockets on the
bottom of its case fit over the two screws. Press the case gently toward the wall and slide the case
at a 45
° angle downward and leftward to engage the screwheads in the slots of the mounting
sockets.