DP-301 Print Server Hardware Guide
10
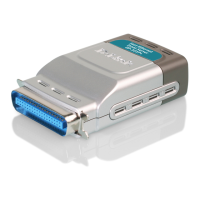
Unpacking and Installation
Velcro tape (pull the "hook" tape apart from the "loop" tape -- the hook tape
has stiff little plastic hooks, which give its surface a rough feel, and the loop
tape has a mat of soft plastic filaments which gives it a smooth, soft feel).
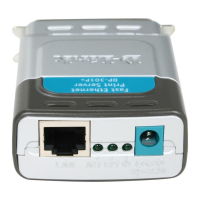
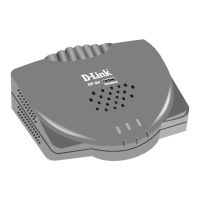
The bottom housing of the DP-301 case features two corner markers which
indicate the best location for applying the Velcro loop tape. Peel the white
backing off of the loop tape, to expose its adhesive surface, and press it onto
the bottom of the DP-301, between the corner markers.
Choose a mounting surface, and mounting attitude, which will afford
convenient visual access to the DP-301's LED indicators, without cramping
any of the wiring connected to the DP-301's rear panel. Peel the white
backing off of the hook tape. Align the hook tape to match the alignment of
the loop tape when the DP-301 is in the attitude you have chosen, and press
the loop tape's adhesive back onto the mounting surface.
Mount the DP-301 by pressing its case firmly against the mounting surface
to engage the hooks and loops of the Velcro tapes.