6
ENGLISH
Attaching the External Antennas
CELL1
MAIN
2.4G/5G
WIFI
WAN/LAN1 LAN2 LAN3
GNSS
PWR
GND
IGN
DI-1
DI-2
DO
TX
RX
GNSS
DWM-321
PWR
2.4G
5G
RESET
SIMA
SIMB
SIMA
SIMB
SIMA - - - CELL 2 - - - SIMB
SIMA - - - CELL 1 - - - SIMB
GNSS
DWM-321
PWR
2.4G
5G
SIMA
SIMB
SIMA - - - CELL 1 - - - SIMB
RESET
GNSS
DWM-321
PWR
2.4G
5G
SIMA
SIMB
SIMA - - - CELL 2 - - - SIMB
CELL2
AUX
CELL2
MAIN
CELL1
AUX
2.4G/5G
WIFI
CELL1
SIMA
SIMB
CELL2
CELL1 CELL2
SIMA
SIMB
CELL1 CELL2
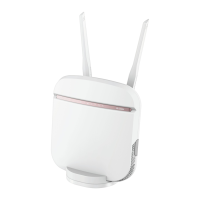
Figure 4: Attaching External Antennas
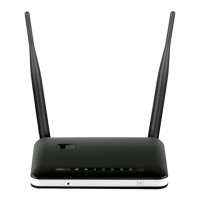
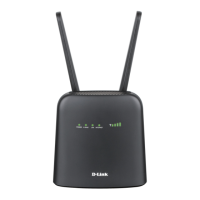
The DWM-321D/DWM-321 requires at least two of the four external antennas
to function correctly. The included antennas are interchangeable.
1. Attach the LTE antennas to the ports labelled CELL1 Main and
CELL1 Aux. Turn clockwise to fasten the antenna.
(Optional*)
To utilize CELL2, attach the two remaining
LTE antenna’s to CELL2 Main and CELL2 AUX.
(Optional) To utilize the Wi-Fi function, attach the two
Wi-Fi antenna’s to 2.4G/5G WIFI ports.
(Optional) To utilize the GNSS function, attach a third
party antenna to the GNSS port.
2. Place antennas where they will receive optimal signal.
Arrange them so they point upward.
* Only for the DWM-321D
DWM-321D/DWM-321