12
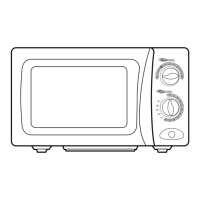
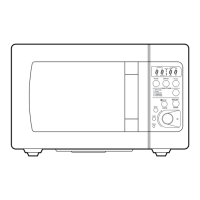
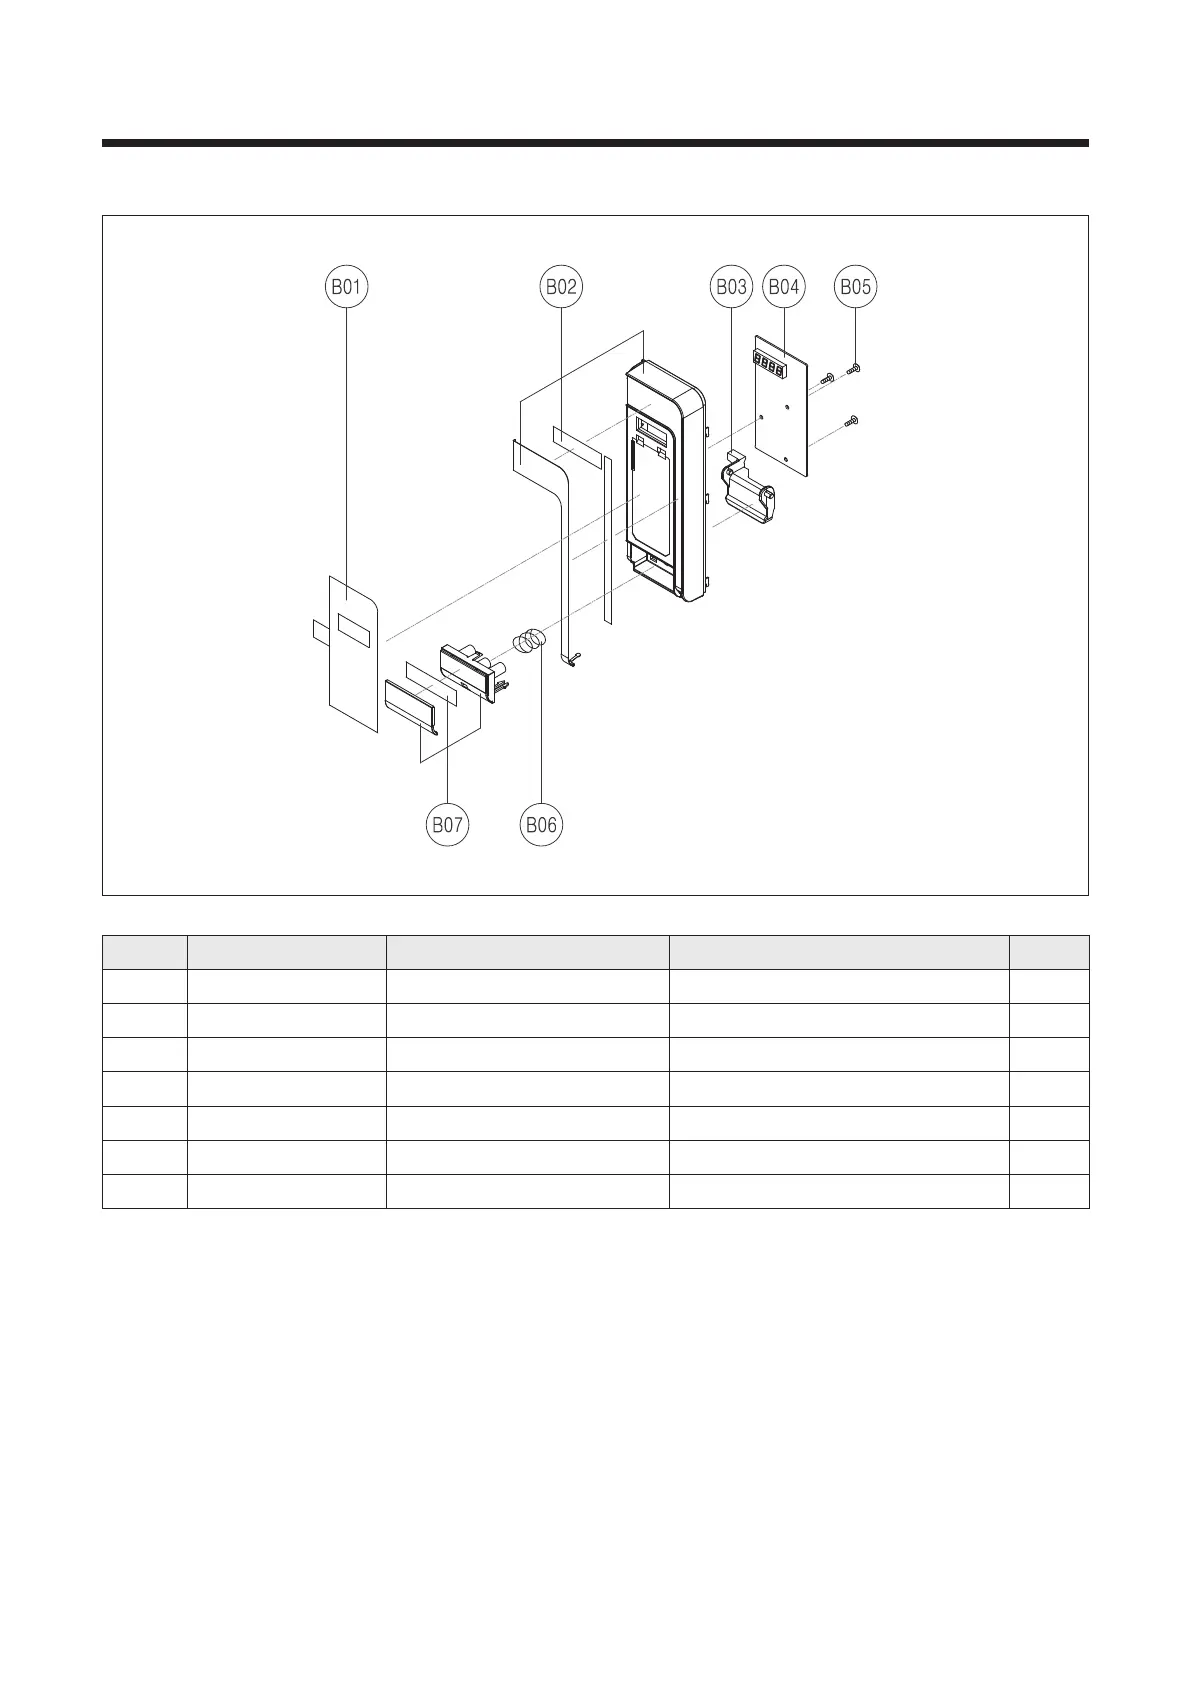
4. To remove control panel parts.
1) Remove the screw which secure the control panel, push up four snap fits and draw forward the control panel assembly.
2) Remove three screws which secure the PCB assembly to control panel.
3) Disconnect wire flat from the connector of the PCB assembly.
4) Remove the PCB from the control panel.
5) Remove the membrane, lever door open, spring button and button door open from the control panel.
6) Reverse the above steps for reassembly.
NO PART CODE PART NAME PART DESC. Q'TY
B01 65192-0028300-00 SWITCH MEMBRANE KOR664BWTAE013AB00 PET BLACK 1
B02 35167-0111000-00 CONTROL-PANEL SUB AS KOR664B SUS(BLACK) 1
B03 35137-0002600-00 LEVER DOOR OPEN PP 5113MF6, KOR660B 1
B04 40303-0113400-00 MWO PCB MAIN ASSY KOR661BWBAE023AB00 1
B05 7122401211 SCREW TAPPING T2S TRS 4*12 MFZN 3
B06 441G430171 SPRING DOOR BUTTON SWP DIA. 0.7 1
B07 35169-0025900-00
BUTTON SUB AS KOR664B SUS(BLACK) 1
 Loading...