Installation manual
11
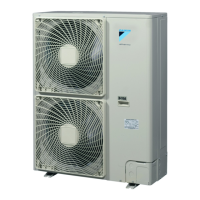
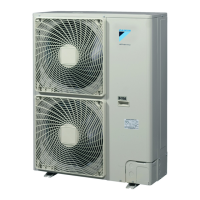
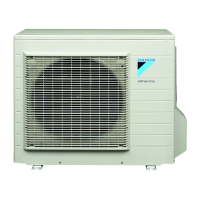
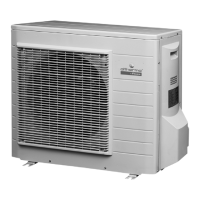
ERHQ011~016BAV3+W1 + ERLQ011~016CAV3+W1
Outdoor unit for air to water heat pump
4PW57794-1 – 08.2010
6. PRECAUTIONS ON INSTALLATION
6.1. foundation work
■ Check the strength and level of the installation ground so that
the unit will not cause any operating vibration or noise after
installation.
■ In accordance with the foundation drawing in the figure, fix the
unit securely by means of the foundation bolts. (Prepare 4 sets
of M12 foundation bolts, nuts and washers each which are field
supplied.)
■ It is best to screw in the foundation bolts until their length are
20 mm from the foundation surface.
6.2. Drain work (only for ERHQ)
Check in the combination table under "Possible options" on page 5
whether drain work is allowed. In case drain work on your unit is
allowed and the installation site requires drain work, then follow the
guidelines below.
■ Drain kits for drainage are available as option.
■ If drain work from the outdoor unit causes trouble (for example, if
the drain water may splash on people) provide the drain piping
using a drain socket (optional).
■ Make sure the drain works properly.
11
NOTICE
If drain holes of the outdoor unit are
covered by a mounting base or by
floor surface, raise the unit in order
to provide a free space of more
than 100 mm under the outdoor
unit.
A Discharge side
B Bottom view (mm)
C Drain hole
≥100 mm
140
117
219
289
350
(345-355)
47
140620
614
423
276
A
B
C
ERHQ
140
160
28436
350
(345-355)
35
140
620
60 182 154
159
259
A
B
C
ERLQ
 Loading...