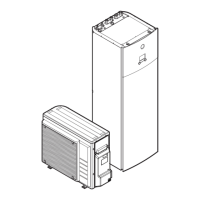
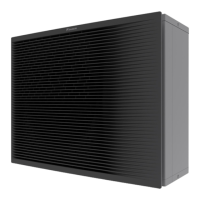
ERHQ011~016BAV3+W1 + ERLQ011~016CAV3+W1
Outdoor unit for air to water heat pump
4PW57794-1 – 08.2010
Installation manual
12
6.3. Installation method for prevention of falling over
If it is necessary to prevent the unit from falling over, install as shown
in the figure.
■ prepare all 4 wires as indicated in the drawing
■ unscrew the top plate at the 4 locations indicated A and B
■ put the screws through the nooses and screw them back tight
7. INSTALLATION SERVICING SPACE
The numerical figures used in the figures represent the dimensions in
mm.
(Refer to "6. Precautions on installation" on page 11)
Precaution
(A) In case of non-stacked installation (see figure 1 for ERHQ,
see figure 1 for ERLQ)
(B) In case of stacked installation (for ERHQ only)
1. In case obstacles exist in front of the outlet side.
2. In case obstacles exist in front of the air inlet.
Do not stack more than one unit.
About 100 mm is required as the dimension for laying the upper
outdoor unit's drain pipe. Get the portion A sealed so that air from the
outlet does not bypass.
(C) In case of multiple-row installation (for roof top use, etc.)(for
ERHQ only)
1. In case of installing one unit per row.
2. In case of installing multiple units (2 units or more) in lateral
connection per row.
Relation of dimensions of H, A and L are shown in the table below.
A Location of the 2 fixation holes on the front side of the unit
B Location of the 2 fixation holes on the rear side of the unit
C Wires: field supply
Suction side obstacle
✓
Obstacle is present
Discharge side obstacle
1
In these cases, close the
bottom of the installation
frame to prevent the
discharged air from
being bypassed
Left side obstacle
Right side obstacle
2
In these cases, only
2 units can be installed.
Top side obstacle
3
Recommended
installation setup.
(a)
(a) Specific for ERLQ to prevent exposure to wind or that the heat exchanger
coil is affected by snow.
This situation is not
allowed
C
B
AA
≥1000
≥100
A
L A
L≤H
0<L≤1/2H 250
1/2H<L 300
H<L Installation not allowed
≥300
≥100
A
≥1000
≥200
≥2000
≥100
≥1500
≥600
≥3000
A
H
L
 Loading...