Control Devices EDUS39-605
50 Controls
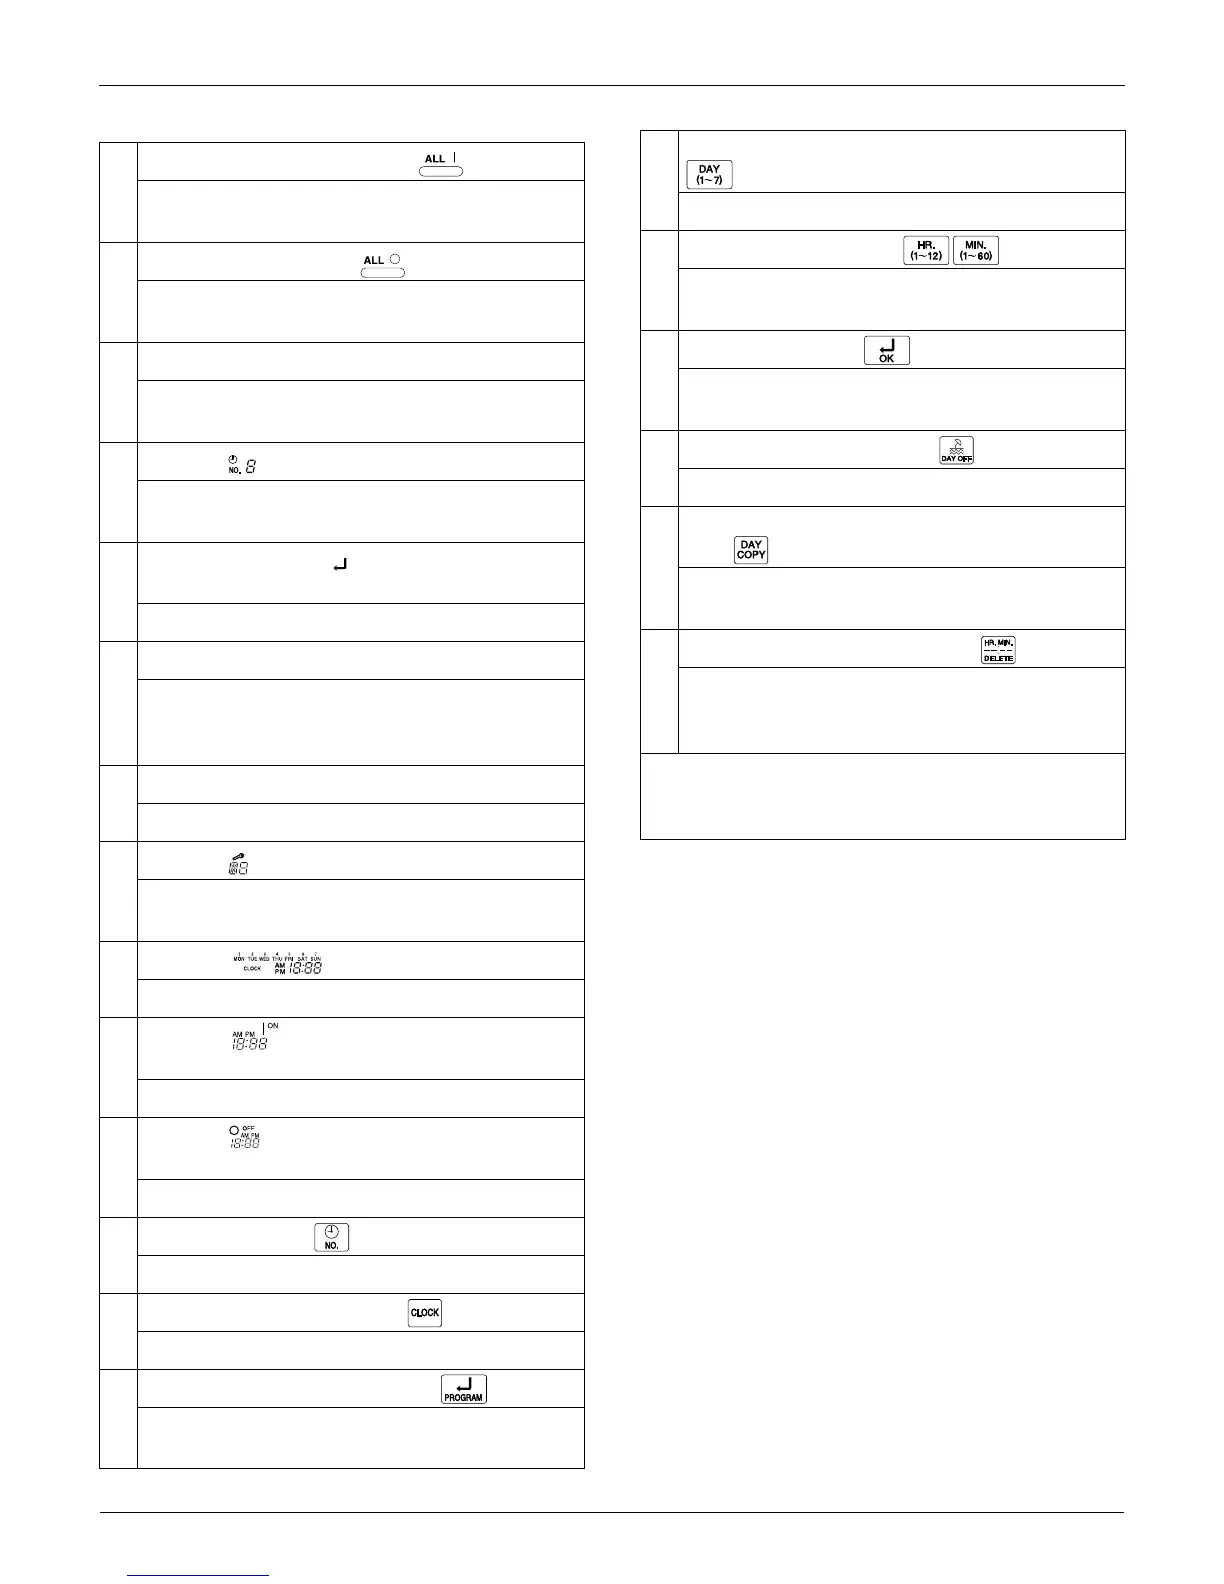
1
UNIFIED OPERATION BUTTON
Press to perform the unified operation regardless of
the programmed time.
2
UNIFIED STOP BUTTON
Press to perform the unified stop regardless of the
programmed time.
3
OPERATION LAMP (RED)
The light turns on during the operation of the indoor
unit.
4
DISPLAY TIME No.
Displays the time number only when used in
conjunction with the central remote controller.
5
DISPLAY PROGRAM START.(PROGRAMMING
START)
The light turns on when the timer is programmed.
6
DISPLAY OFF For HOLIDAY SETTING
Lights above the day of the week set as holiday. The
operation controlled by timer is not available on that
day.
7
DISPLAY [—] (SETTING OF DAYS OF A WEEK)
Flashes below the day of the week programmed.
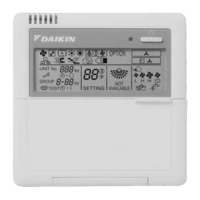
8
DISPLAY (MALFUNCTION CODE)
Displays the contents of malfunction during the stop
due to malfunction.
9
DISPLAY (PRESENT TIME)
Displays the present day of the week and time.
10
DISPLAY PROGRAMMED TIME OF SYSTEM
START
Displays the time programmed to start.
11
DISPLAY PROGRAMMED TIME OF SYSTEM
OFF
Displays the time programmed to stop.
12
TIME NO. BUTTON
Press to select time schedules.
13
CLOCK ADJUSTING BUTTON
Press this button to set the present time.
14
PROGRAMMING START BUTTON
Press to set or check the programmed time. Press it
again after you are through with the program.
15
BUTTON FOR SELECTING DAYS OF A WEEK
Press to select the day of the week.
16
HOUR/MINUTE BUTTON
Press to adjust the present time and the programmed
time.
17
TIMER ON BUTTON
Press to set the present time and the programmed
time.
18
HOLIDAY SETTING BUTTON
Press to set holidays.
19
BUTTON FOR COPYING PROGRAM OF PREVIOUS
DAY
Use this button to set the No. of programmed time
same as that of the previous day.
20
PROGRAM CANCELING BUTTON
Use this button to set the programmed time to cancel.
The display shows
[ – – ; – – ]
Note:
Please note that all displays are simultaneously shown in
the figure to illustrate available options.