5 Installation
Installation and operation manual
12
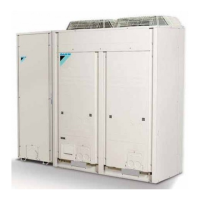
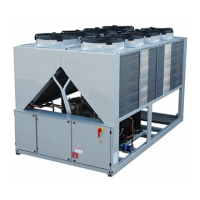
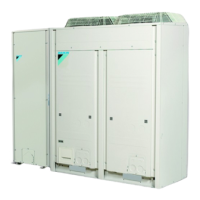
EWAQ016~064CAW + EWYQ016~064CAW
Packaged air-cooled water chiller
4P489435-1B – 2017.10
EWAQ+EWYQ040~064
N
5
8
ÿ
2
5
8
Ø
1
I
4
N
1
1
2
2
5
1 N•m
N
1
1
2
2
3
0.7 N•m
6
ON
A
NOTICE
When the main switch is the in OFF position, it is possible
to lock the main switch using a suitable padlock. See the
figure below.
Keep in mind that in this case the padlock needs to be
opened and removed before it is possible to turn the main
switch to the ON position.
5.4.4 To connect the power supply and
transmission cables
1 Open the electrical component box cover.
2 Using the appropriate cable, connect the power supply and
communication cable(s) to the appropriate terminals as shown
on the wiring diagram.
3 Fix the cables with cable ties to the cable tie mountings to
ensure strain relief and to make sure that they do not come in
contact with the piping and sharp edges. Never squeeze
bundled cables.
4 Close the electrical component box cover.
5.4.5 To install the remote controller
The unit comes with a remote controller offering a user-friendly way
to set up, use and maintain the unit. Before operating the remote
controller, follow this installation procedure.
Wire specification Value
Type 2 wire
Section 0.75~1.25 mm
2
Wire specification Value
Maximum length 500 m
NOTICE
The wiring for connection is NOT included.
NOTICE
The accessory remote controller MUST be mounted
indoors.
1 Insert a slotted screwdriver into the slots in the rear part of the
remote controller, and remove the front part of the remote
controller.
2 Fasten the remote controller on a flat surface.
NOTICE
Be careful NOT to distort the shape of the lower part of the
remote controller by overtightening the mounting screws.
3 Connect the terminals of the remote controller and the terminals
inside the unit (P1 to P1, P2 to P2) as shown in the figure.
a Unit
b Rear part of the remote controller
c Front part of the remote controller
d Wired from the rear
e Wired from the top
f Use nippers to notch the part for the wiring to pass through
NOTICE
▪ When wiring, run the wiring away from the power
supply wiring in order to avoid receiving electric noise
(external noise).
▪ Peel the shield for the part that has to pass through the
inside of the remote controller case (L).
4 Reattach the upper part of the remote controller, starting with
the clips at the bottom.
 Loading...