12 Operation
Installation and operation manual
34
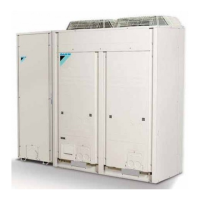
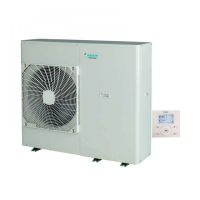
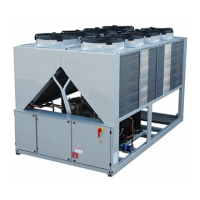
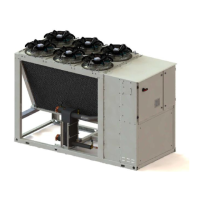
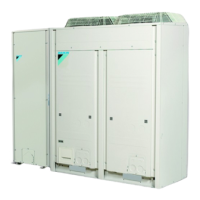
EWAQ016~064CAW + EWYQ016~064CAW
Packaged air-cooled water chiller
4P489435-1B – 2017.10
INFORMATION
Press to return to previous steps in the programming
procedure without saving modified settings.
1 Press to enter the programming/consulting mode.
2 Select the operation mode you would like to program using
and .
Result: The actual mode is blinking.
3 Press to confirm the selected mode.
4 Consult the action(s) using and .
5 Hold down for 5seconds to program the detailed actions.
Result: The first programmed action appears.
6 Select the action number you would like to program or to modify
using .
7 Set the correct action time using and .
8 Select or deselect as an action using .
9 Repeat this procedure to program the other actions of the
selected mode.
Result: When all actions have been programmed, make sure
that the display shows the highest action number you would like
to save.
10 Press for 5seconds to store the programmed actions.
Result: If is pressed when action number 3 is displayed,
actions 1, 2 and 3 are stored, but action 4 is deleted. You
automatically return to step6. Press several times to return
to previous steps in this procedure and finally return to normal
operation.
11 You automatically return to step6; start again to program the
following day.
To consult programmed actions
INFORMATION
Press to return to previous steps in the consulting
procedure.
1 Press to enter the programming/consulting mode.
2 Select the operation mode you would like to consult using
and .
Result: The actual mode is blinking.
3 Press to confirm the selected mode.
Result: The actual day is blinking.
4 Select the day you would like to consult using and
.
Result: The selected day is blinking.
5 Press to confirm the selected day.
Result: The first programmed action of the selected day
appears.
6 Consult the other programmed actions of that day using
and .
Result: This is called the readout mode. Empty program
actions (e.g. 4) are not displayed. Press several times to
return to previous steps in this procedure and finally return to
normal operation.
Schedule timer tips and tricks
To program the next day(s)
1 After confirming the programmed actions of a specific day,
press once.
Result: You can now select another day using and
and restart consulting and programming.
To copy programmed actions to next day
In space heating program it is possible to copy all programmed
actions of a specific day to the next day (e.g. copy all programmed
actions from " " to " ").
2 Press .
Result: The actual mode is blinking.
3 Select the mode you want to program using and .
Result: The selected mode is blinking. You can leave
programming by pressing .
4 Press to confirm the selected mode.
Result: The actual day is blinking.
5 Select the day you would like to copy to the next day using
and .
Result: The selected day is blinking. Press to return to
step2.
6 Press and simultaneously for 5seconds.
7 After 5seconds the display will show the next day (e.g. " " if
" " was selected first). This indicates that the day has been
copied.
8 Press to return to step2.
To delete one or more programmed actions
Deleting one or more programmed actions is done at the same time
as storing the programmed actions.
When all actions for one day have been programmed, make sure
that the display shows the highest action number you would like to
save. Pressing for 5seconds stores all actions except those with a
higher action number than the one that is displayed.
Example: Pressing when action number 3 is displayed, stores
actions1, 2 and 3, but deletes action4.
12.3.7 Operating the optional demand PCB
An optional PCB EKRP1AHTA can be connected to the unit and be
used to remotely control the unit.
The 3 inputs allow:
▪ remote switching between cooling and heating
▪ remote thermo on/off
▪ remote unit on/off
For more details about this option kit, refer to the wiring diagram of
the unit.
INFORMATION
The signal (voltage free) must take at least 50ms.
See also field setting [6‑01] in "6.2.9 Field settings on the remote
controller"on page16 for setting the function of your preference.
12.3.8 Operating the optional external control
adapter
An optional control adapter PCB DTA104A62 can be connected to
the unit and be used to remotely control 1 or more units.
By short-circuiting contacts on the option kit PCB, you can:
▪ reduce capacity to about 70%,
▪ reduce capacity to about 40%,
▪ force thermo off,
▪ capacity save (fan low speed turn, compressor frequency control).
For more details about this option kit, refer to a separate instruction
that is delivered with the unit.
 Loading...