7 | Configuration
Installer reference guide
39
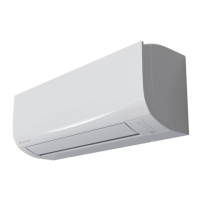
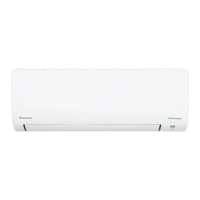
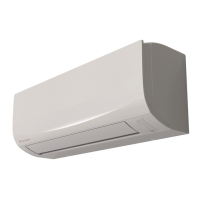
FTXP50~71M2V1B + FTXF20~71A2V1B + ATXF50~71A2V1B
Daikin room air conditioner
4P513661-8H – 2019.12
7 Configuration
7.1 To set a different address
In case 2 indoor units are installed in 1 room, different addresses for 2 user
interfaces can be set.
1 Remove the batteries from the user interface.
2 Cut the address jumper.
a Address jumper
NOTICE
Be careful NOT to damage any of the surrounding parts when cutting the address
jumper.
3 Turn the power supply on.
Result: The flap of the indoor unit will open and close to set the reference position.
INFORMATION
▪ For FTXF and ATXF units, the following setting MUST be completed within
5minutes after the power supply is turned on.
▪ In case you could NOT complete the setting in time, turn the power supply off
and wait at least 1minute before turning the power supply back on.
4 Press simultaneously:
Model Buttons
FTXP
, and
FTXF
, and
5 Press:
Model Button
FTXP
FTXF
6 Select:
Model Symbol
FTXP
FTXF
7 Press:
Model Button
FTXP
 Loading...
