5 Operation
Operation manual
14
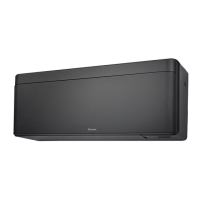
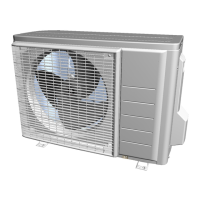
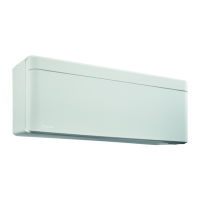
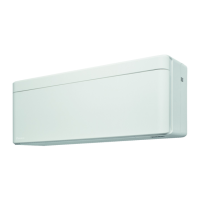
FTXTA30C2V1B(W)(B)
Daikin room air conditioner
3P728539-2D – 2023.09
5.11.2 To install the ONECTA app
1 Go to Google Play (for Android devices) or the App Store (for
iOS devices) and search for "ONECTA".
2 Follow the directions on the screen to install the ONECTA app.
INFORMATION
Scan the QR code to download and install the ONECTA
app on your mobile phone or tablet:
5.11.3 To set the wireless connection
There are two options to connect the wireless adapter to your home
network.
▪ Using a smart device (smartphone, tablet) and SSID (Service Set
Identifier) and KEY (password)
▪ Using the WPS (Wi-Fi Protected Setup) button on your Wi-Fi
router.
For more information and FAQ, refer to app.daikineurope.com.
Note: Setting is done by the wireless remote control in the wireless
LAN setting menu. During setting, always aim the wireless remote
control at the infrared signal receiver on the unit.
INFORMATION
Make sure operation is stopped before setting the wireless
connection. Connection CANNOT be made when the unit
is in operation.
1 Stop operation before setting the wireless connection.
2 Make sure the wireless router is close enough to the unit and
nothing obstructs the signal.
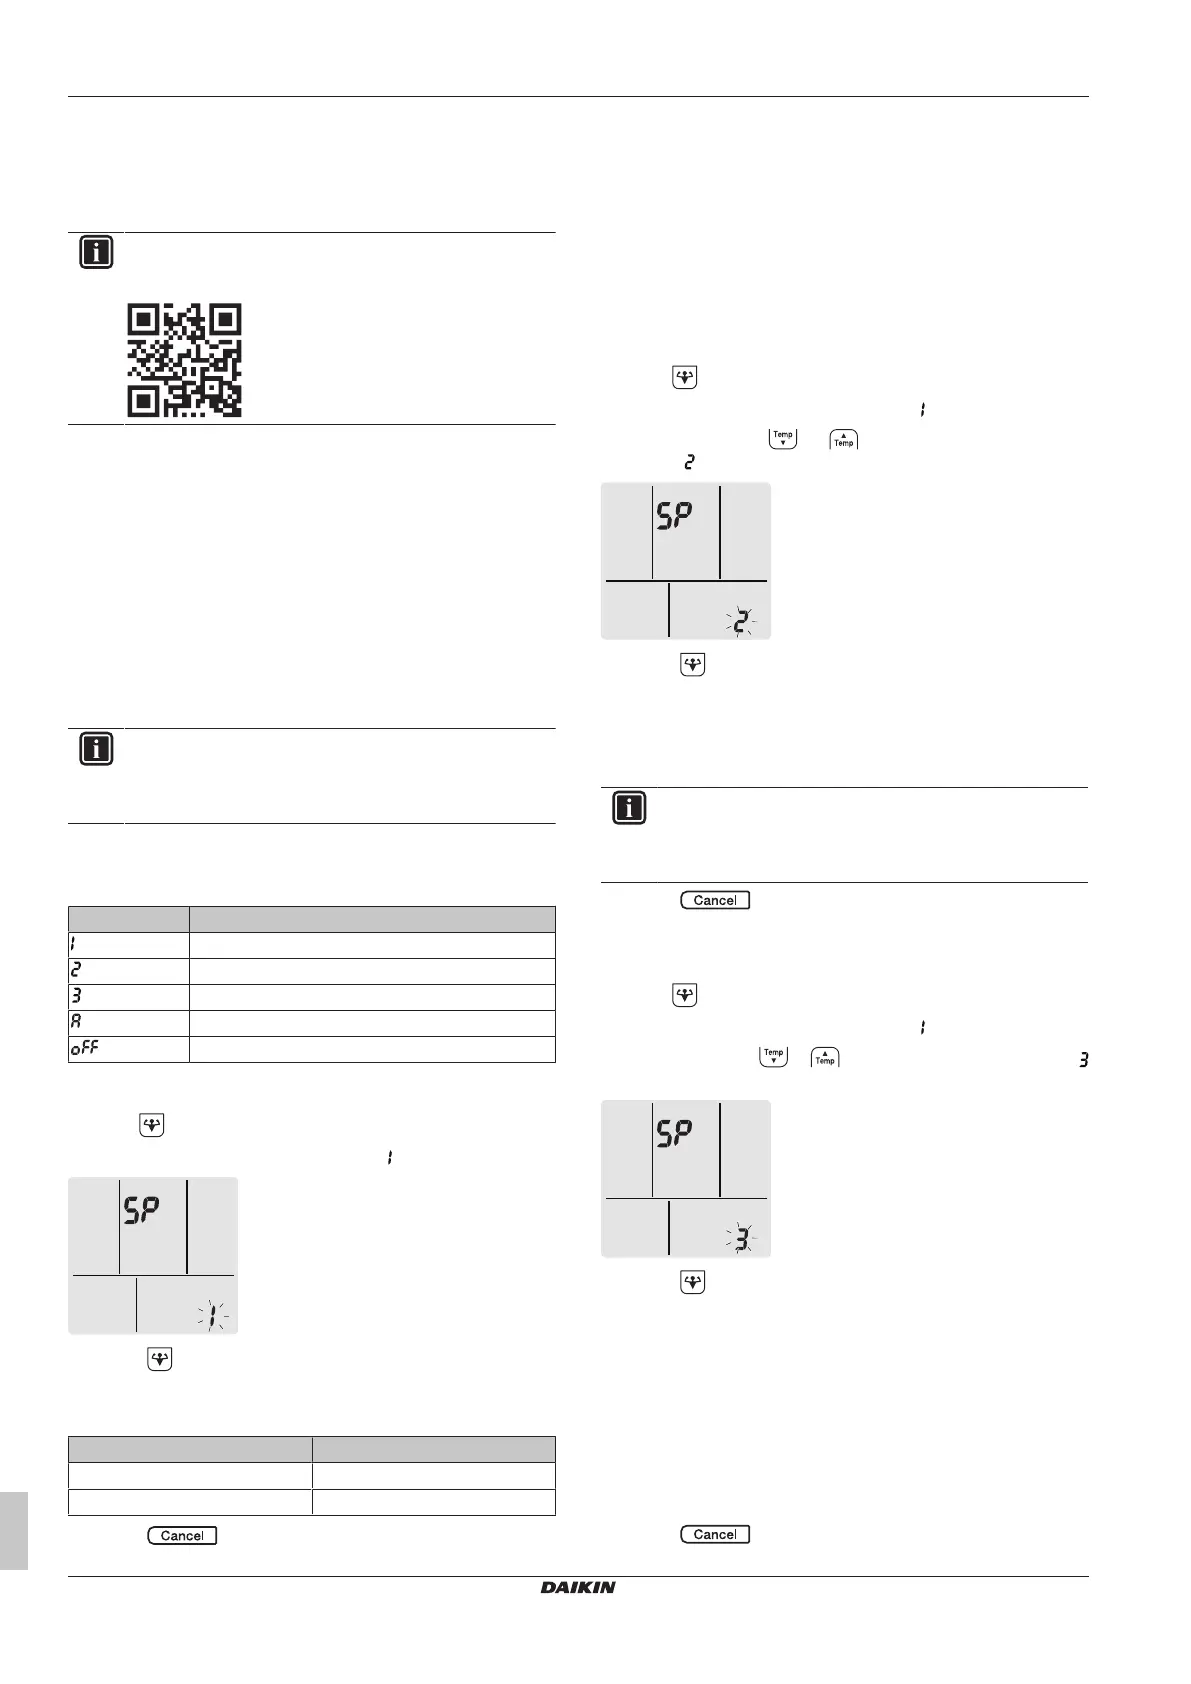
Menu Description
Connection status check
Connection using WPS button
Connection using SSID and KEY
Reset to factory default
Wireless LAN OFF
To confirm the wireless LAN connection status
1 Hold for at least 5seconds.
Result: The confirmation display (menu ) appears.
2 Press to confirm the selection.
Result: “Beep” sound is heard when the unit receives signal.
3 Check the indoor unit LED.
…lamp is blinking. Status
Timer Communication is OK
Operation and timer Communication is OFF
4 Press to exit the menu.
Result: The display will return to the default screen.
To connect the wireless LAN to your home
network
The wireless adapter can be connected to your home network using
the:
▪ WPS button (Wi-Fi Protected Setup) on the router (if present),
▪ The SSID (Service Set Identifier) and the KEY (password) -
located on the unit.
To connect using the WPS button
1 Hold for at least 5seconds in the default screen.
Result: The confirmation display (menu ) appears.
2 Press repeatedly or until the WPS setting display
(menu ) appears.
3 Press to confirm the selection.
Result: “Beep” sound is heard when the unit receives signal.
4 Press the WPS button on your communication device (e.g.
router) within approximately 1 minute. Refer to the manual of
your communication device.
INFORMATION
If the connection with your router is not possible, try
procedure "To connect using SSID and KEY
number"[414].
5 Press to exit the menu.
Result: The display will return to the default screen.
To connect using SSID and KEY number
1 Hold for at least 5seconds in the default screen.
Result: The confirmation display (menu ) appears.
2 Press repeatedly or until the AP mode display (menu
) appears.
3 Press to confirm the selection.
Result: “Beep” sound is heard when the unit receives signal.
4 Connect your smart device to the access point in the same way
as to a standard wireless network.
5 Enter the SSID number and password located on the unit or in
the accessory set.
6 Open the Daikin Online Controller application and follow the
steps on the screen.
Result: Wireless adapter mode will automatically change from
the AP mode to the RUN mode, the timer LED is blinking.
7 Press to exit the menu.