4 Before operation
Operation manual
6
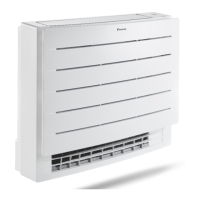
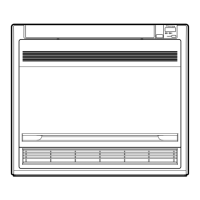
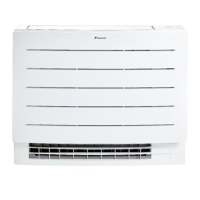
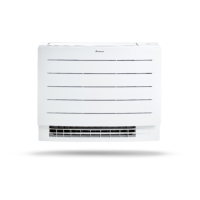
CVXM20+FVXM25~50A2V1B
Split system air conditioners
3P477071-2F – 2020.06
3.2 About the user interface
▪ Direct sunlight. Do NOT expose the user interface to direct
sunlight.
▪ Dust. Dust on the signal transmitter or receiver will reduce
sensitivity. Wipe off dust with a soft cloth.
▪ Fluorescent lights. Signal communication might be disabled if
fluorescent lamps are in the room. In that case, contact your
installer.
▪ Other appliances. If the user interface signals operate other
appliances, move the other appliances, or contact your installer.
▪ Curtains. Make sure that the signal between the unit and the user
interface is NOT blocked by curtains or other objects.
NOTICE
▪ Do NOT drop the user interface.
▪ Do NOT let the user interface get wet.
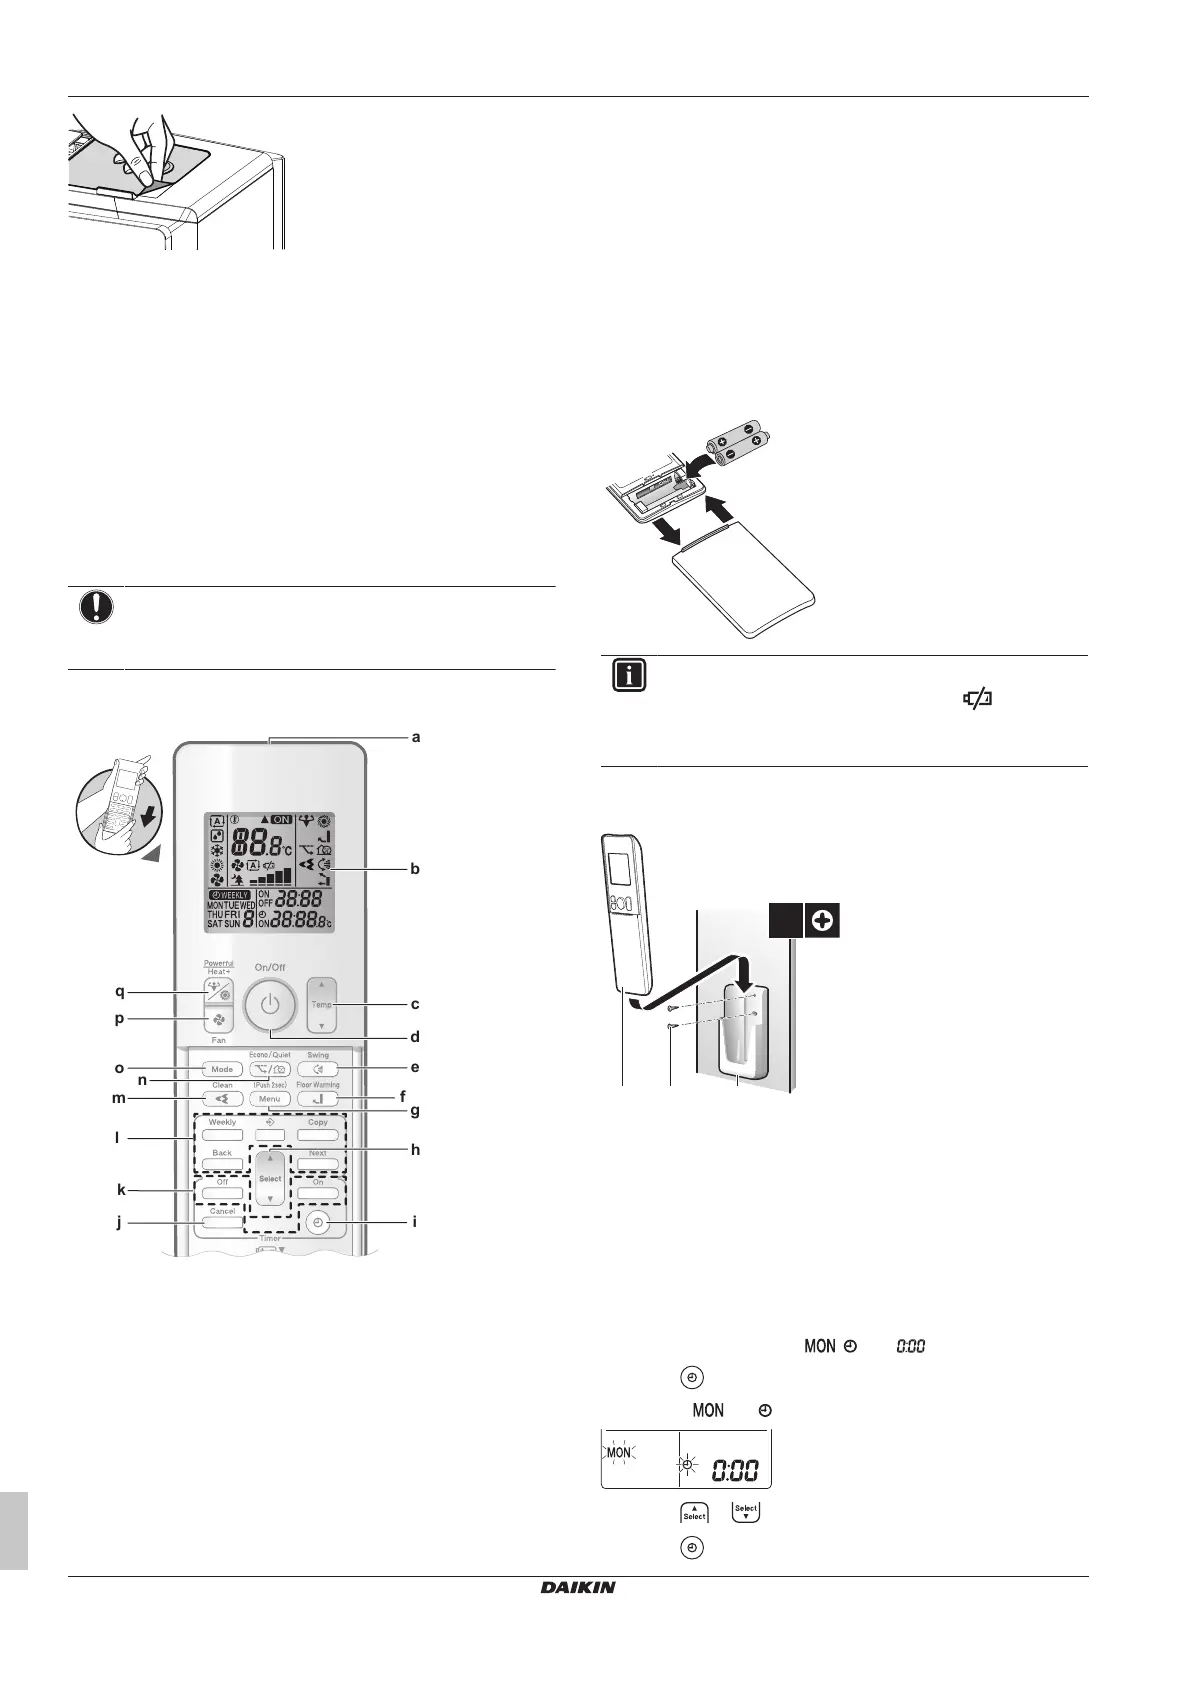
3.2.1 Components: User interface
a Signal transmitter
b LCD display
c Temperature adjustment button
d ON/OFF button
e Vertical swing button
f Floor warming button
g Menu button
h Select button
i Clock setting button
j Cancel button
k OFF/ON timer operation buttons
l Weekly timer operation buttons
m Flash Streamer (air cleaning) operation button
n Econo and Outdoor unit quiet operation button
o Mode button
p Fan button
q Powerful button and Heat plus button
4 Before operation
4.1 To turn on the power supply
1 Turn the circuit breaker on.
4.2 To insert the batteries
The batteries will last for about 1 year.
1 Remove the front cover.
2 Insert both batteries at once.
3 Put back the front cover.
INFORMATION
▪ Low energy of battery is indicated by icon on the
LCD display.
▪ ALWAYS replace both batteries together.
4.3 To mount the user interface holder
a User interface
b Screws (field supply)
c User interface holder
1 Choose a place where the signal can reach the unit.
2 Fix the user interface holder (accessory) to the wall or a similar
location using 2 M3×20L screws (field supply).
3 Insert the user interface into the user interface holder.
4.4 To set the clock
Note: If the time is NOT set, , , and blink.
1 Press .
Result: and blink
2 Press or to set the current day of the week.
3 Press .
 Loading...