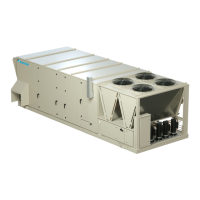
IM 1287-6 • REBEL APPLIED ROOFTOP 38 www.DaikinApplied.com
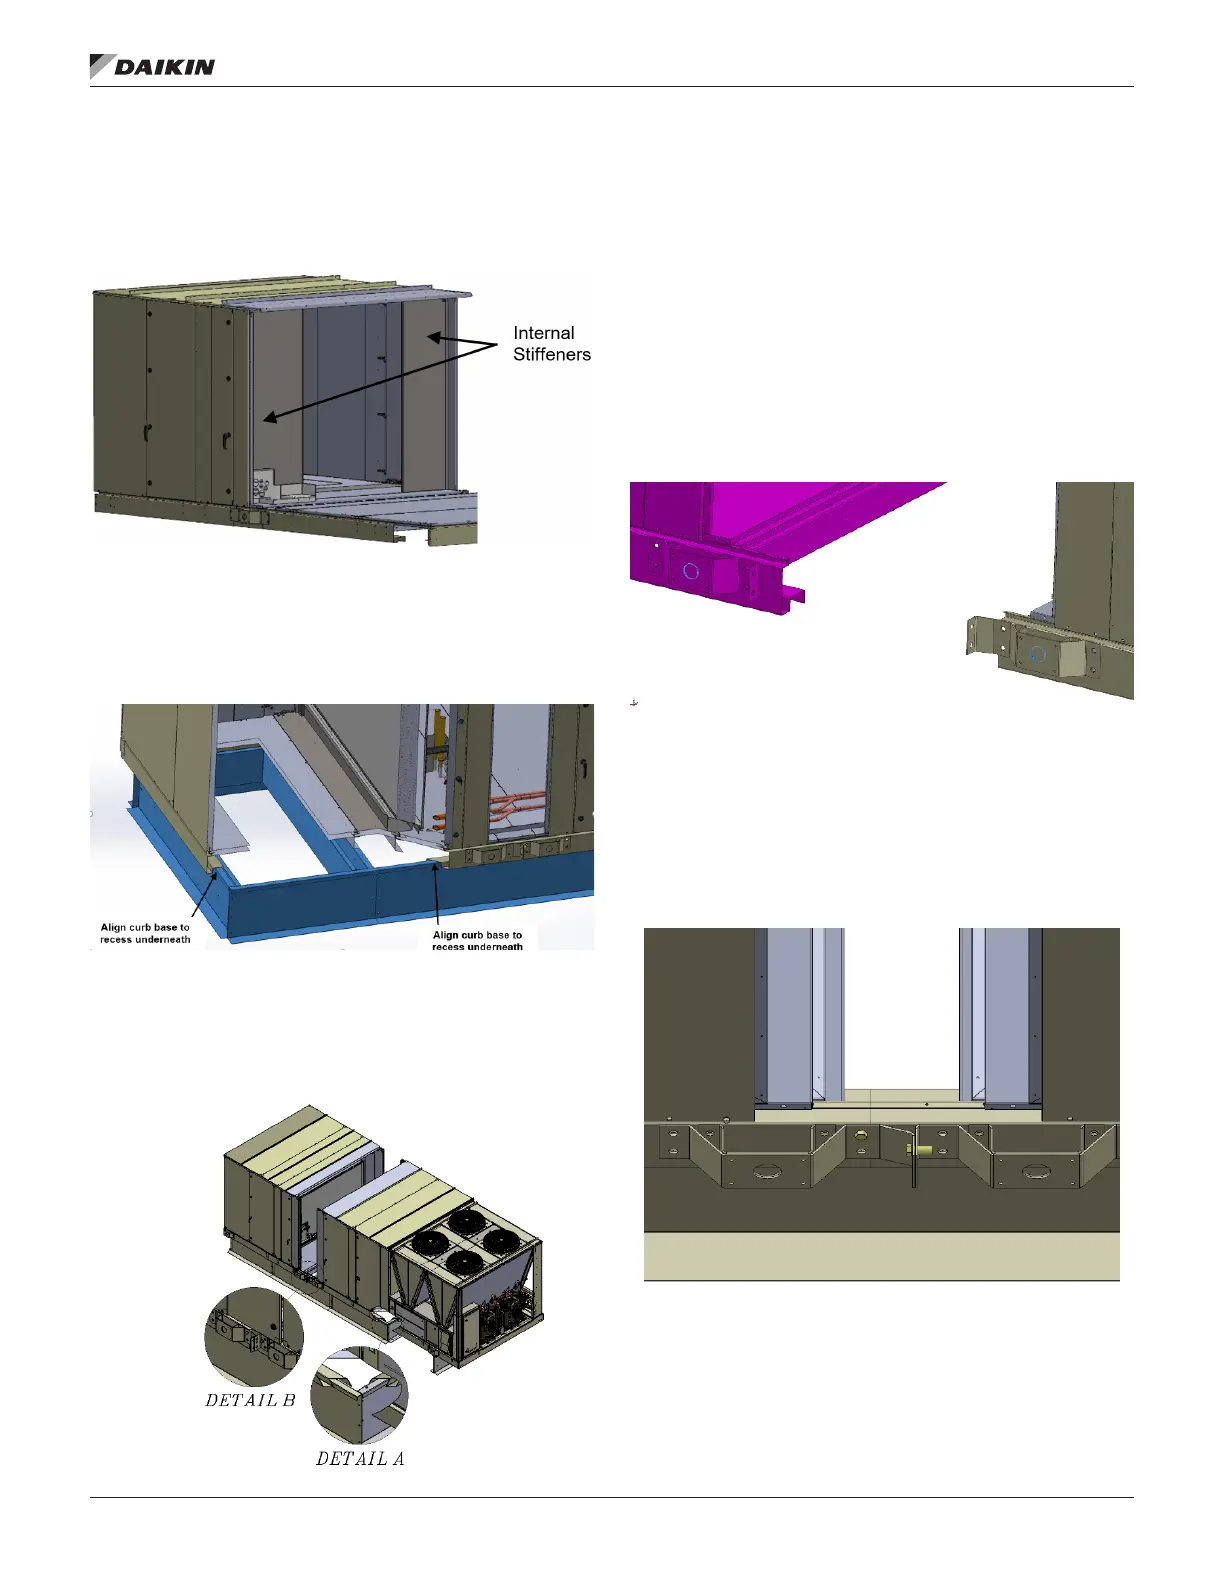
NOTE: Do not remove the Internal stieners at this time.
They will help keep the cabinet square during the lift
of the module to the roof curb (Figure 57).
Figure 57: Do Not Remove Stieners Before Lift
3. Set the return end section over roof curb pocket (Figure
58). Make sure locators underneath are aligned in the
right place.
Figure 58: Align Locators Underneath
4. Carefully lower section into place, making sure the roof
curb engages the recesses in the unit base (Figure 59).
Figure 59: Set Sections Over Roof Curb
The design of the lifting lugs is such to help align the 2
sections on the curb. It is critical that the unit base is co-planar
down the air tunnel. The squareness of the unit air tunnel
helps guarantee that the panels seal properly and keep out
rain and prevent unit air leakage.
5. Bring the unit bases together by pulling lifting lugs
together until the base rails touch. It is acceptable to use
a come-along type cable puller attached to the lifting
lug eyelets to assist in pulling the sections together.
If using a come-along, both sides should be pulled
simultaneously. The base rails should be in line and
touching after this step (Figure 60).
Figure 60: Bring Together Two Halves
6. Bolt together bases with the provided bolts, washers,
and nuts. Check alignment of base rails for panel tment
(Figure 61).
NOTE: The bolts are not to be used to pull the two sections
together.
Figure 61: Assembly Base Rails
 Loading...