5 Piping installation
Installation manual
8
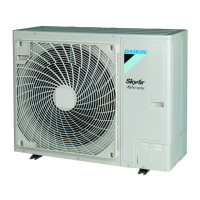
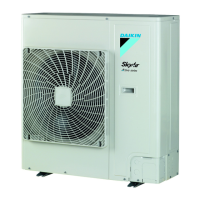
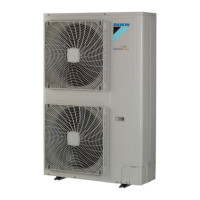
RZASG100~140MUV/Y
Sky Air Advance-series
4P734658-1 – 2023.08
4.3.4 To prevent the outdoor unit from falling
over
In case the unit is installed in places where strong wind can tilt the
unit, take following measure:
1 Prepare 2 cables as indicated in the following illustration (field
supply).
2 Place the 2 cables over the outdoor unit.
3 Insert a rubber sheet between the cables and the outdoor unit
to prevent the cables from scratching the paint (field supply).
4 Attach the ends of the cables.
5 Tighten the cables.
5 Piping installation
5.1 Connecting the refrigerant piping
DANGER: RISK OF BURNING/SCALDING
5.1.1 To connect the refrigerant piping to the
outdoor unit
Keep the following in mind:
▪ Piping length. Keep field piping as short as possible.
▪ Piping protection. Protect the field piping against physical
damage.
You can route the refrigerant piping to the front, bottom, side or rear
of the unit.
a Front connection
b Bottom connection
c Side connection
d Rear connection
1 Remove the following plates:
For details, see "4.2.1To open the outdoor unit"[46].
▪ Remove the service cover (a) and the piping intake front
plate (b).
▪ In case the refrigerant piping is routed to the rear side of the
unit, also remove the piping intake rear plate (c).
a Service cover
b Piping intake front plate
c Piping intake rear plate
2 Remove the knockout hole(a) in the bottom plate or in the
piping intake plate by tapping on the attachment points with a
small flat screwdriver and a hammer. Optionally, cut out the slits
(b) with a metal saw.
a Knockout hole for piping
b Slit
NOTICE
Precautions when making knockout holes:
▪ Avoid damaging the casing and underlying piping.
▪ After making the knockout holes, we recommend to
remove the burrs and paint the edges and areas
around the edges using repair paint to prevent rusting.
▪ When passing electrical wiring through the knockout
holes, wrap the wiring with protective tape to prevent
damage.
NOTICE
Avoid bending the bottom plate when removing the
knockout hole.
3 Connect the gas and liquid piping.
▪ Connect the liquid piping (a) to the liquid stop valve (A).
▪ Connect the gas piping (b) to the gas stop valve (B).

 Loading...