1-2-3 Required to do before recording
After finishing preparation of materials, further preparation is needed for executed as the listed procedure.
1) TYPE4 software installation (setup)
2) Connecting PC and Checker
3) Confirmation of connection
4) Check of supported models
1) TYPE4 software installation (setup)
2) Connecting PC and Checker
Following the instruction of Chapter 2 (Installing the checker software), install checker software.
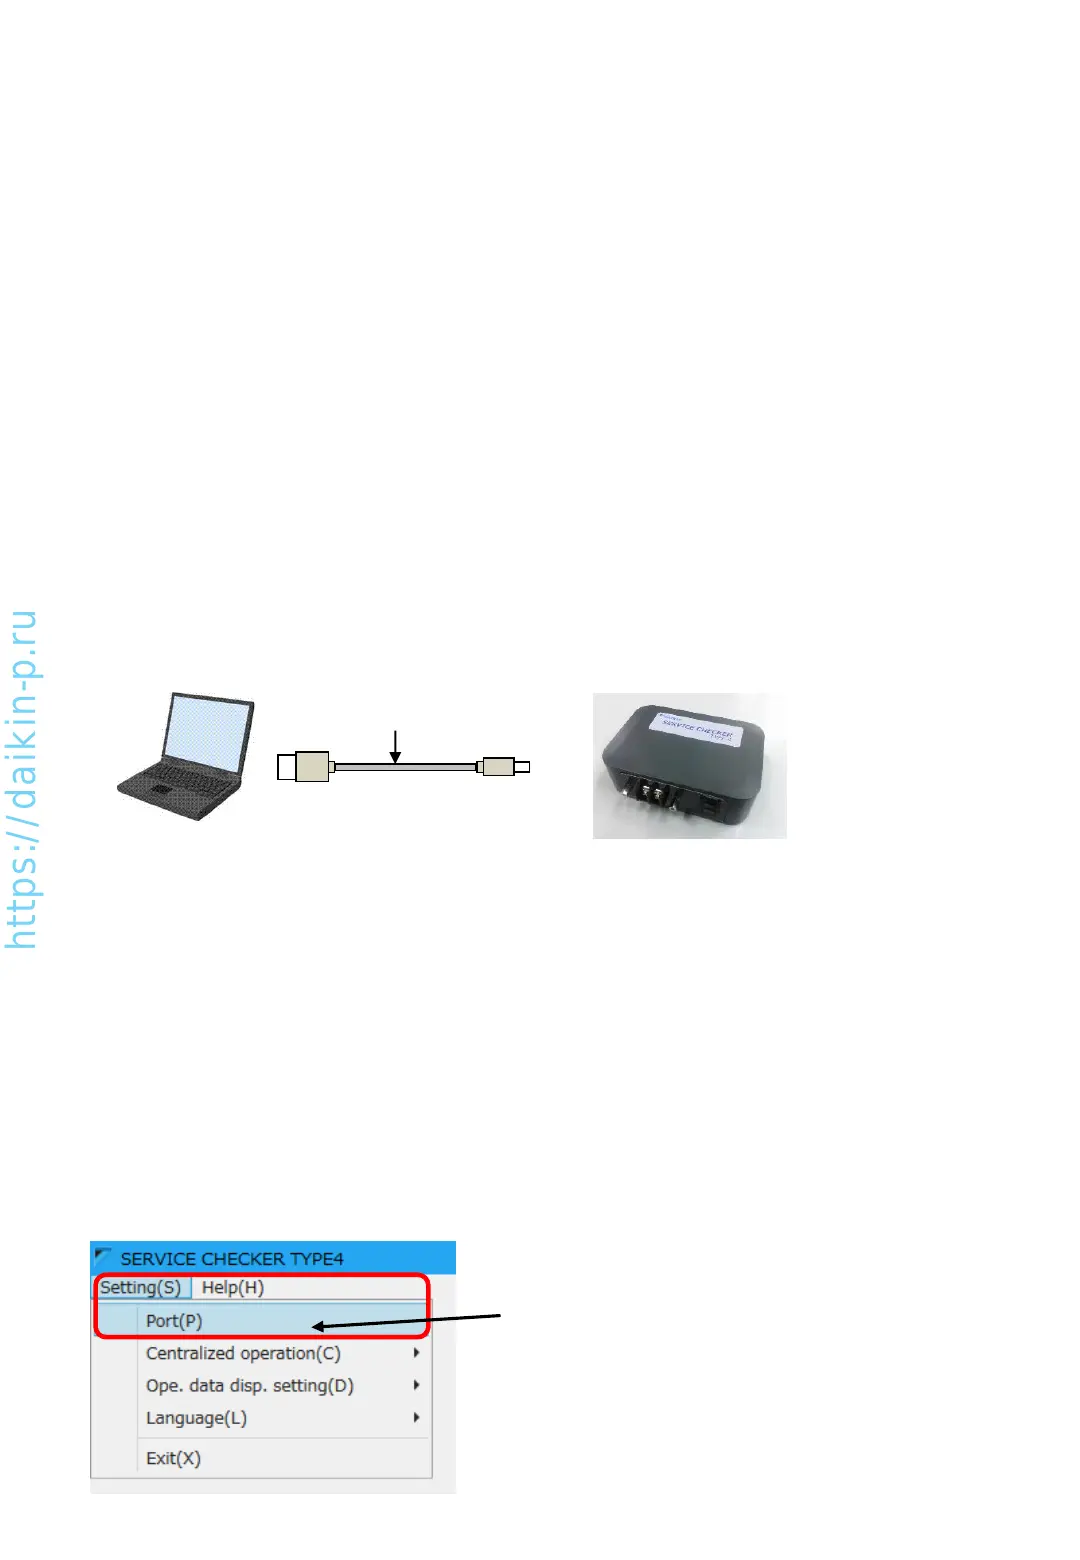
(Back: USB 2.0 terminal (Type-B))
PC
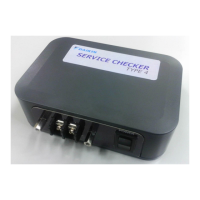
Checker box
Connect PC and Checker by the USB cable included in the Checker package.
B connector
A connector
USB cable
(included)
3) Confirmation of connection
To avoid troubles such as PC and Checker connection, please check connection between PC and Checker as
instructions listed below.
[How to confirm]
Connection check can be done without connecting checker and VRV.
[Confirmation procedure]
•Connect PC and Checker, turn on Checker
•Start Checker software
•Select correct COM port which is connected to Checker (default selection is COM1)
(1) Click Setting(S) > Port(P)
AS0112-P-DENV
7