14 | Unit installation
Installer and user reference guide
45
VAM350~2000J8VEB
Heat reclaim ventilation unit
4P664012-1 – 2021.08
c KRP1BA101 (installation box)
d EKMP65VAM (mounting plate)
f Screw
g Screw (supplied with the installation box)
1 Remove the screws from the middle of the plate connecting the 2 units.
2 Attach the optional mounting plate (EKMPVAM) on top of the plate
connecting the 2 units.
3 Attach the optional adapter PCB (KRP2A51) in the installation box
(KRP1BA101).
4 Follow the installation instructions provided with the option kits (BRP4A50A,
KRP2A51 and KRP1BA101).
5 Guide the PCB wire through the dedicated holes and attach it as instructed in
"15.2Opening the switch box"[454].
6 Attach the options to the optional mounting plate, as shown in the figure.
7 After the wires are connected, fasten the switch box cover.
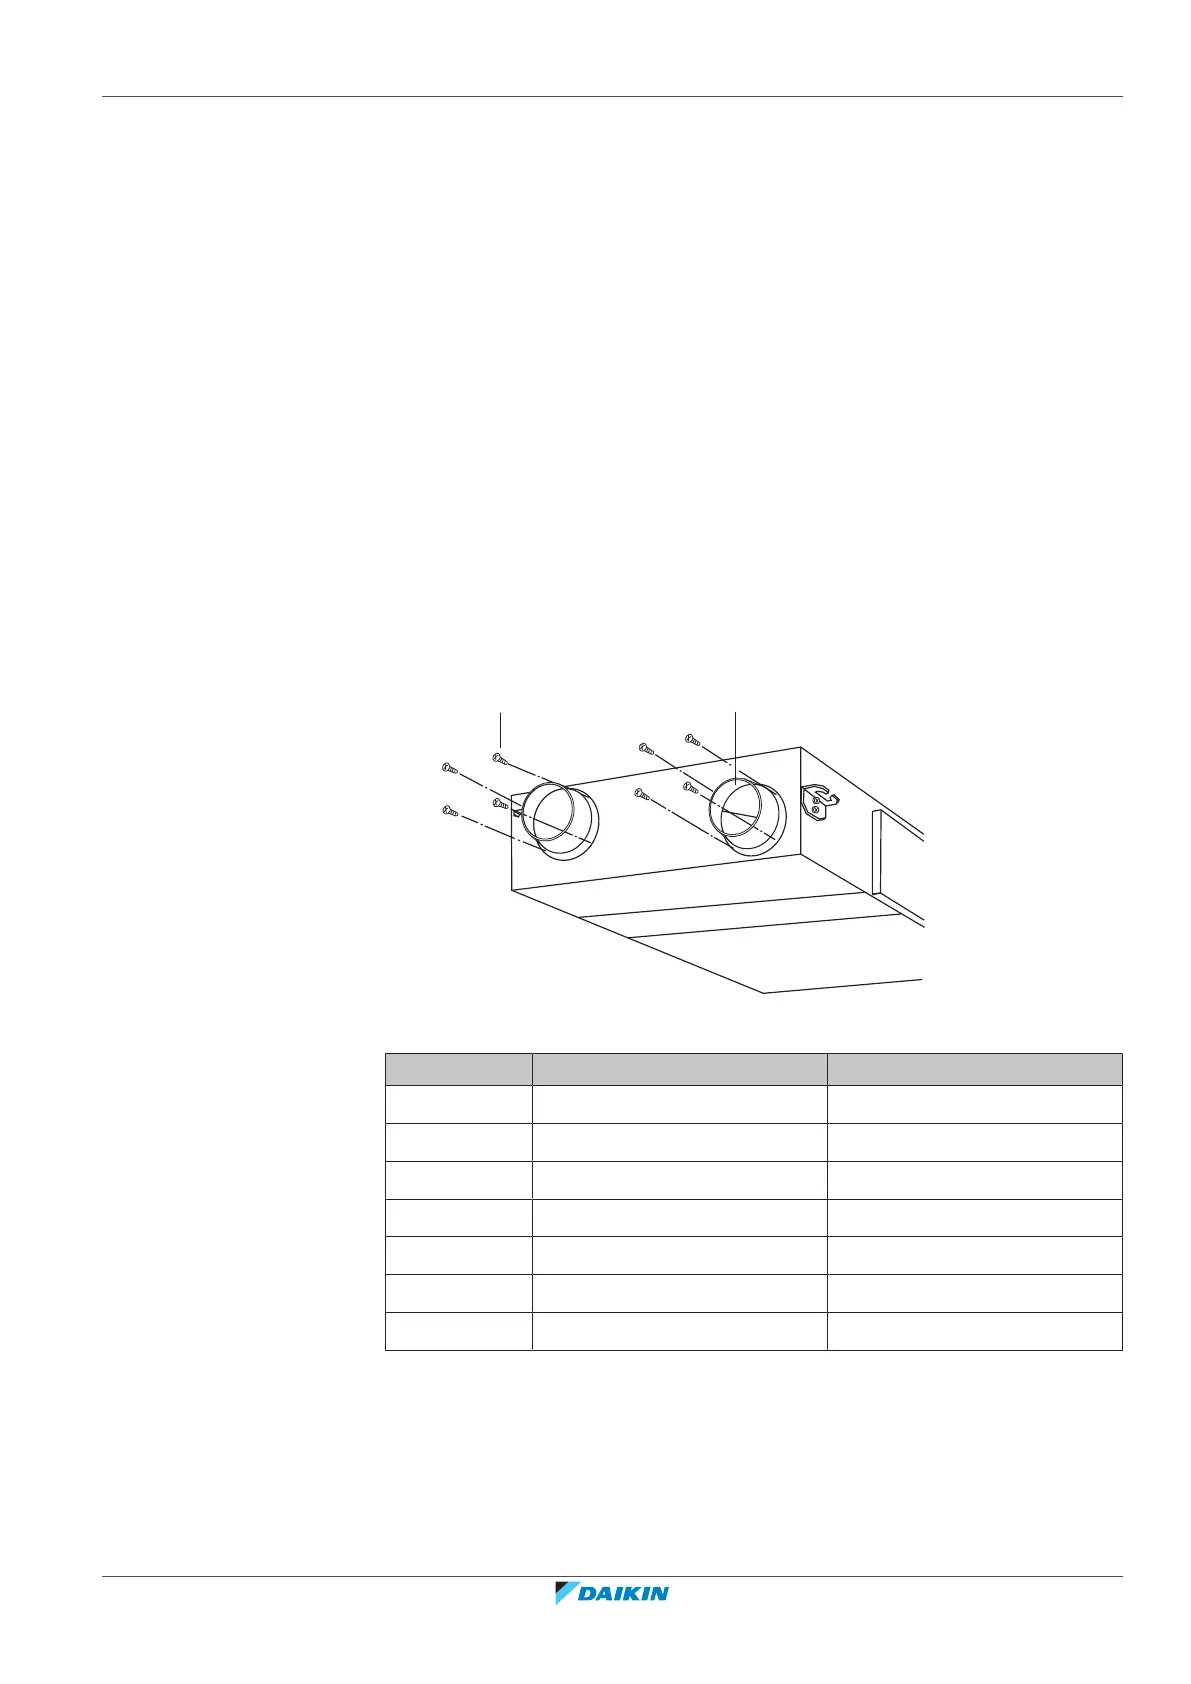
14.2.2 To install the duct flanges
1 Position the duct flanges (a) over the duct holes.
2 Secure the duct flanges with the provided screws (b) (see accessory bag).
a Duct flange
b Screw
Model Required screws Duct flanges
VAM350 16 4× Ø200mm
VAM500 16 4× Ø200mm
VAM650 24 4× Ø250mm
VAM800 24 4× Ø250mm
VAM1000 24 4× Ø250mm
VAM1500 48 8× Ø250mm
VAM2000 48 8× Ø250mm
14.2.3 To install the EKVDX option
See "17.2Field settings"[472].
For more information, see the Installation and operation manual of the EKVDX.



 To Next Page